Gold-Dipped Birch Egg How-To {As seen in Food Network Magazine!}
A few months ago, Food Network Magazine emailed me and asked if I'd be interested in designing a New Hampshire-themed egg for their Easter issue! I was completely blown away and honored for the opportunity. My New Hampshire egg design was a gold-dipped, faux birch bark egg - gold-dipped to represent our State House with it's golden dome, and the birch bark paint finish to represent our our state tree, the white birch.
Fun Fact: My great-grandfather was a steeplejack and did the gold leaf on the New Hampshire capitol dome back in the 1920's!
| This post contains affiliate links |

Creating one of these gold-dipped birch eggs for yourself is pretty simple! Here's the full how-to:
Materials:

- faux egg (for the Food Network Magazine example and most of the photos in this how-to, I used an Eggnot, a fake ceramic egg - but you could also use a wooden egg. If you use real hardboiled eggs I would not recommend eating them after painting)
- gold acrylic paint
- black acrylic paint
- white acrylic paint (if your fake egg isn't already white to begin with)
- paper cup
- thin paintbrush
- tinfoil to make a stand for the egg to dry on
How-to:

1. First, make a tinfoil ring to hold your egg while it dries between steps. Then if your egg isn't already white, paint white and allow to dry between coats. It may need several coats of paint.
2. Next shake the gold acrylic paint well and pour about half an inch of it into a small paper cup. Dip the top of the egg carefully into the cup. (I found it best to to do the gold-dip first, then paint the bark pattern after since sometimes the black lines were visible under the gold-dip.)
Gold paint tends to be thick and you may have some swirling or thick drips after dipping. You can try to smooth these out a bit with a paintbrush but it usually looks cleaner if you just leave it as-is, even if you end up with a thick spot within the dip. After the gold dip, carefully place the egg in the tinfoil ring to dry.
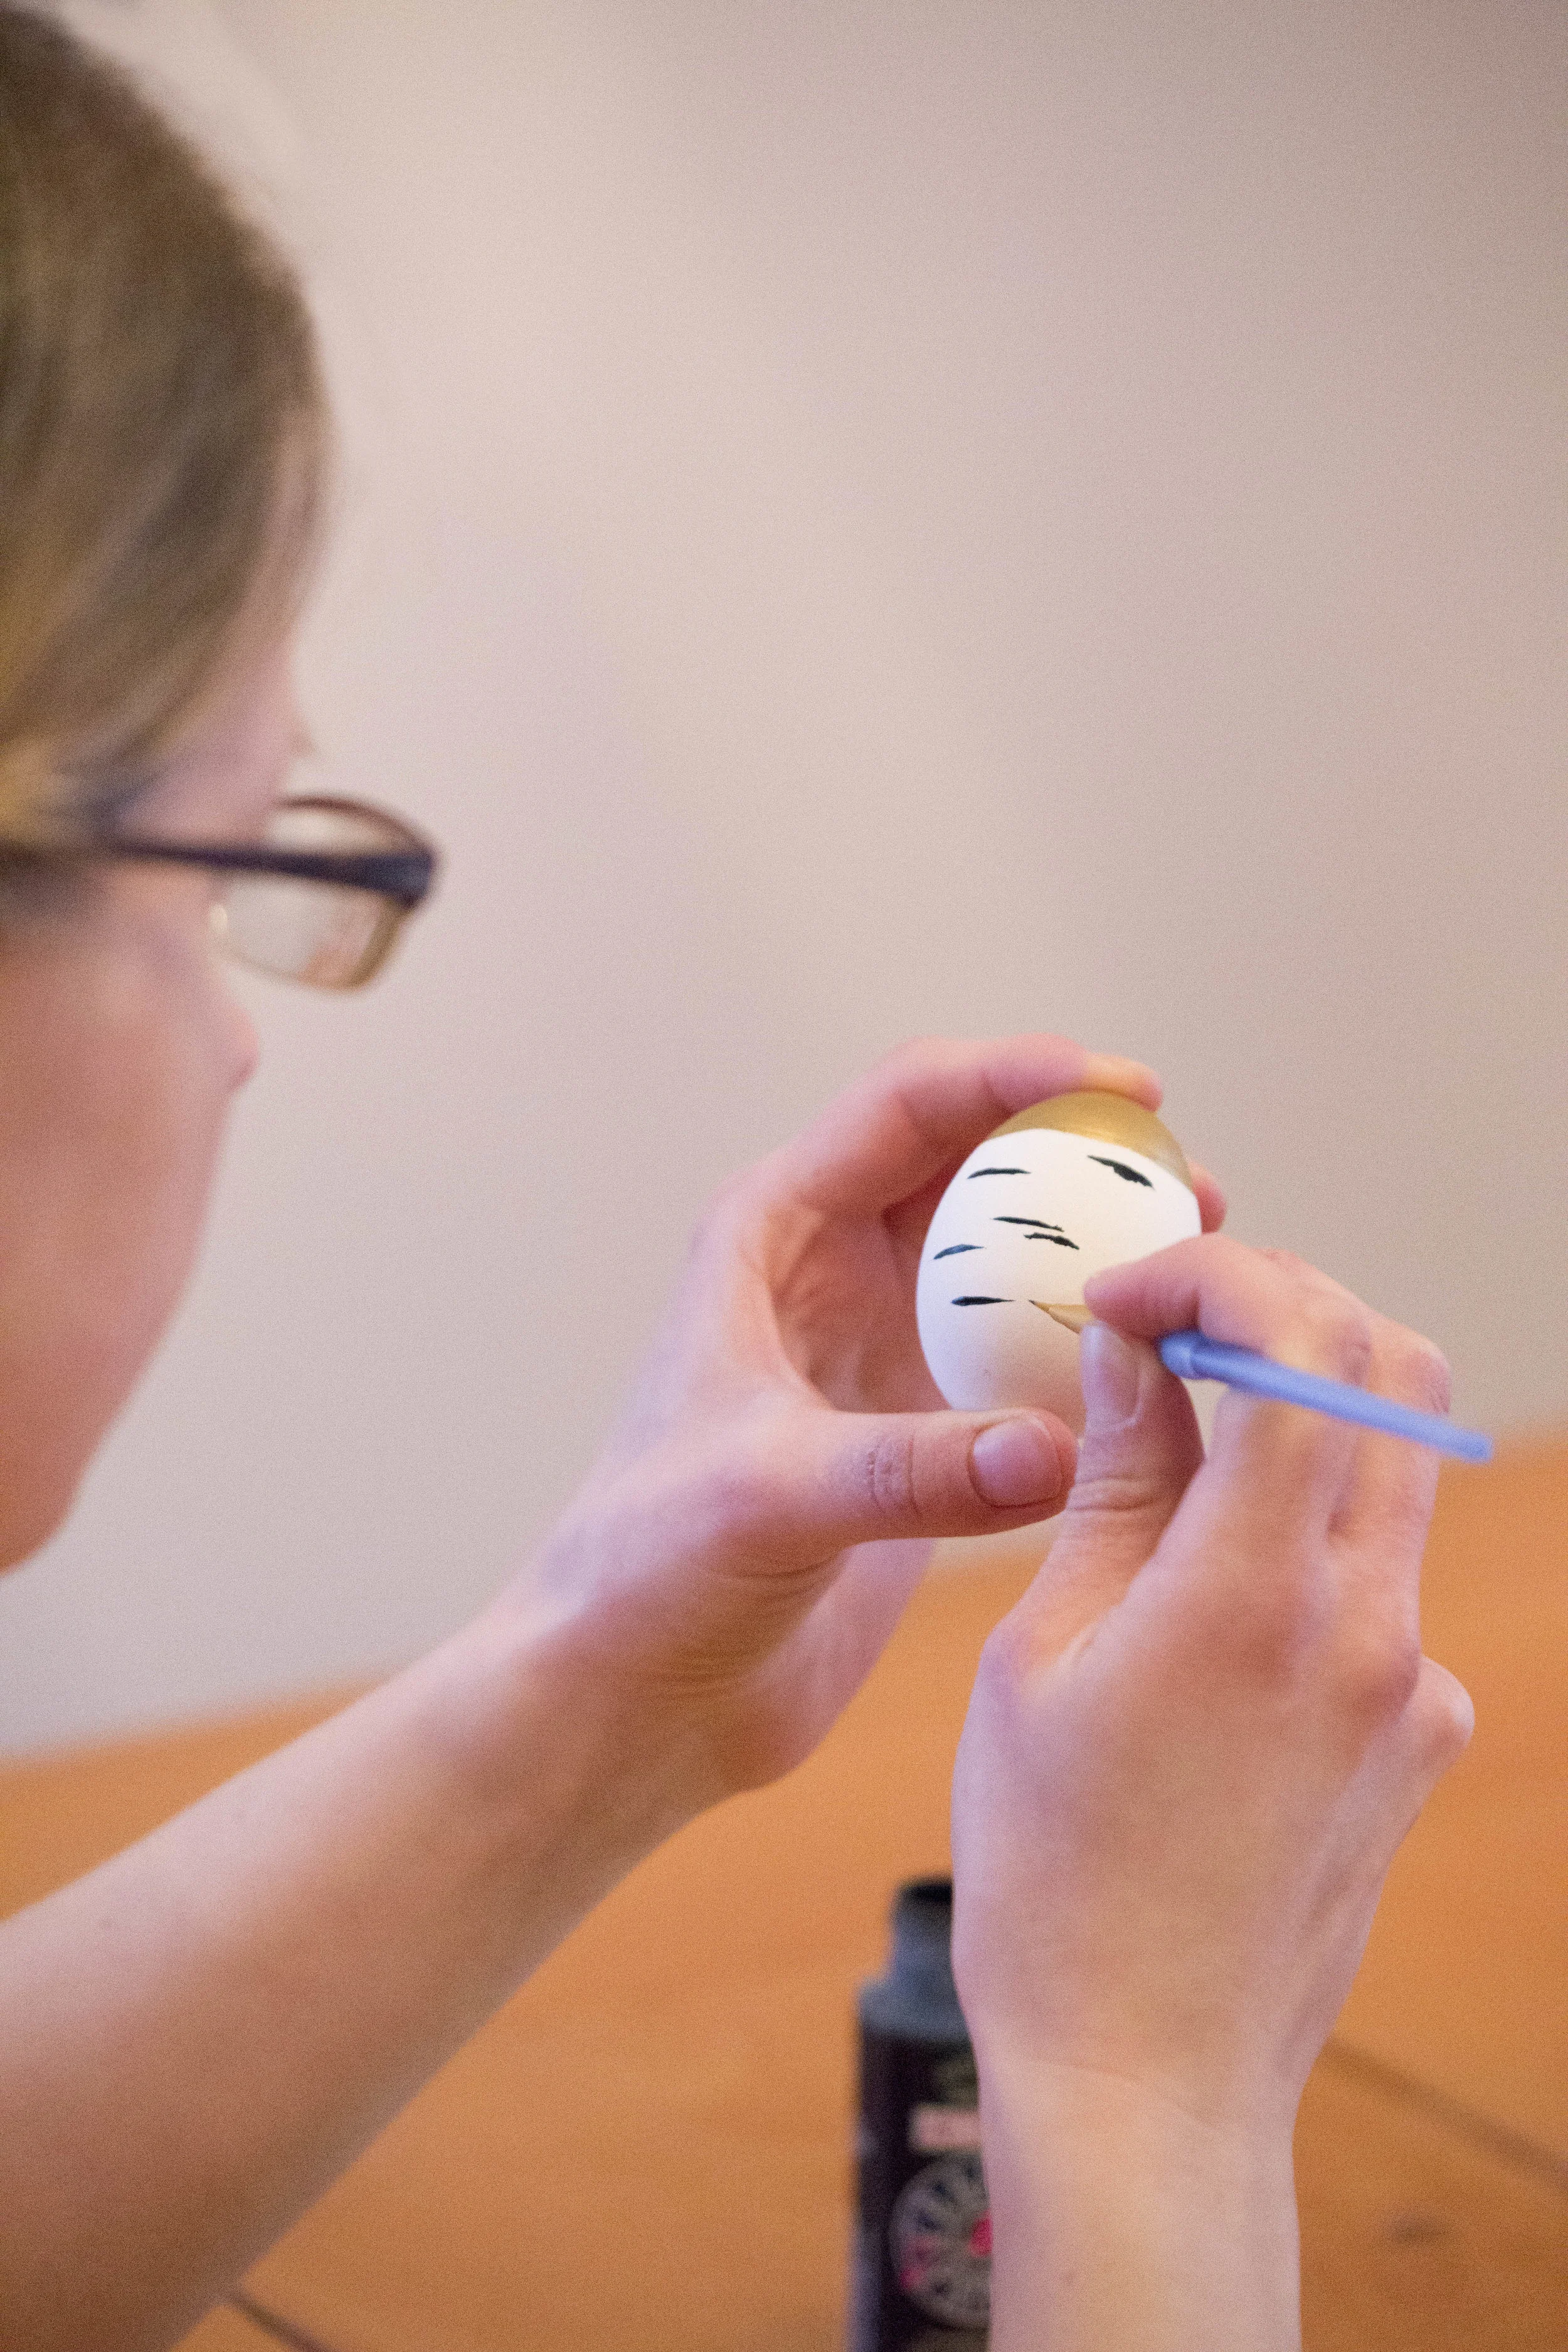
3. Once the gold-dip is dry, use a thin paint brush to paint horizontal black lines on the egg, all the way around. Vary the placement and thickness of the lines a bit to mimic the look of birch bark.
You may have to carefully hold the egg for a few minutes to let it air dry a bit before carefully setting it, gold top down, into the tinfoil ring to finish drying.

And that's it! While making them can be tedious with the drying time between steps, it's really quite easy. And in the event you don't feel like tackling this project yourself, I have a limited supply of painted Wooden Gold-Dipped Birch Eggs in my Etsy Shop!


As seen in the April, 2018 issue of Food Network Magazine!
KEEP UP WITH BIRCH LANDING HOME
| Etsy | Facebook | Instagram | Pinterest | Bloglovin' | Hometalk |