Tips for Selling on Facebook Marketplace

Lately I’ve been on a huge decluttering kick. I really want to pare down what we have in our home so we only have stuff we love, use, or is sentimental/important to us. Everything else can go. I’ve been taking my time with this process but it’s been really freeing to open up some space in our home. I try to throw away as little as possible and have been either donating items locally or selling them on Facebook Marketplace. Read on for my tips on how to sell your unwanted items on Facebook.
| Disclaimer: These are suggestions. Sell/buy on Facebook at your own risk. |

| Disclaimer: These are suggestions. Sell/buy on Facebook at your own risk. |

Tips for Selling on Facebook Marketplace

Clean Your Items Before Taking Photograpshs

Oh my gosh - this is the most obvious one that I feel like so many people neglect to do. They will post a picture of a table for example, still covered with magazines and cups - or the table will be filthy with dust. Kids’ shoes is another big example - make sure to take a little time and clean kids’ shoes. Get any stains/dirt you can off up the uppers and take an old toothbrush and clean the mud out of the treads. No one is interested in your dirty items - clean them up!

Consider the Backdrop of Your Photos

Don’t take photos somewhere messy or that looks unclean (like a basement or garage - unless you’re selling something that really belongs there like sports equipment or tools). For example, if you’re selling a nice piece of furniture, dress, kids’ toys, etc make sure the backdrop is somewhere clean and nice inside your home - don’t take a sketchy looking photo in a dirty/damp-looking basement because that implies the items weren’t well-cared for.

Price Your Items Well

Keep in mind this is a “yard sale.” And while things are typically priced a little higher than they would be at an actual yard sale, don’t be unreasonable. I usually price my items at the higher-end of reasonable, and then decrease my price periodically. If it doesn’t sell in a few weeks, it typically gets donated.

Be Safe

Be really wary with selling/buying on Facebook. Always check out the profile of who’s interested in the item to make sure it looks like it’s a real account with some history (it wasn’t just made in the last few months). Also never give out your phone number.. a lot of scammers will send you a message that says something like “I’m working, what’s your phone number so I can text you about this item? -or- Here’s my number, please text me.” Always decline to give out your number and say you only do correspondence through Facebook Messenger. It’s also a good idea to never accept electronic payments (Venmo, PayPal, etc) - stick to cash-only. (And if you’re a buyer never send an electronic payment as a “deposit to hold an item” - that’s a very common scam and a big red flag.)

And the biggest one - ALWAYS MEET IN A PUBLIC PLACE THAT ISN’T YOUR HOUSE. I strictly will only meet at local Police Department parking lots. Our surrounding town police departments all have designated parking spots under video surveillance that are meant for online sale exchanges. Several times someone has messaged me asking to meet for an item but instantly declined once they found out I only meet at the Police Station - that’s a huge red flag if they won’t meet at the Police Station and you want nothing to do with that person.. block them and move on.

Send a Reminder Message about an Hour Before the Meet

No-shows are the worst, and unfortunately fairly common. To help reduce no-shows, send a one-line reminder message about an hour before you’re supposed to meet the person.. something like “See you at XXX Police Department at 3PM.” Most of the time if they forgot or weren’t going to show up they will message you back and say “whoops, I won’t be there” and you’ll save yourself the trip. I also try really hard to line up my yard sale meets with other errands so I’m in that area anyways and it’s not as much of an inconvenience if I get stood up.

What Generally Sells Really Well:

  • Kids’ toys

  • Kids’ shoes & clothing (clothing typically sells better in big lots by size)

  • Sporting equipment

  • Tools

  • Furniture

  • Garden Items

I’ve found that some items in particular (like books and women’s clothing) do not generally sell well. Also make sure to try to sell items seasonally - don’t list snow pants for sale in April, they probably won’t sell. List them for sale in Fall when people are looking for them.

And always - make sure to follow Facebook guidelines on what is allowed for sale or not.

Good luck with your decluttering journey!

KEEP UP WITH BIRCH LANDING HOME
|  Etsy  |  Facebook  |  Instagram  |  Pinterest  |  Bloglovin'  |  Hometalk  |

Comment
Share

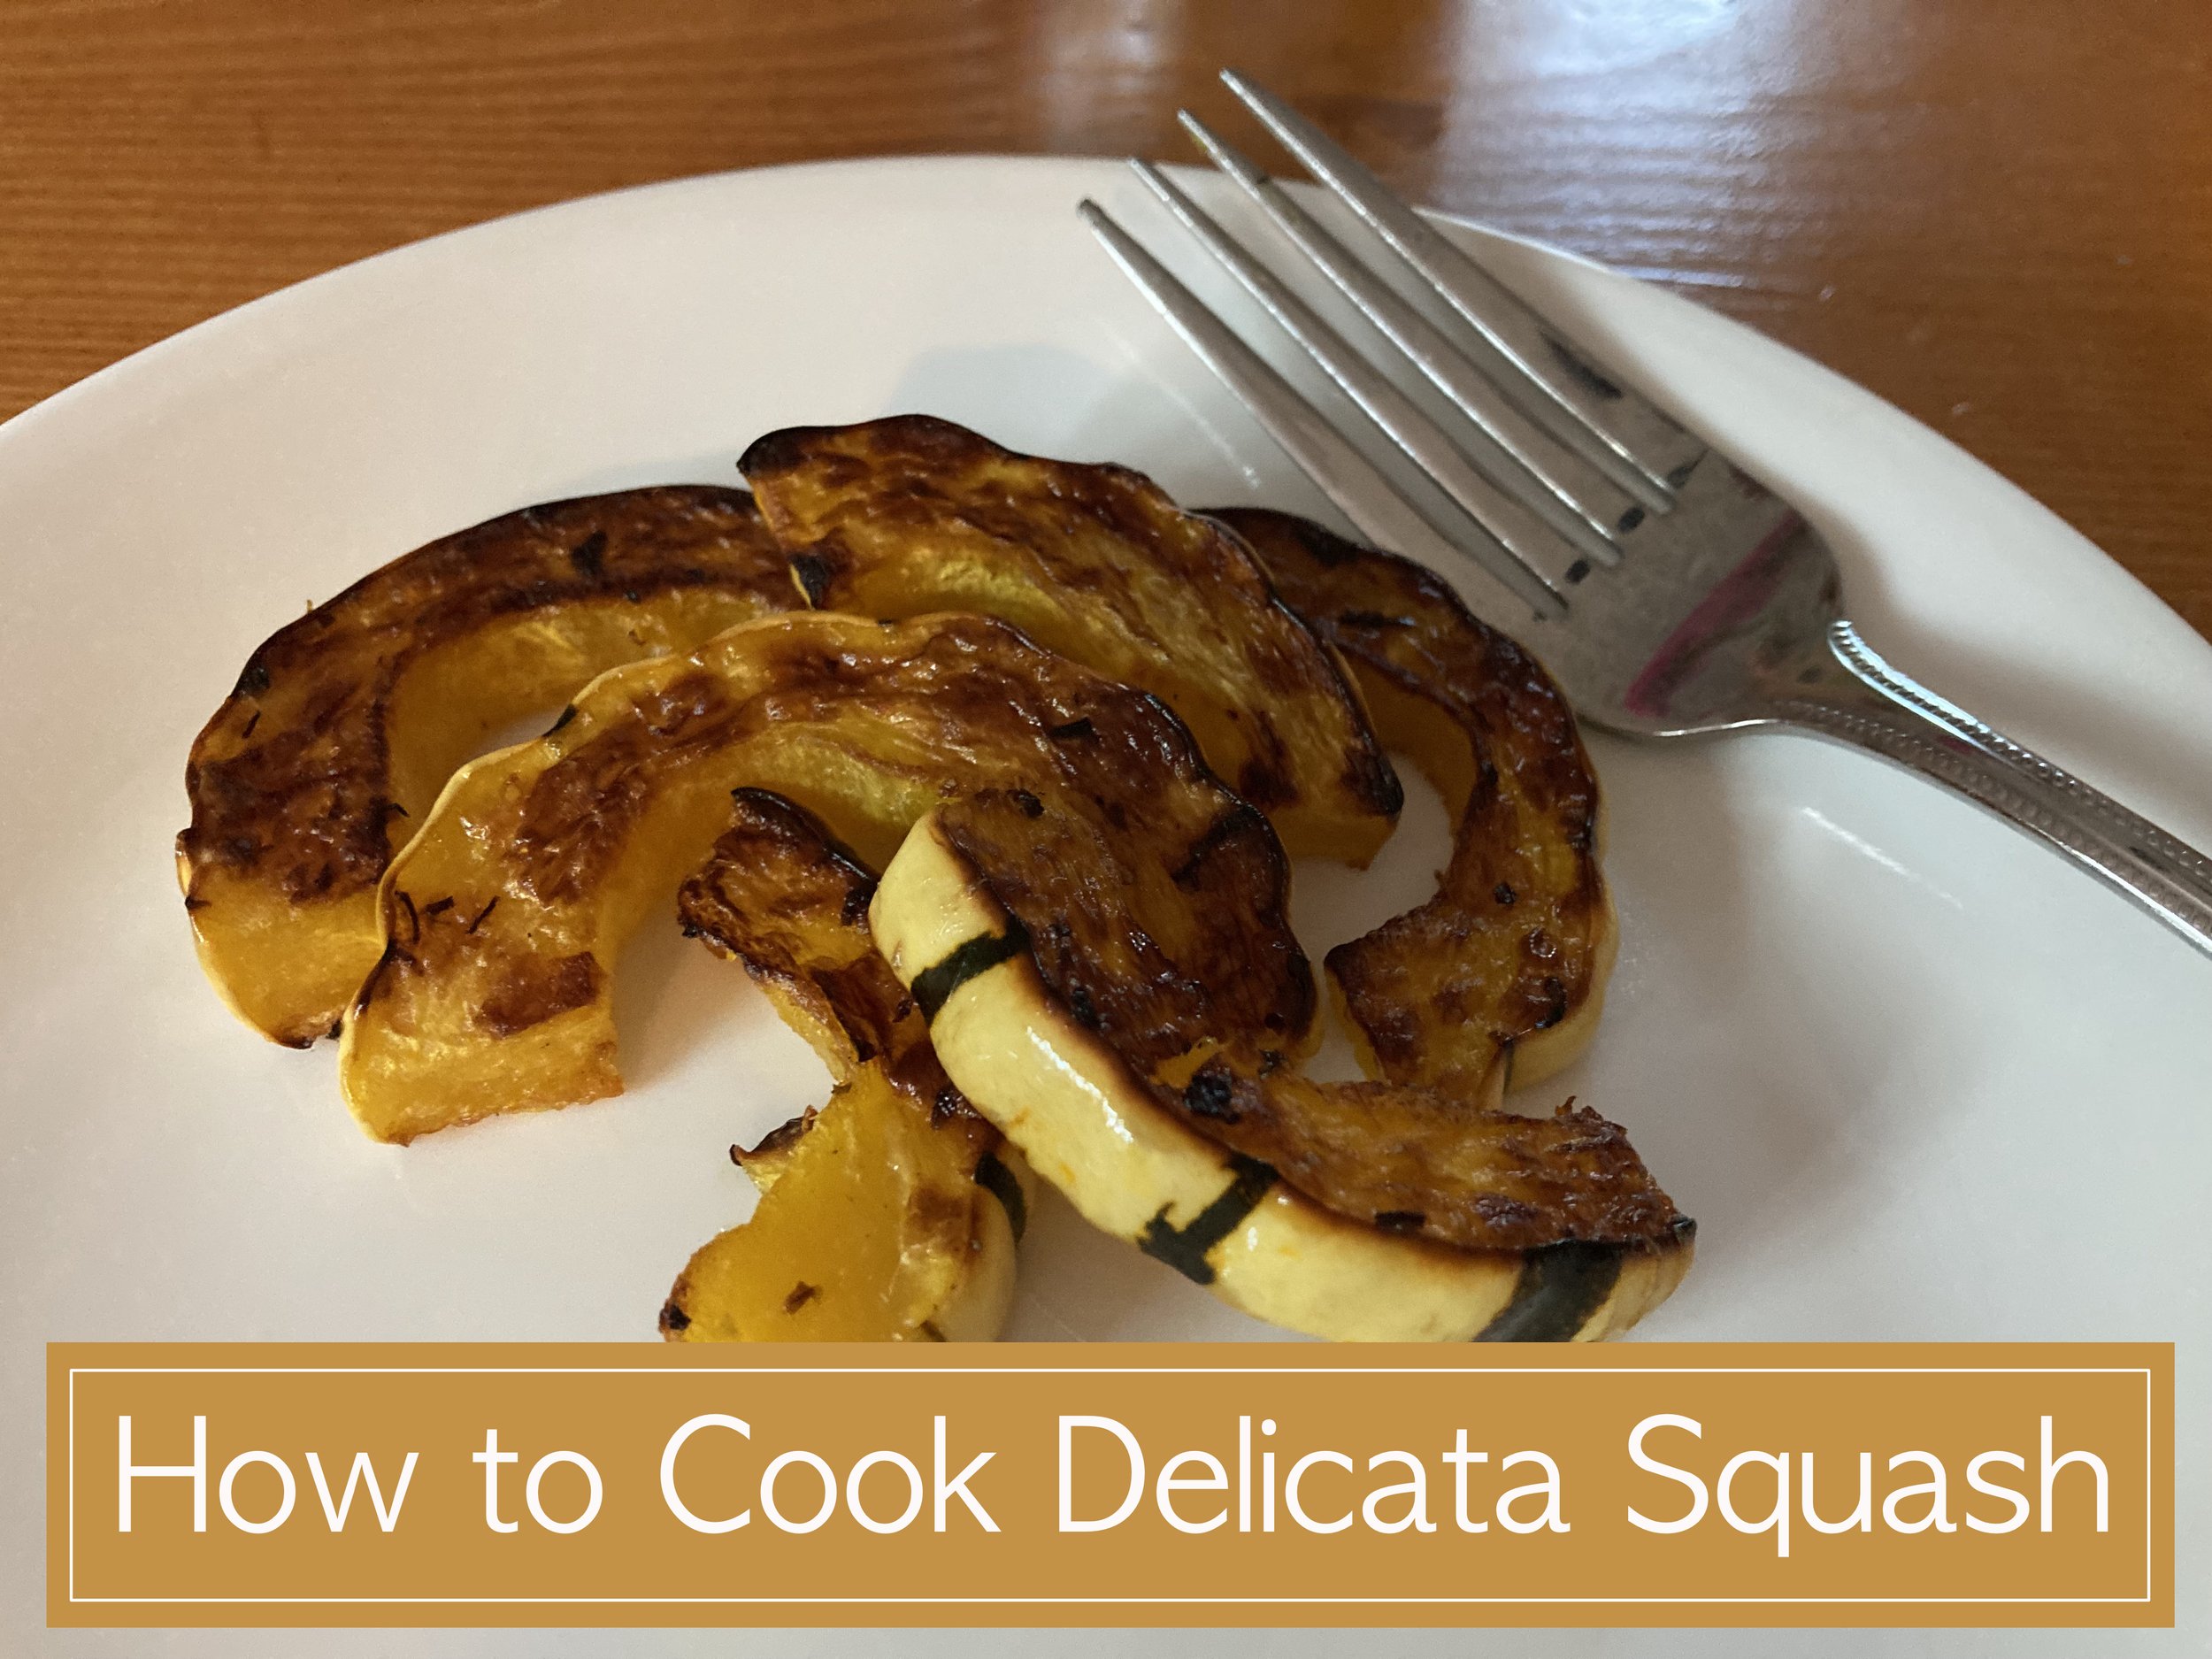
How to Cook Delicata Squash

After trying Delicata Squash for the first time it quickly became a favorite - super easy to cook, no peeling (that’s a huge plus!), and a delicious maple-y taste without adding any sweetener. This squash is still an unknown to many people so I thought I would share the easy how-to of roasting them. | This post contains affiliate links |

Ingredients:

  • delicata squash
  • olive oil
  • salt and pepper
  • kale flakes (optional)

How-To:

First make sure to wash and scrub the delicata squash thoroughly since you’ll be roasting and eating the skin as well - you don’t want any gritty dirty from the field left on!

Once it’s clean, chop each end off and cut open the long way. Next scoop out all the seeds and strings with a spoon until it’s nice and clean (like the photo on the right).

Next chop up the squash into whatever size pieces you prefer. We like cutting them into “quarter smiles” about half an inch thick.

Toss with some olive oil to coat and then sprinkle with salt and pepper to taste. We also love sprinkling on dehydrated kale flakes too - it adds a super subtle flavor and a tiny extra veggie boost too. (We add these kale flakes to most of our meals - love them!)

Now that it’s ready to cook, roast at 425 degrees in a preheated oven for approximately 20-30 mins, flipping halfway through. Cook until it’s soft and starts to caramelize and look burnt. Enjoy!

This squash has become a favorite in our house and I’m looking forward to trying to grow some in our garden next year.

KEEP UP WITH BIRCH LANDING HOME
|  Etsy  |  Facebook  |  Instagram  |  Pinterest  |  Bloglovin'  |  Hometalk  |

Comment
Share

Preparing to Homeschool

We are still waiting to hear the final plans for our local school district (whether that’s in-person learning only, remote learning only, or a choice/combination between the two) - but whatever our school district decides, we’ve already made our decision. Because of the unknowns regarding COVID and how things will play out this fall and winter, we have decided to keep our kids home either way. | This post contains affiliate links |

Preparing to Homeschool

We are waiting to hear what our district offers before we purchase a curriculum… if they offer remote learning then we will likely do that and supplement on our own with what we feel our kids need more help with or are interested in learning more about. But if they don’t offer remote learning then we will choose a curriculum and officially homeschool.

I recommend looking into what your state requires regarding homeschooling as every state is different. In New Hampshire we have a lot of flexibility and pretty basic requirements… I find this to be a blessing and curse - it’s great because it’s very open-ended… but it also makes it very difficult to choose what to do because, well - it’s very open-ended. Right now I’m in the process of looking into different curriculums (in fact I’m attending an “e-open house” online tomorrow for our 1st grader). A family member also offered to loan us some of their homeschool books from a few years ago which is very helpful. But since our kids are only going to be entering 1st grade and preschool I’m not too stressed about choosing the right curriculum for them… what they need to learn is very basic and could be taught on our own if needed without following a specific curriculum (which could be okay in our situation). Regardless, I have more homework to do in the coming weeks to decide how we’re going to handle everything.

Preparing to Homeschool

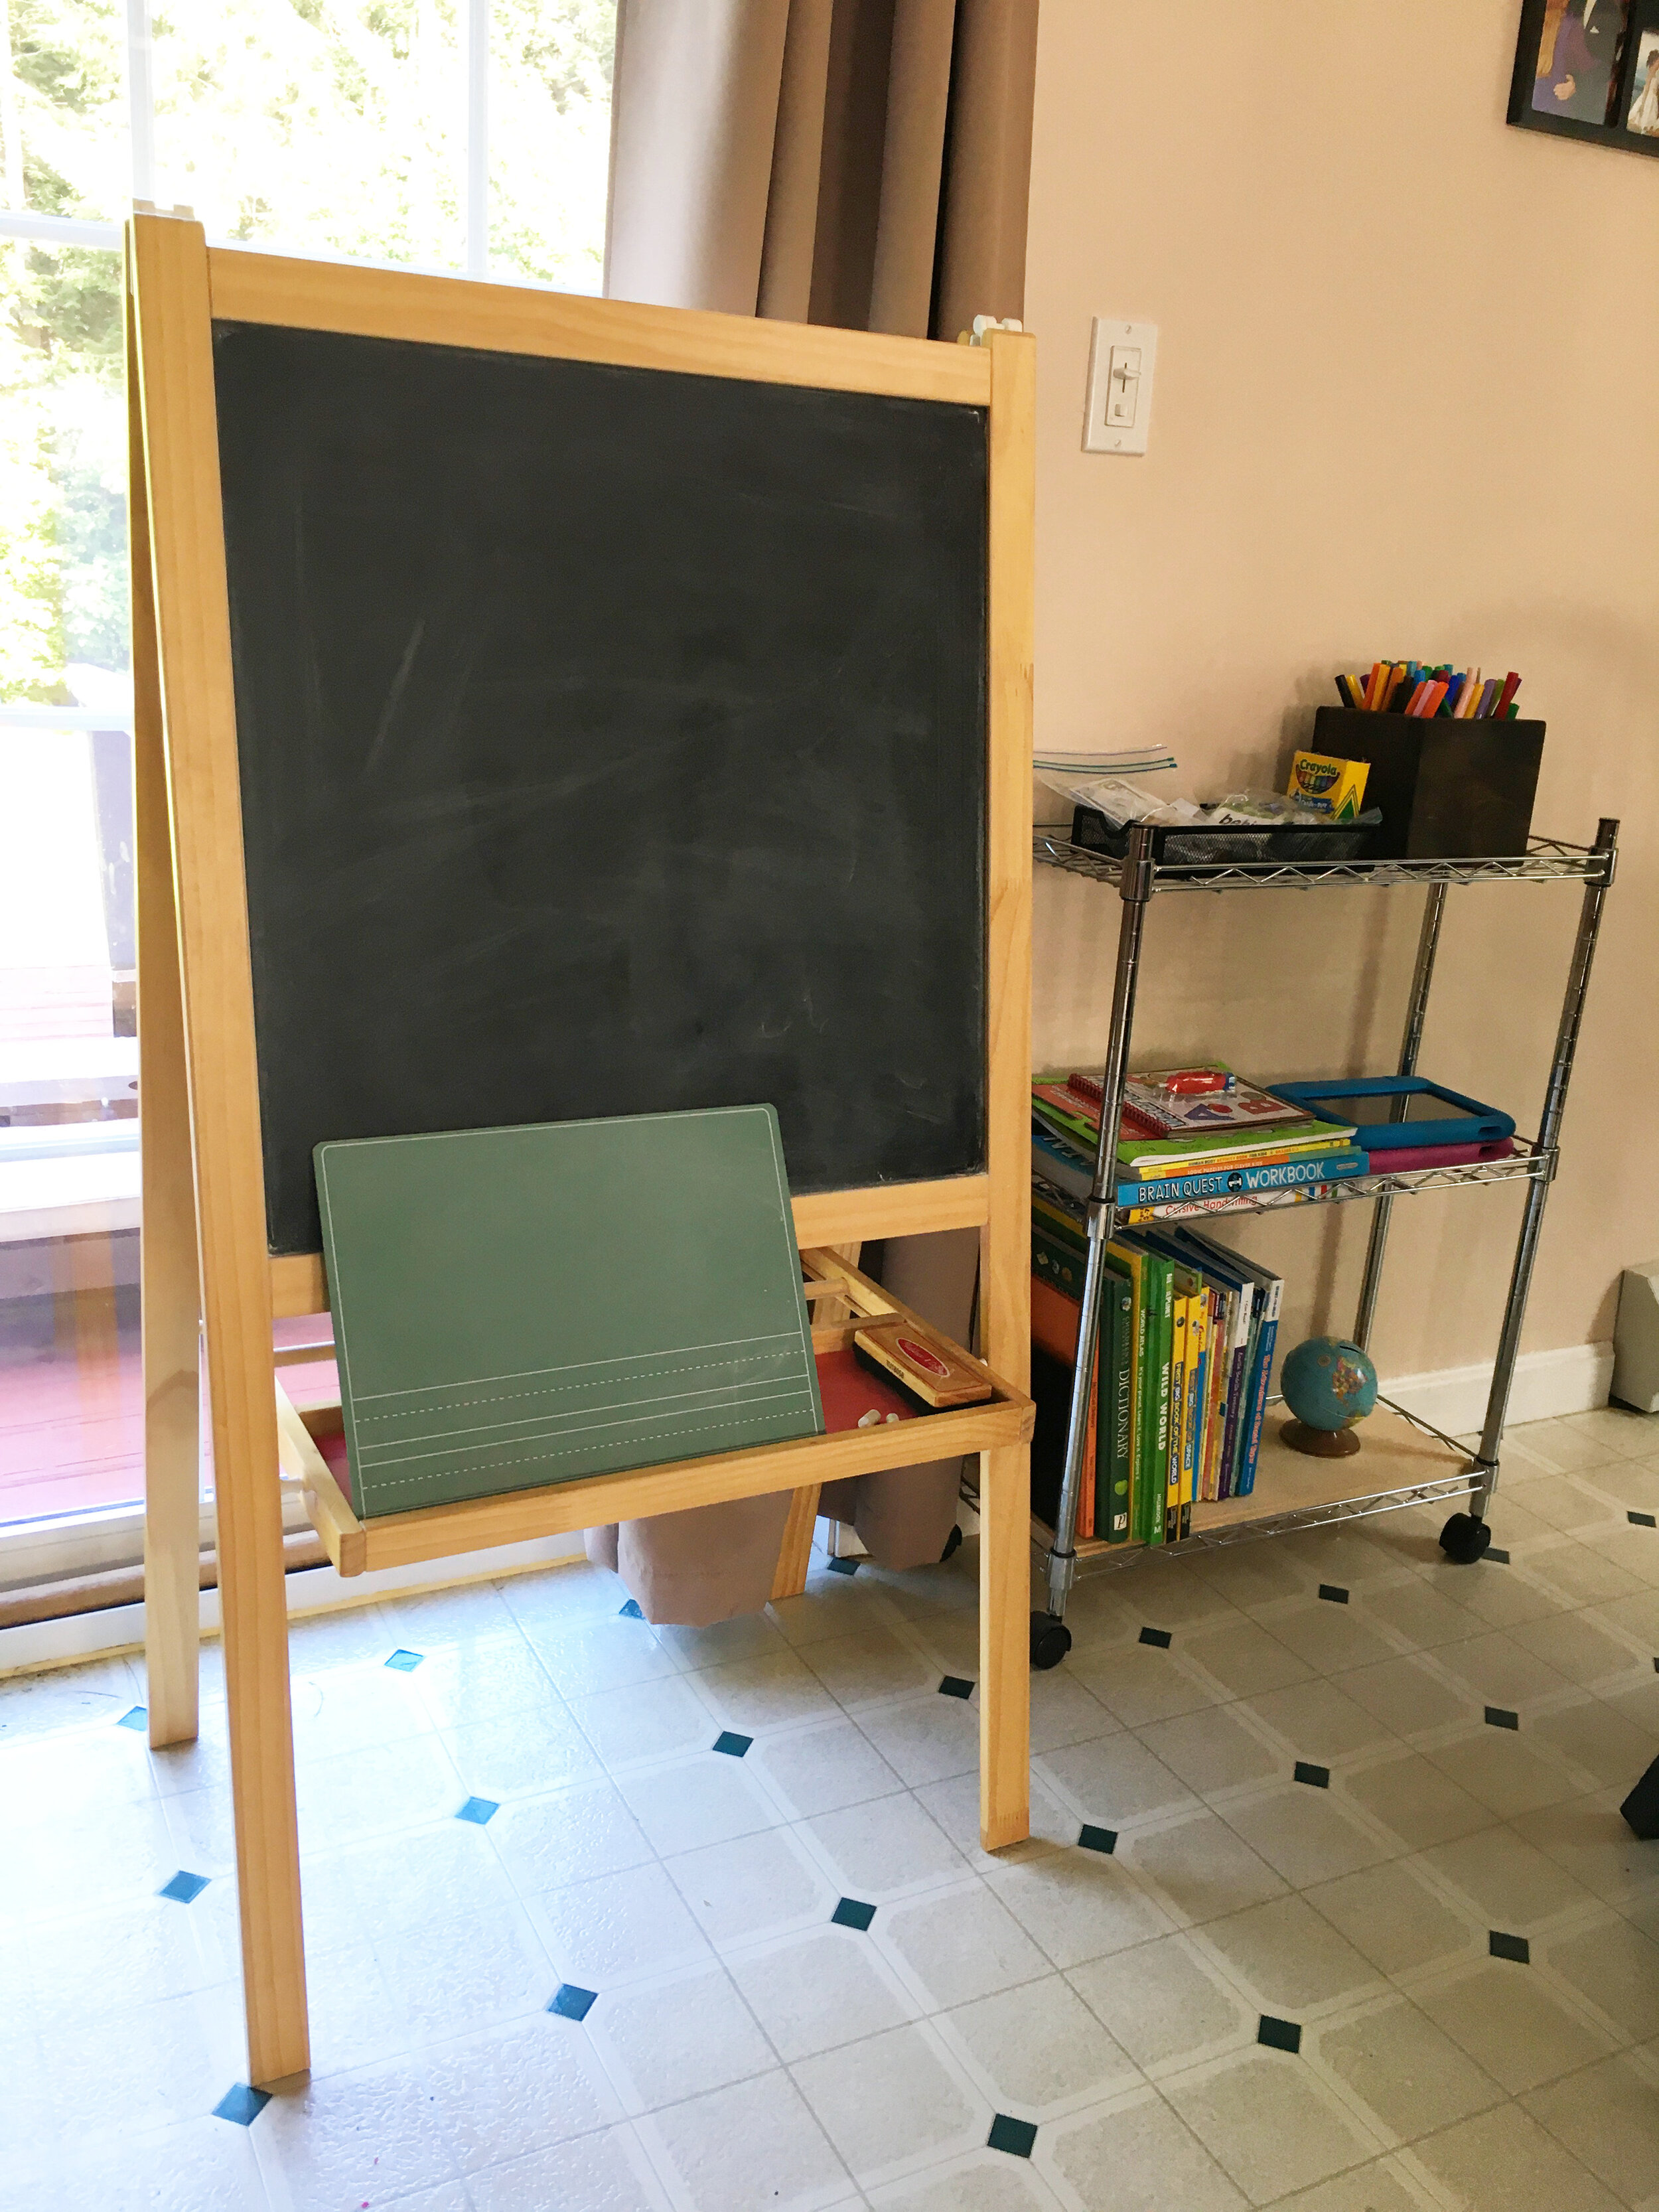
In the meantime though, I thought it would be a good idea to start setting up our homeschool area in our home. Ideally I would love to get our 1st grader her own desk and designated school space but we just don’t have the room. Instead we worked with what we had and decided to dedicate one corner of our dining room to be our homeschool area.

Preparing to Homeschool

We already had a chalkboard easel (similar one linked here), and decided to repurpose a small metal utility cart we already had as a shelving unit for our homeschool supplies. You could also use a 3-tier rolling cart for the same purpose.

Preparing to Homeschool

The cart will hold most of our supplies for homeschooling. On the top shelf we have play money, sight word cards, and some basic art supplies.
On the middle shelf we have a collection of workbooks for both kids as well as their Kids Kindle Fires. We love the Kindles for playing age-appropriate educational games for each kid, and reading books for our first grader.
On the bottom shelf we have a small collection of reference books for kids, some early reader books, and a small globe. I lined the bottom of this shelf with a wooden board so the books would stand up easier.

Preparing to Homeschool

We absolutely love the "First Big Book of.." series from National Geographic (Space is linked here). They have many in the series and our kids could spend all day looking through them.

Preparing to Homeschool

FIRST GRADER | Again, we still haven't picked a curriculum yet - but here are some supplemental workbooks we've gotten for our 1st grader so far: Cursive Handwriting (this isn't something that is typcially taught in first grade here but our daughter has expressed an interest in learning, so this is more of a fun bonus activity we plan on working on if she feels like it), Brain Quest Workbook: Grade 1 (we love this series of workbooks for fun, educational worksheets that cover a variety of subjects), Logic Puzzles for Clever Kids (age-appropriate logic puzzles are great for everyone to practice thinking and problem solving skills), and Human Body Activity Book for Kids (we chose this to cover some science and health basics).

Preparing to Homeschool

For our First Grader we also ordered this set of play money. Getting kids familiar with money is so important on many levels - not only will they need to learn our currency and what everything is called and what it's worth, money is also great for teaching math concepts of addition, subtraction, and equivalences.

Preparing to Homeschool

PRESCHOOL | For our preschooler, we're keeping it VERY basic. At this age I think it's best to mostly learn through playing, but we're going to work on reinforcing and learning some very basic things like letters, numbers, colors, and how to write her name. For her I purchased "My First School Book" from Learning Without Tears, which came very highly recommended to me. I also got a Melissa & Doug Water Wow ABC Book as a fun reusable resource to reinforce her ABCs.

Preparing to Homeschool

A computer is also SUPER important in most remote learning/homeschooling situations these days... I upgraded my Macbook last year so our daughter has been using my old Macbook for school but a basic Chromebook is a great option for most. It's also a very good idea to have a printer available to print out worksheets and activities that can't be done online.

You also may want to consider some "school decor" to help set the stage for them to help it feel more like school. A calendar center might be a good idea for younger grades, or some laminated maps. I picked up some maps for us that I will hang up soon - our daughter has been really interested in maps and learning about the world and I personally think it's important to teach them about the bigger world out there, especially since we're so closed off at home these coming months.

Not pictured is our Art Cart which we keep in our pantry - it's well stocked with art supplies, pencils, crayons, glue, rulers, coloring books, paper, and just about anything they might need for hands-on activities or creativity.

We still have a lot to figure out but now that we have our classroom space starting to shape up I feel like we're heading in the right direction. Whatever you decide for the coming school year, know you’re not alone - it’s definitely a difficult and stressful decision no matter what you choose. Best of luck and stay healthy!


KEEP UP WITH BIRCH LANDING HOME
|  Etsy  |  Facebook  |  Instagram  |  Pinterest  |  Bloglovin'  |  Hometalk  |
Comment
Share

Sheet and Towel Stripping How-To

While home for Quarantine, I’ve seen a lot of people posting about “stripping” their towels and bedsheets and showing disgusting After photos of dirty water - I was intrigued! Stripping the linens is supposed to get rid of any kind of build-up on them (whether that’s laundry detergent, body oil/sweat, hard water mineral deposits, etc). So I decided to give it a try myself and share the easy process - and let me tell you, it was a disgusting and oddly satisfying Quarantine Project. | This post contains affiliate links |

Sheet and Towel Stripping How-To

Apparently one should consider stripping their linens when they aren’t as absorbent as they used to be, they look or feel dingy, or they start to smell musty.

Supplies:

Everyone seems to be using more or less the same supplies, which are:

  • 1/4 cup Borax Powder
  • 1/4 cup washing soda (or 1/4 cup baking soda if you're in a pinch and don't have washing soda.. I used baking soda)
  • 1/2 cup laundry detergent

How-To:

Fill a bath tub with hot water and dissolve the Borax, washing soda or baking soda, and laundry detergent in it. Next add your towels and sheets (make sure to only do similar colors together… in some cases it can cause some colors to run. We only have done our white and light colored linens so far.)

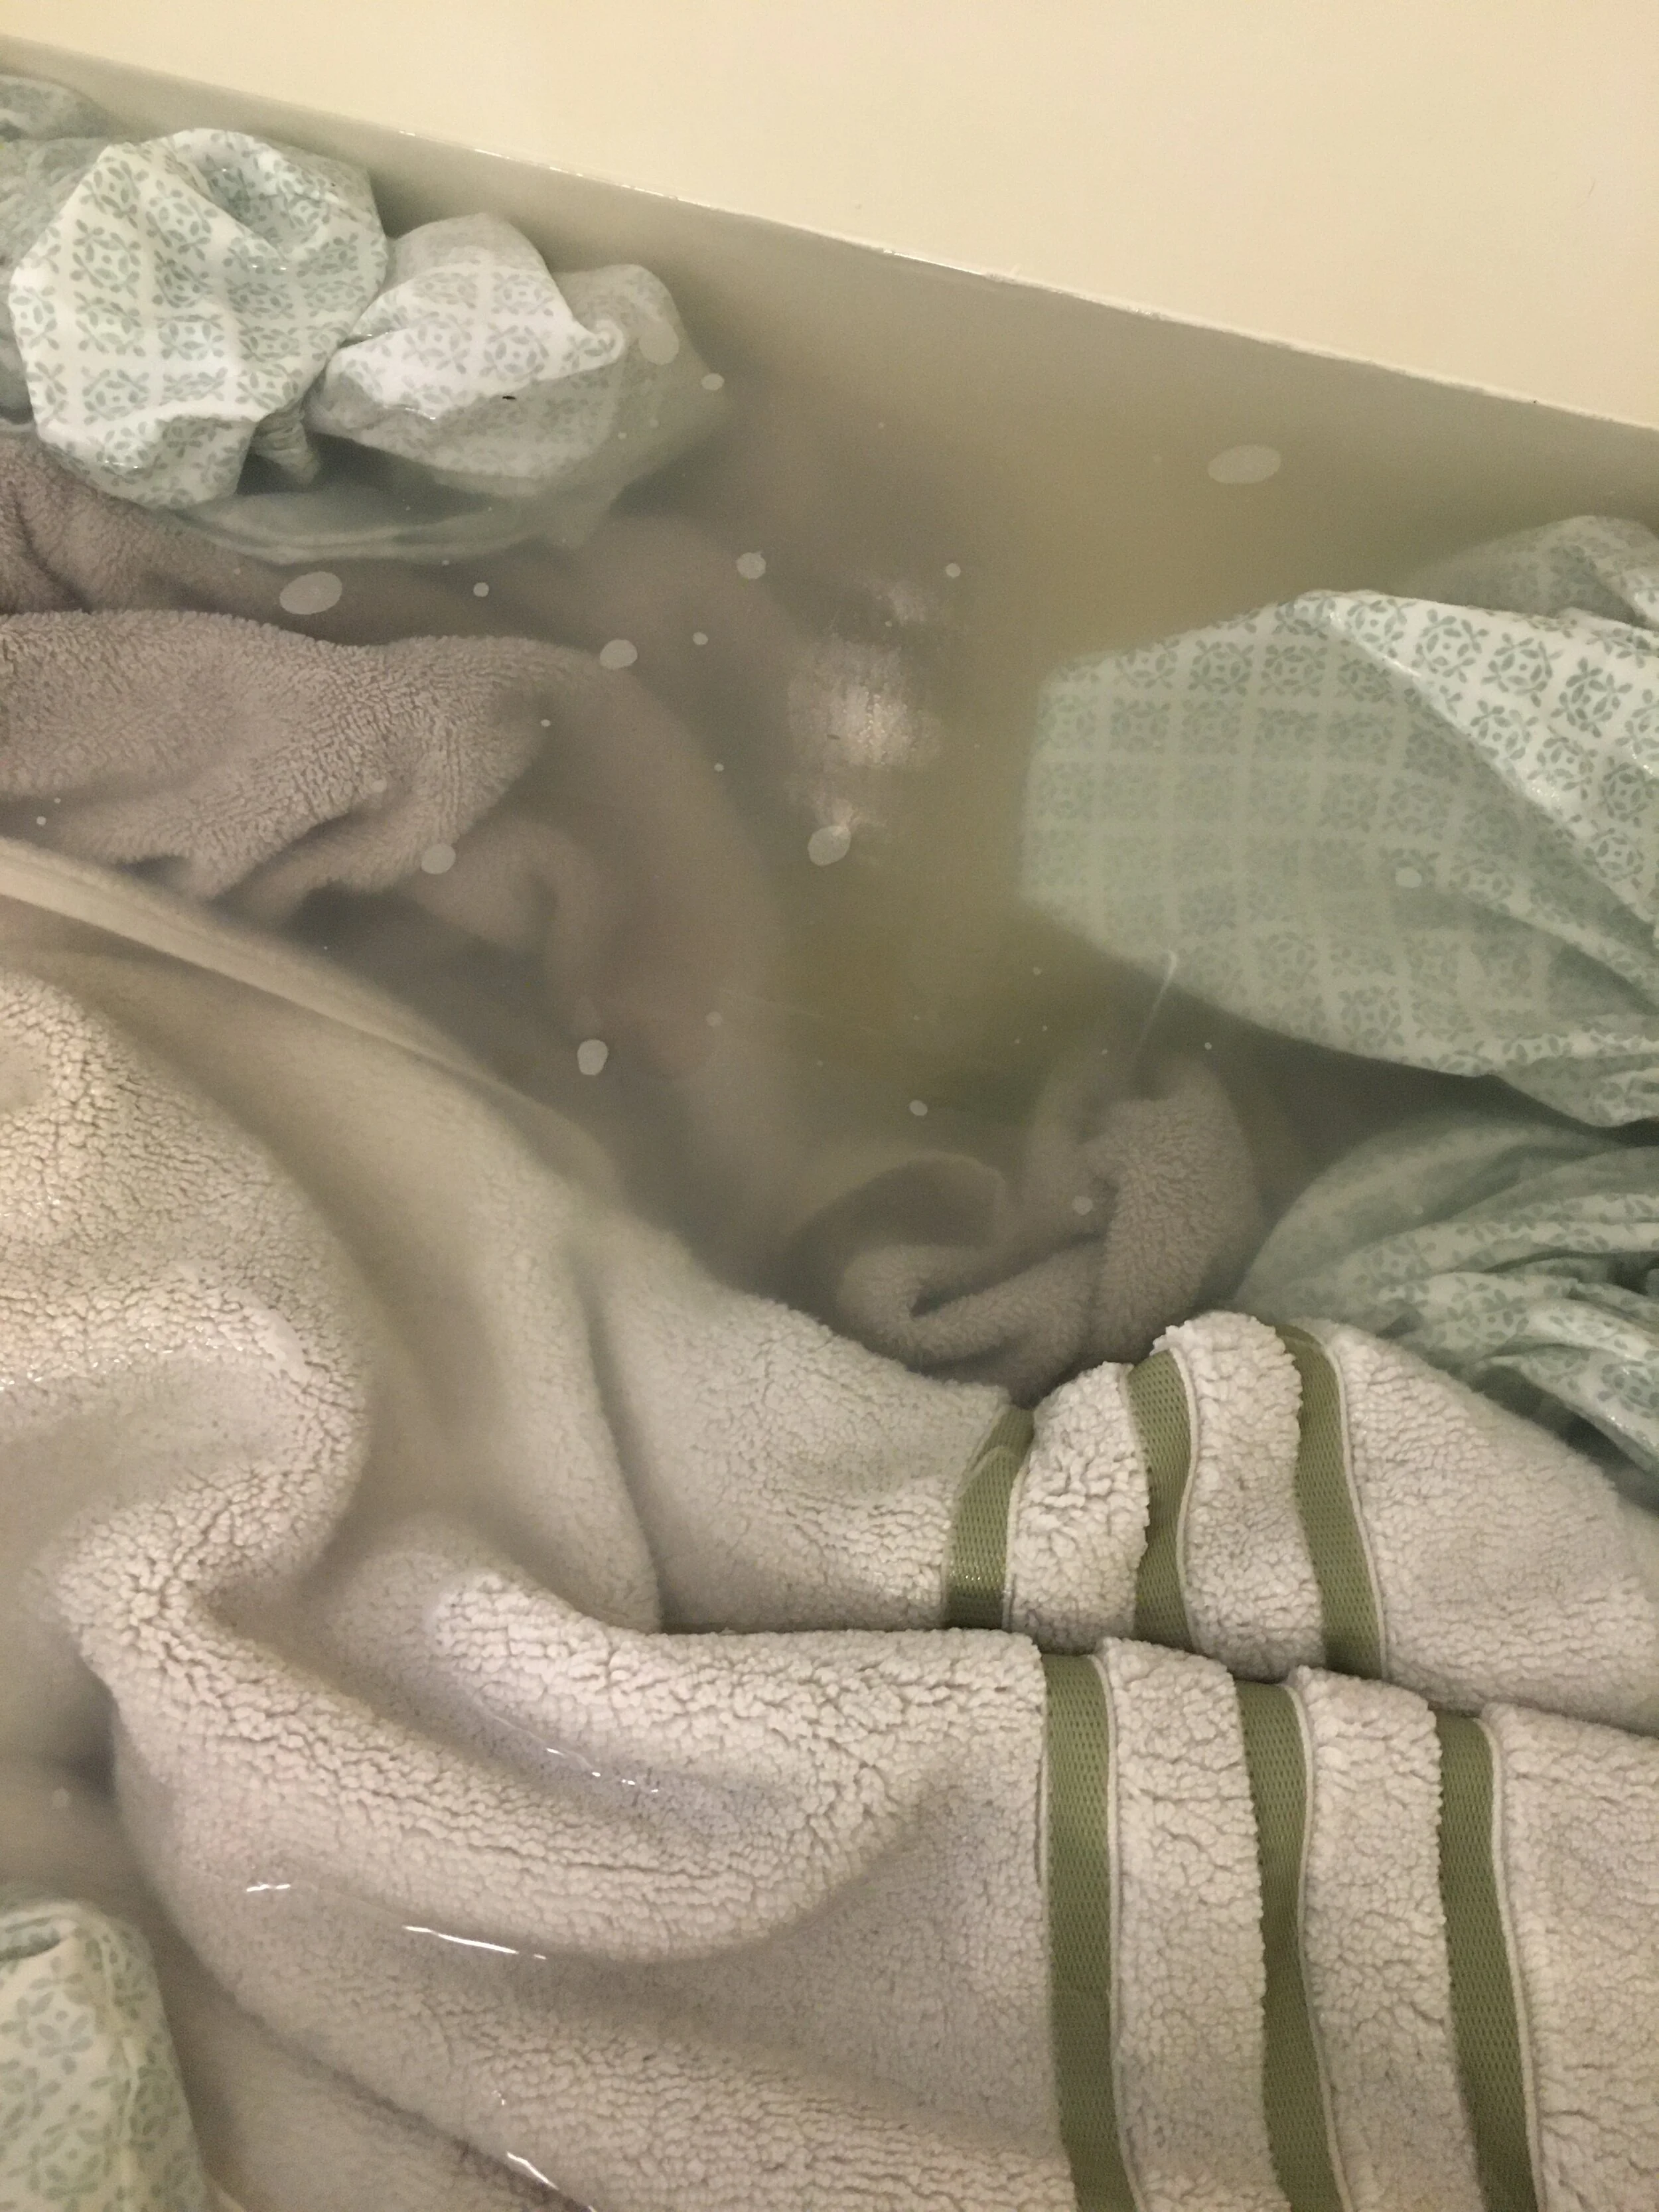
Then leave them to soak for the next four or so hours, stirring occasionally. You should see the water turn from clear to a gross yellowish-dirty color.

Once the water cools, drain the tub and squeeze the water from the linens, rinsing them with some fresh water. Then put in the washing machine (with no detergent - your items will already have absorbed detergent and Borax and you want to rinse everything out, not add more soap at this point), and run through the “wash” cycle to rinse everything out thoroughly.

After that you can put them in the dryer, or re-run the washing machine with detergent like you normally would to give them a fresh wash before drying.

Draining the dirty water after stripping. Ew.

Draining the dirty water after stripping. Ew.

Our Personal Results:

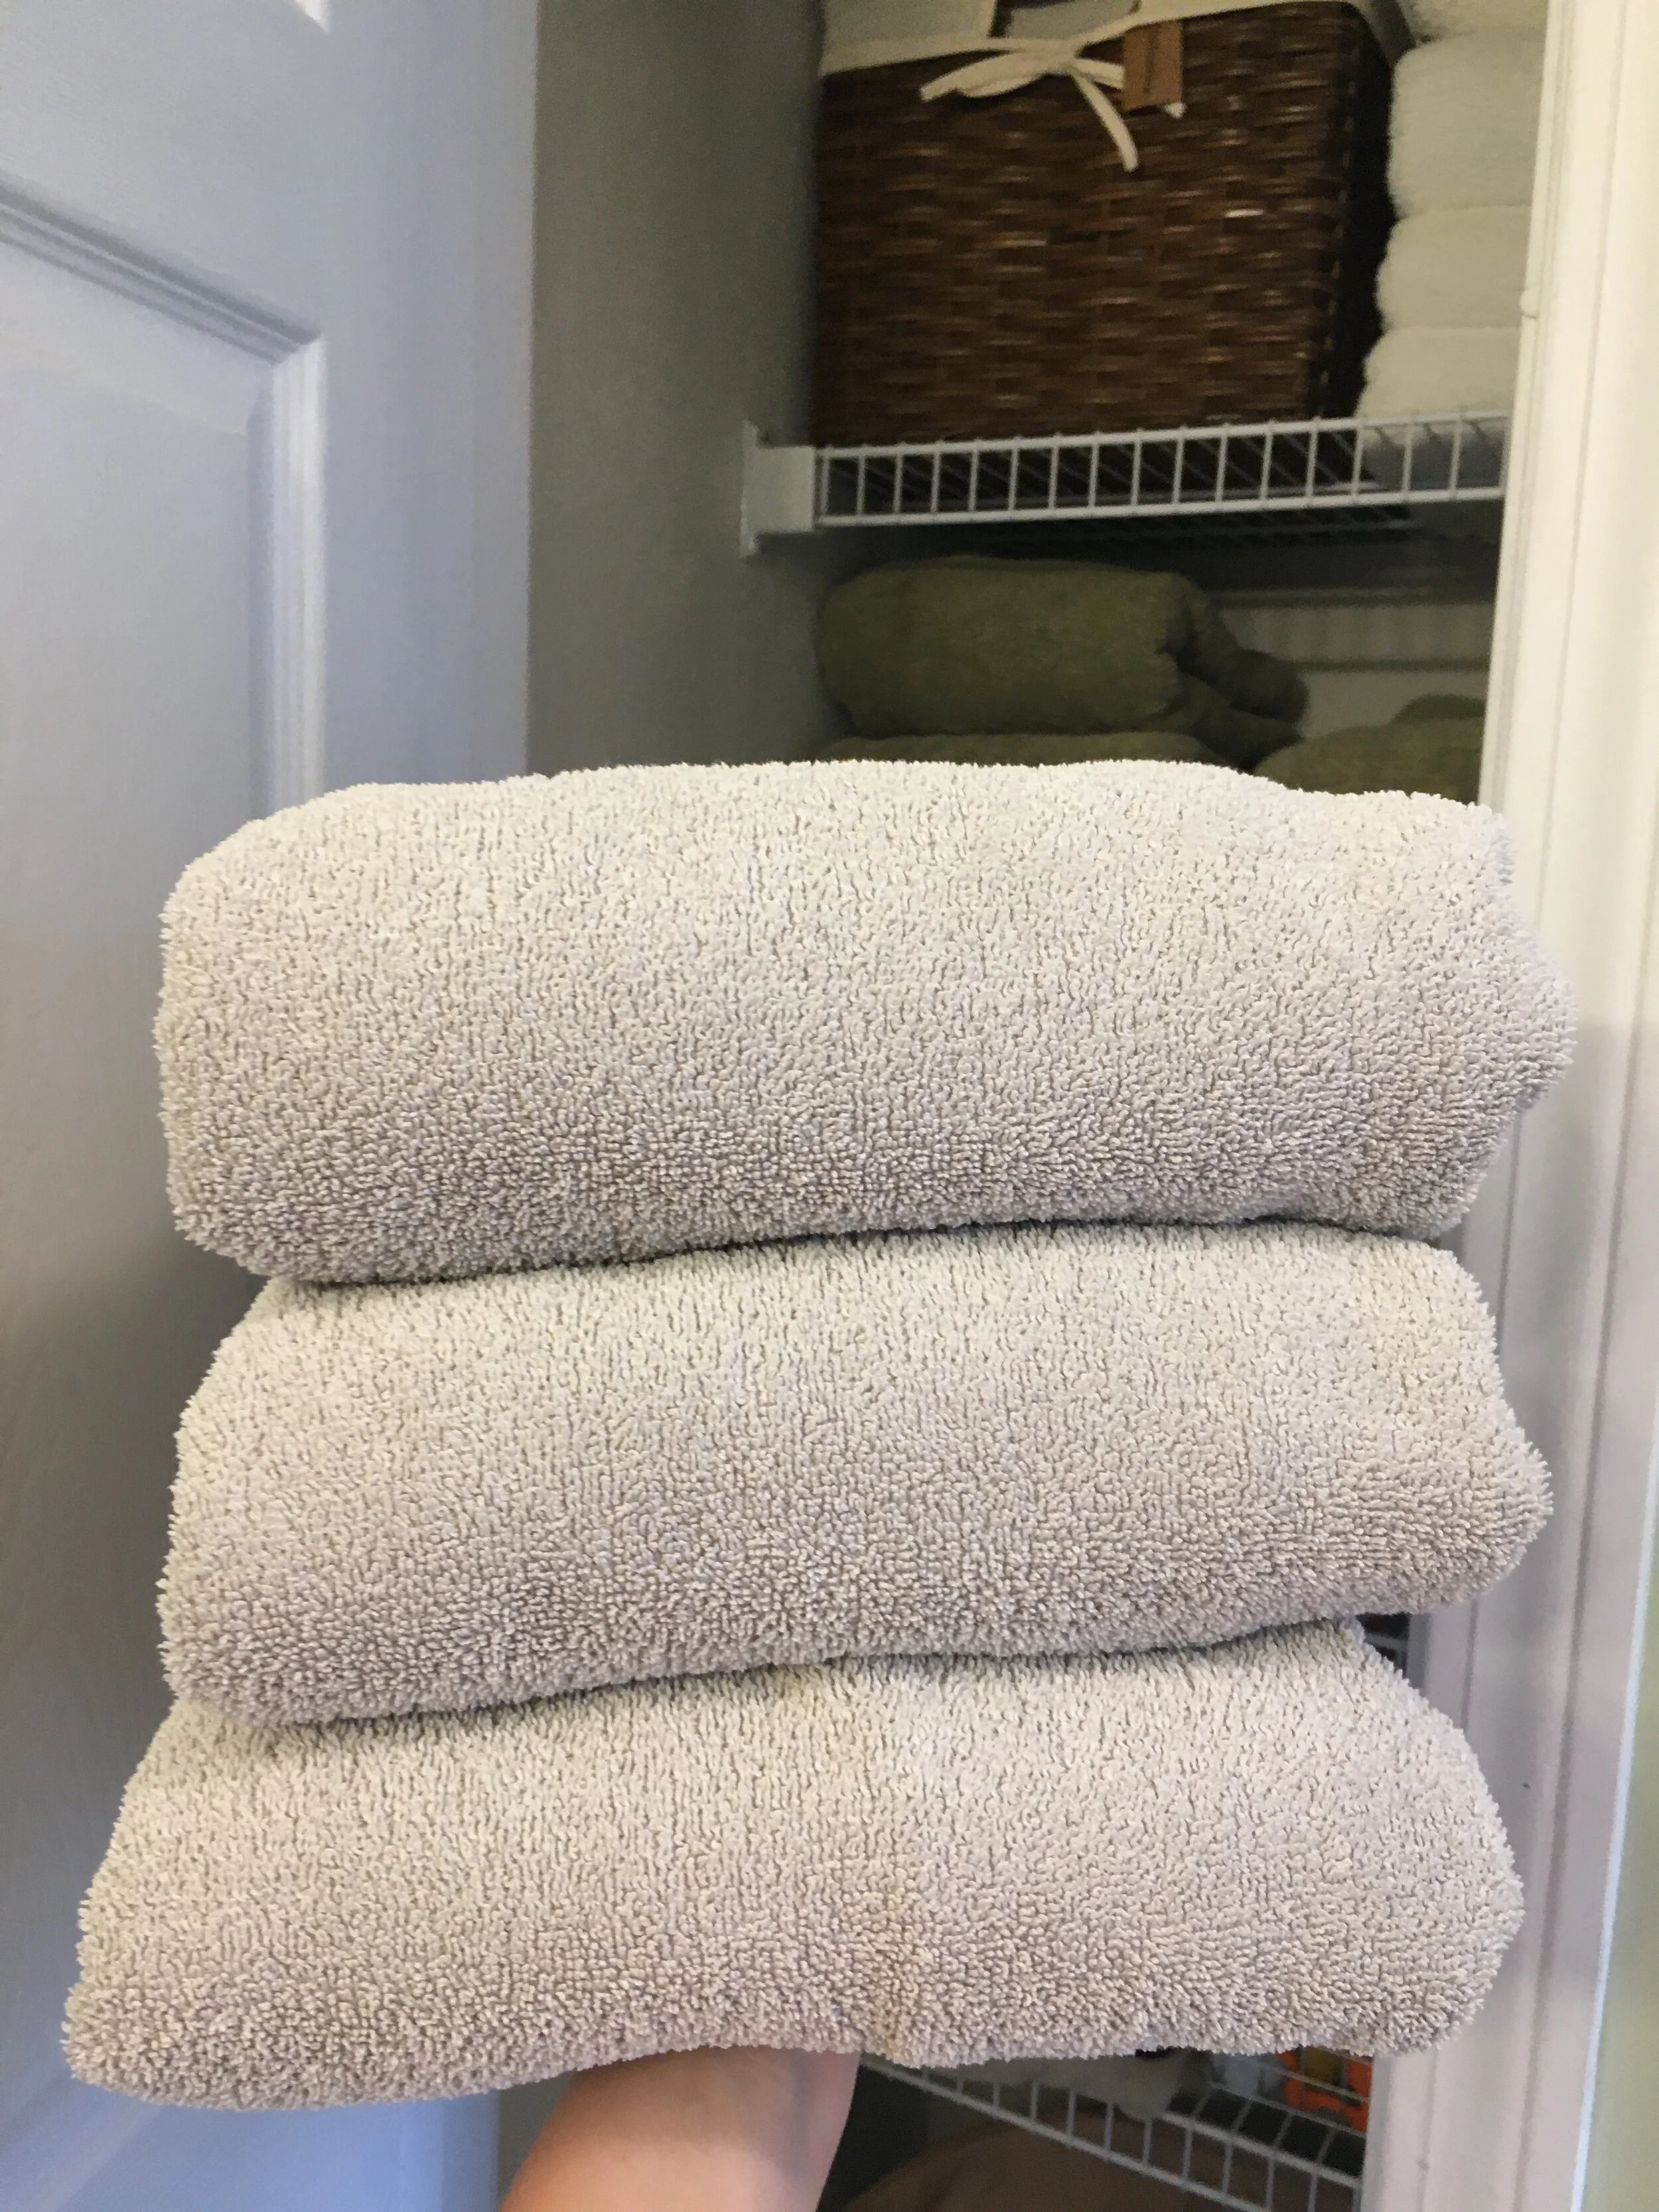
So it wasn’t the magical night-and-day change across the board that I was expecting, visually anyways - and some items definitely had better results than others. OVERALL - Our linens definitely felt cleaner, and looked a little brighter - however, our old white towels (which have turned very off-white over the years), did not magically turn luminous white again like I was hoping. But again, that’s probably too much to expect as they are 10+ years old and have had many years to get discolored in the regular laundry. Nevertheless, just SEEING the dirty water after we stripped the linens makes me feel a lot better about doing this process - visually not everything looks perfectly white again, but I KNOW it’s cleaner after removing all that invisible gunk and that makes me feel a lot better.

Okay, so the old white towels are still off-white, but I know they’re cleaner than before after seeing the dirty water after the stripping process.

Okay, so the old white towels are still off-white, but I know they’re cleaner than before after seeing the dirty water after the stripping process.

It’s my understanding that you can repeat this process as needed, and I can see myself doing this maybe up to 2-4x per year going forward to try to keep build-up at bay.

Disclaimer: Try at your own risk. In some cases this process may make colored fabrics run and may not be suitable for all fabrics.

Want to see another satisfyingly gross example…?

Here’s a photo my sister sent me after she did her sheets - wow!

Here’s a photo my sister sent me after she did her sheets - wow!


KEEP UP WITH BIRCH LANDING HOME
|  Etsy  |  Facebook  |  Instagram  |  Pinterest  |  Bloglovin'  |  Hometalk  |

DIY Ribbon and Trophy Display

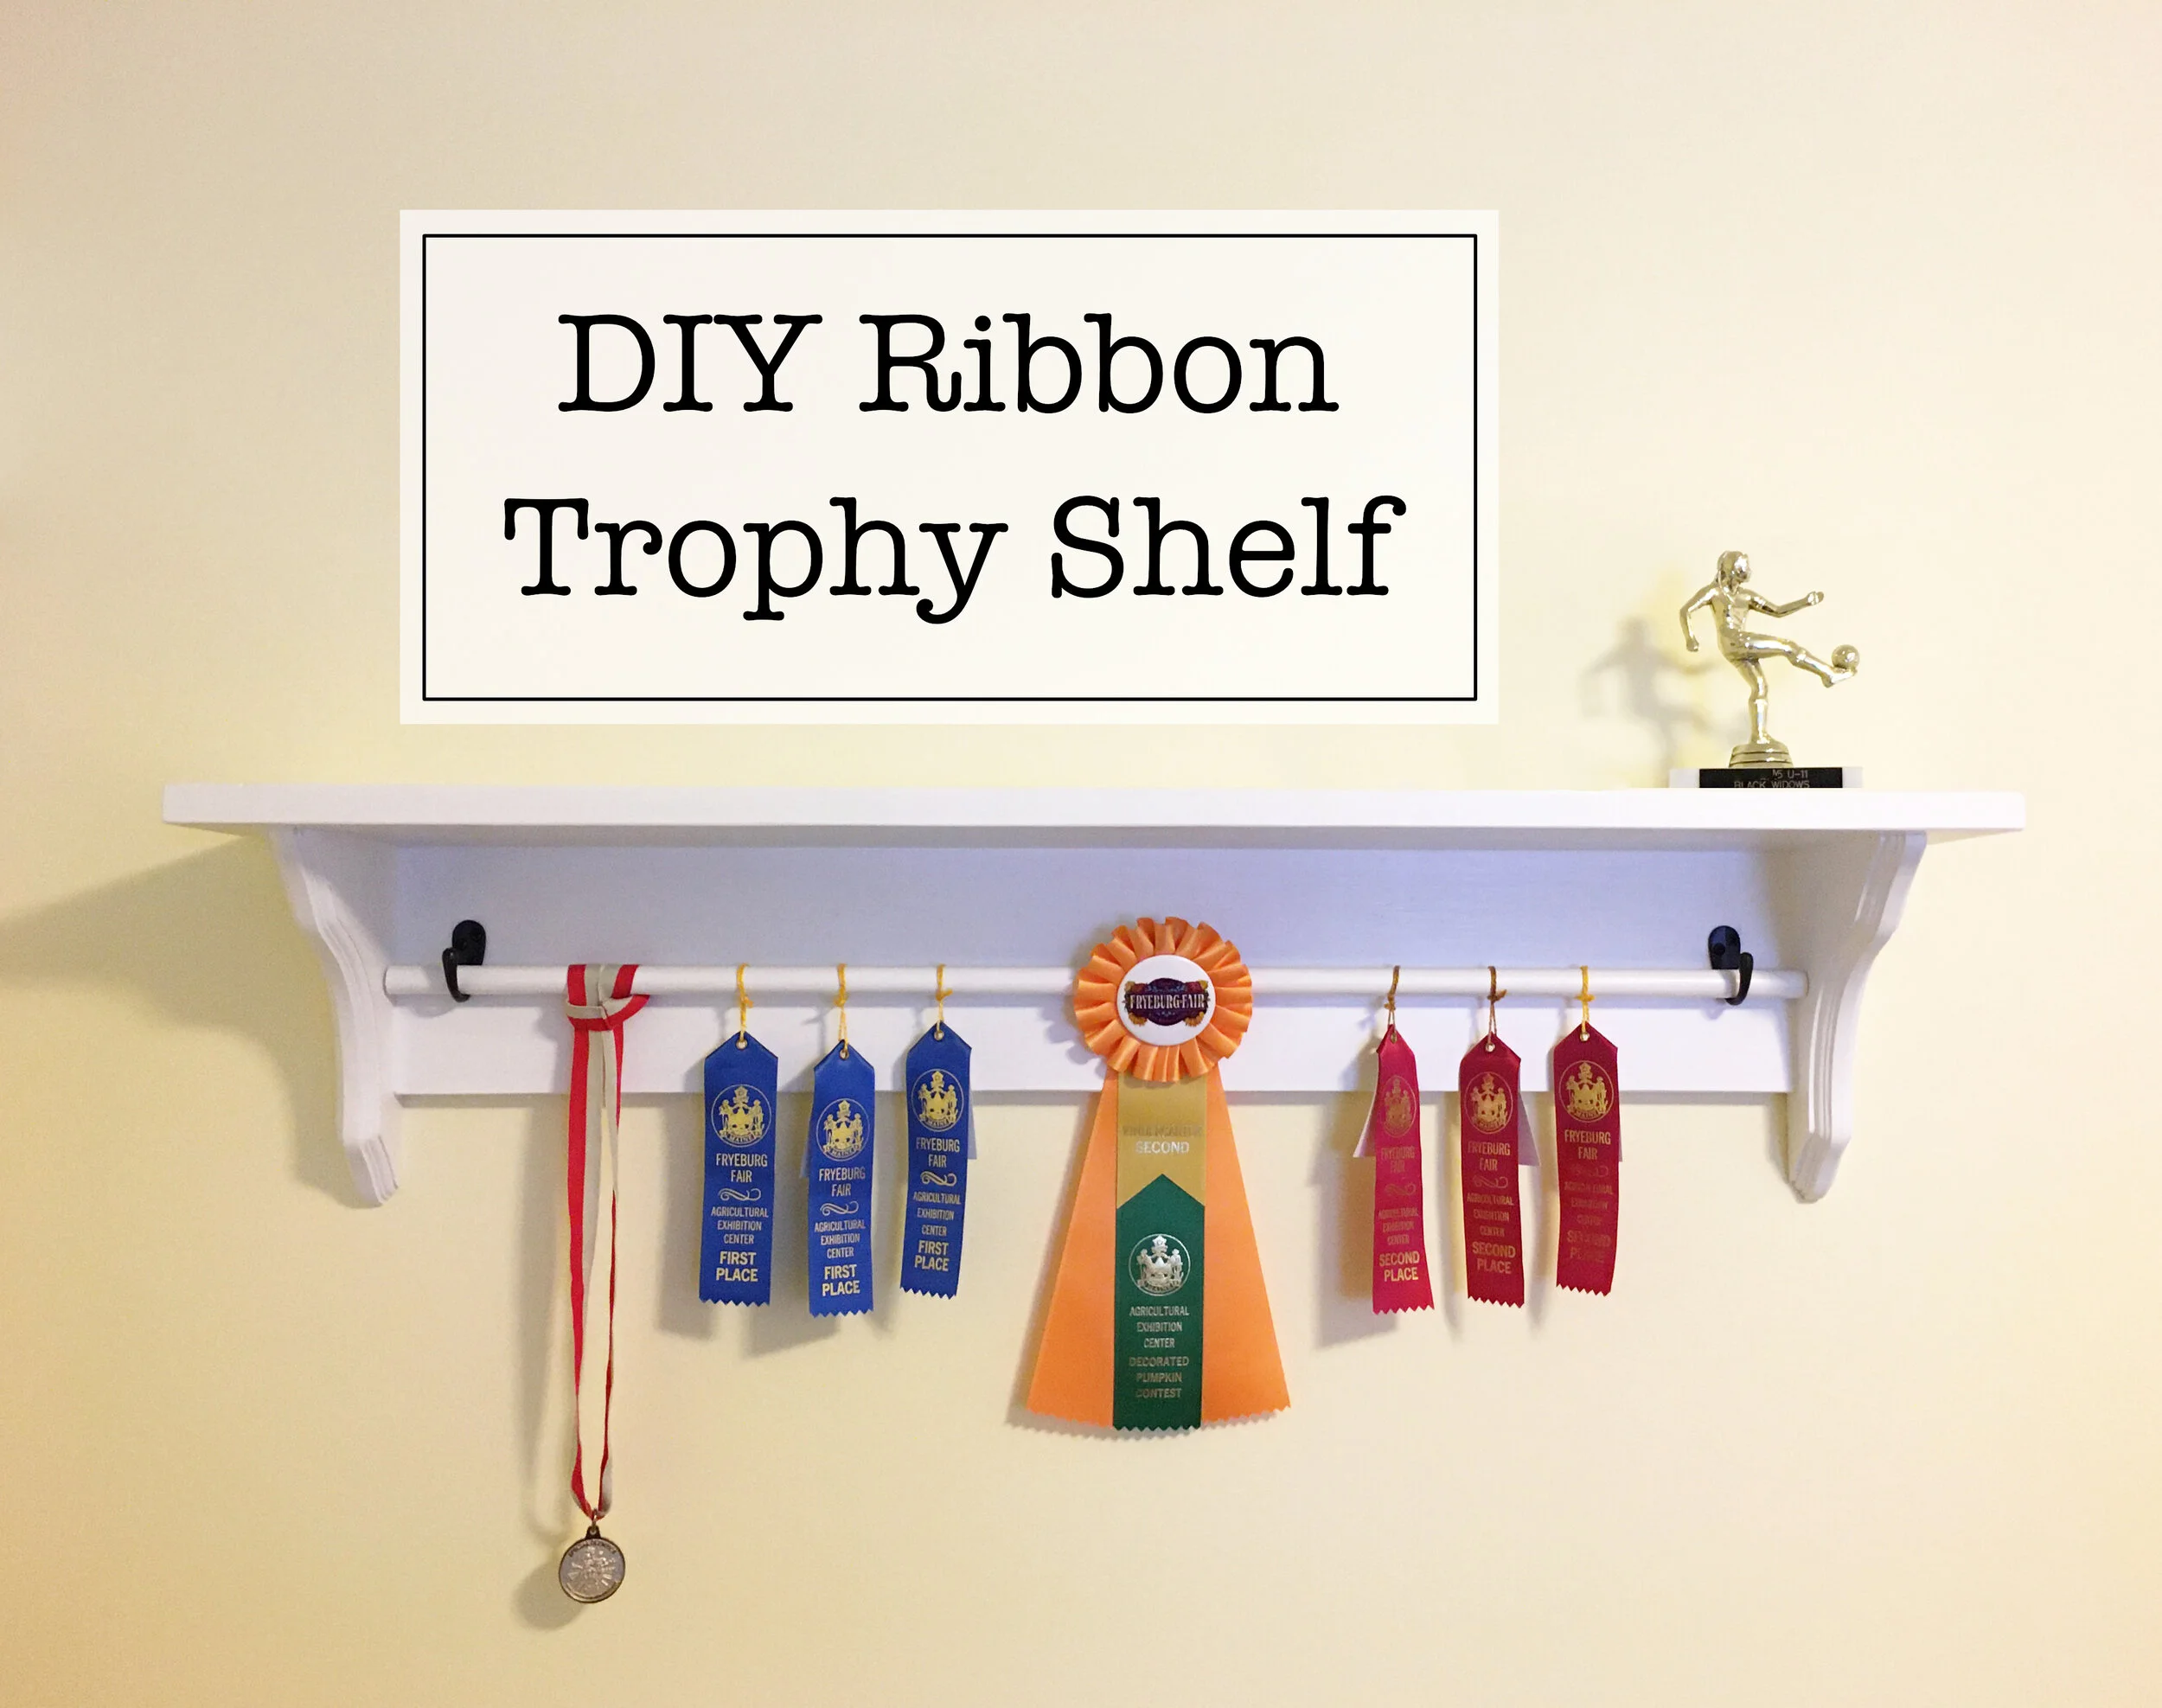
It seems kind of weird and petty to write about fun DIY projects during a Pandemic, but maybe fun projects to work on at home is just what we need right now :) I did this project about two months ago when I was looking for a nice way to display our oldest’s growing collection of award ribbons and medals but couldn’t find a display setup that I liked or was remotely affordable.
The whole project was super easy and done start-to-finish within two days. Here’s hoping for things to go back to normal someday soon so she can continue to add to her award collection. | This post contains affiliate links |

DIY Ribbon and Trophy Display

Materials:

DIY Ribbon and Trophy Display

How-To:

First decide how long you want the overall shelf to be (in our case I decided on making it 3ft wide). Then cut your shelf top to that length.

(Nothing is screwed in yet here… just laying everything out to make sure it will fit like I want it to.)

(Nothing is screwed in yet here… just laying everything out to make sure it will fit like I want it to.)

Next decide how wide you want the shelf back to be - remember that the self back plus the brackets should fall within your overall shelf top length. Ultimately how long you cut the shelf back is your preference though. But visually I think that the shelf back and the brackets look best if they fall within about 2 inches of the shelf top on each side.

(Side note: If you have a router you can cut a dovetail channel along the back of the shelf back now to make for easier hanging… I do not have one of those handy so I skipped this step and will hang our shelf another way.)

Once you have everything laid out, cut your dowel to about 1/8” less than your shelf back length so it will fit comfortably within that space.

DIY Ribbon and Trophy Display

After everything is cut, I recommend sanding everything first before you assemble. I love using our orbital sander - it makes for quick work and does a nice job.

DIY Ribbon and Trophy Display

Next start assembling. Screw the shelf supports to the backing first, making sure everything is lined up and flush.

DIY Ribbon and Trophy Display

Next carefully center the shelf top, making sure it’s flush with the back and screw in.

DIY Ribbon and Trophy Display

Now for the fun part - paint! I did one coat of primer and then three coats of semi-gloss white paint, though you could choose any color you wish. I like semi-gloss paint since it has a slight sheen to it and is easier to dust and keep clean.

DIY Ribbon and Trophy Display

For hanging - first I measured this wall side-to-side to figure out where the shelf should fall within that space to be centered. Then I marked the studs with a stud finder.

To be honest I usually use two different kinds of stud finders when I have to hang something - I use a magnetic stud finder first to identify exactly where the stud is and then a digital one to find the edges of the stud. I’ve found that sometimes the digital ones can be finicky so it’s nice to know where the studs are first rather than get a false stud reading when it could be something else (a pipe, a thick area of plaster on the wall, etc).

Then using a level to make sure the shelf was level, I screwed directly into the wall studs through the shelf back making sure to place the screws where they would be hidden by the dowel once I installed it.

DIY Ribbon and Trophy Display

Next I hung the dowel by centering it and adding a simple hook to support it on each side, as shown above (this also hides the screws I used to hang it). And now the project is finished and ready to display ribbons, medals, and trophies!

DIY Ribbon and Trophy Display

To hang the ribbons and medals you can easily lift the dowel up and string them on, or loop them around the dowel like I did here.

I hope you liked the project and we look forward to when this Pandemic is over and there will be sport and fair ribbon awards again - stay well!

DIY Ribbon and Trophy Display

UPDATE:

Years later our kids are still using the DIY Ribbon and Trophy Displays but they’re getting a little full. In order to spread things out a bit I bought these simple medal holders (similar one linked), so they could hang their medals on these and keep the DIY Display just for their ribbons/trophies. It’s working great!


Similar Posts:


KEEP UP WITH BIRCH LANDING HOME
|  Etsy  |  Facebook  |  Instagram  |  Pinterest  |  Bloglovin'  |  Hometalk  |

Comment
Share

How we Turned a Coat Closet into a Functional, Organized Pantry

Our kitchen was lacking a pantry, so we often kept canned goods and backstock on a shelving unit at the foot of our stairs in the basement. But because half of our food and snacks were downstairs and half were upstairs it made for frequent mistakes when buying groceries… it was hard to visualize exactly what we had and where so we often ended up overbuying certain things and forgetting to buy others. Tired of wasting money, food, and time running up and down the stairs I decided to make over a coat closet into a functional pantry. | This post contains affiliate links |

How we Turned a Coat Closet into a Functional Pantry

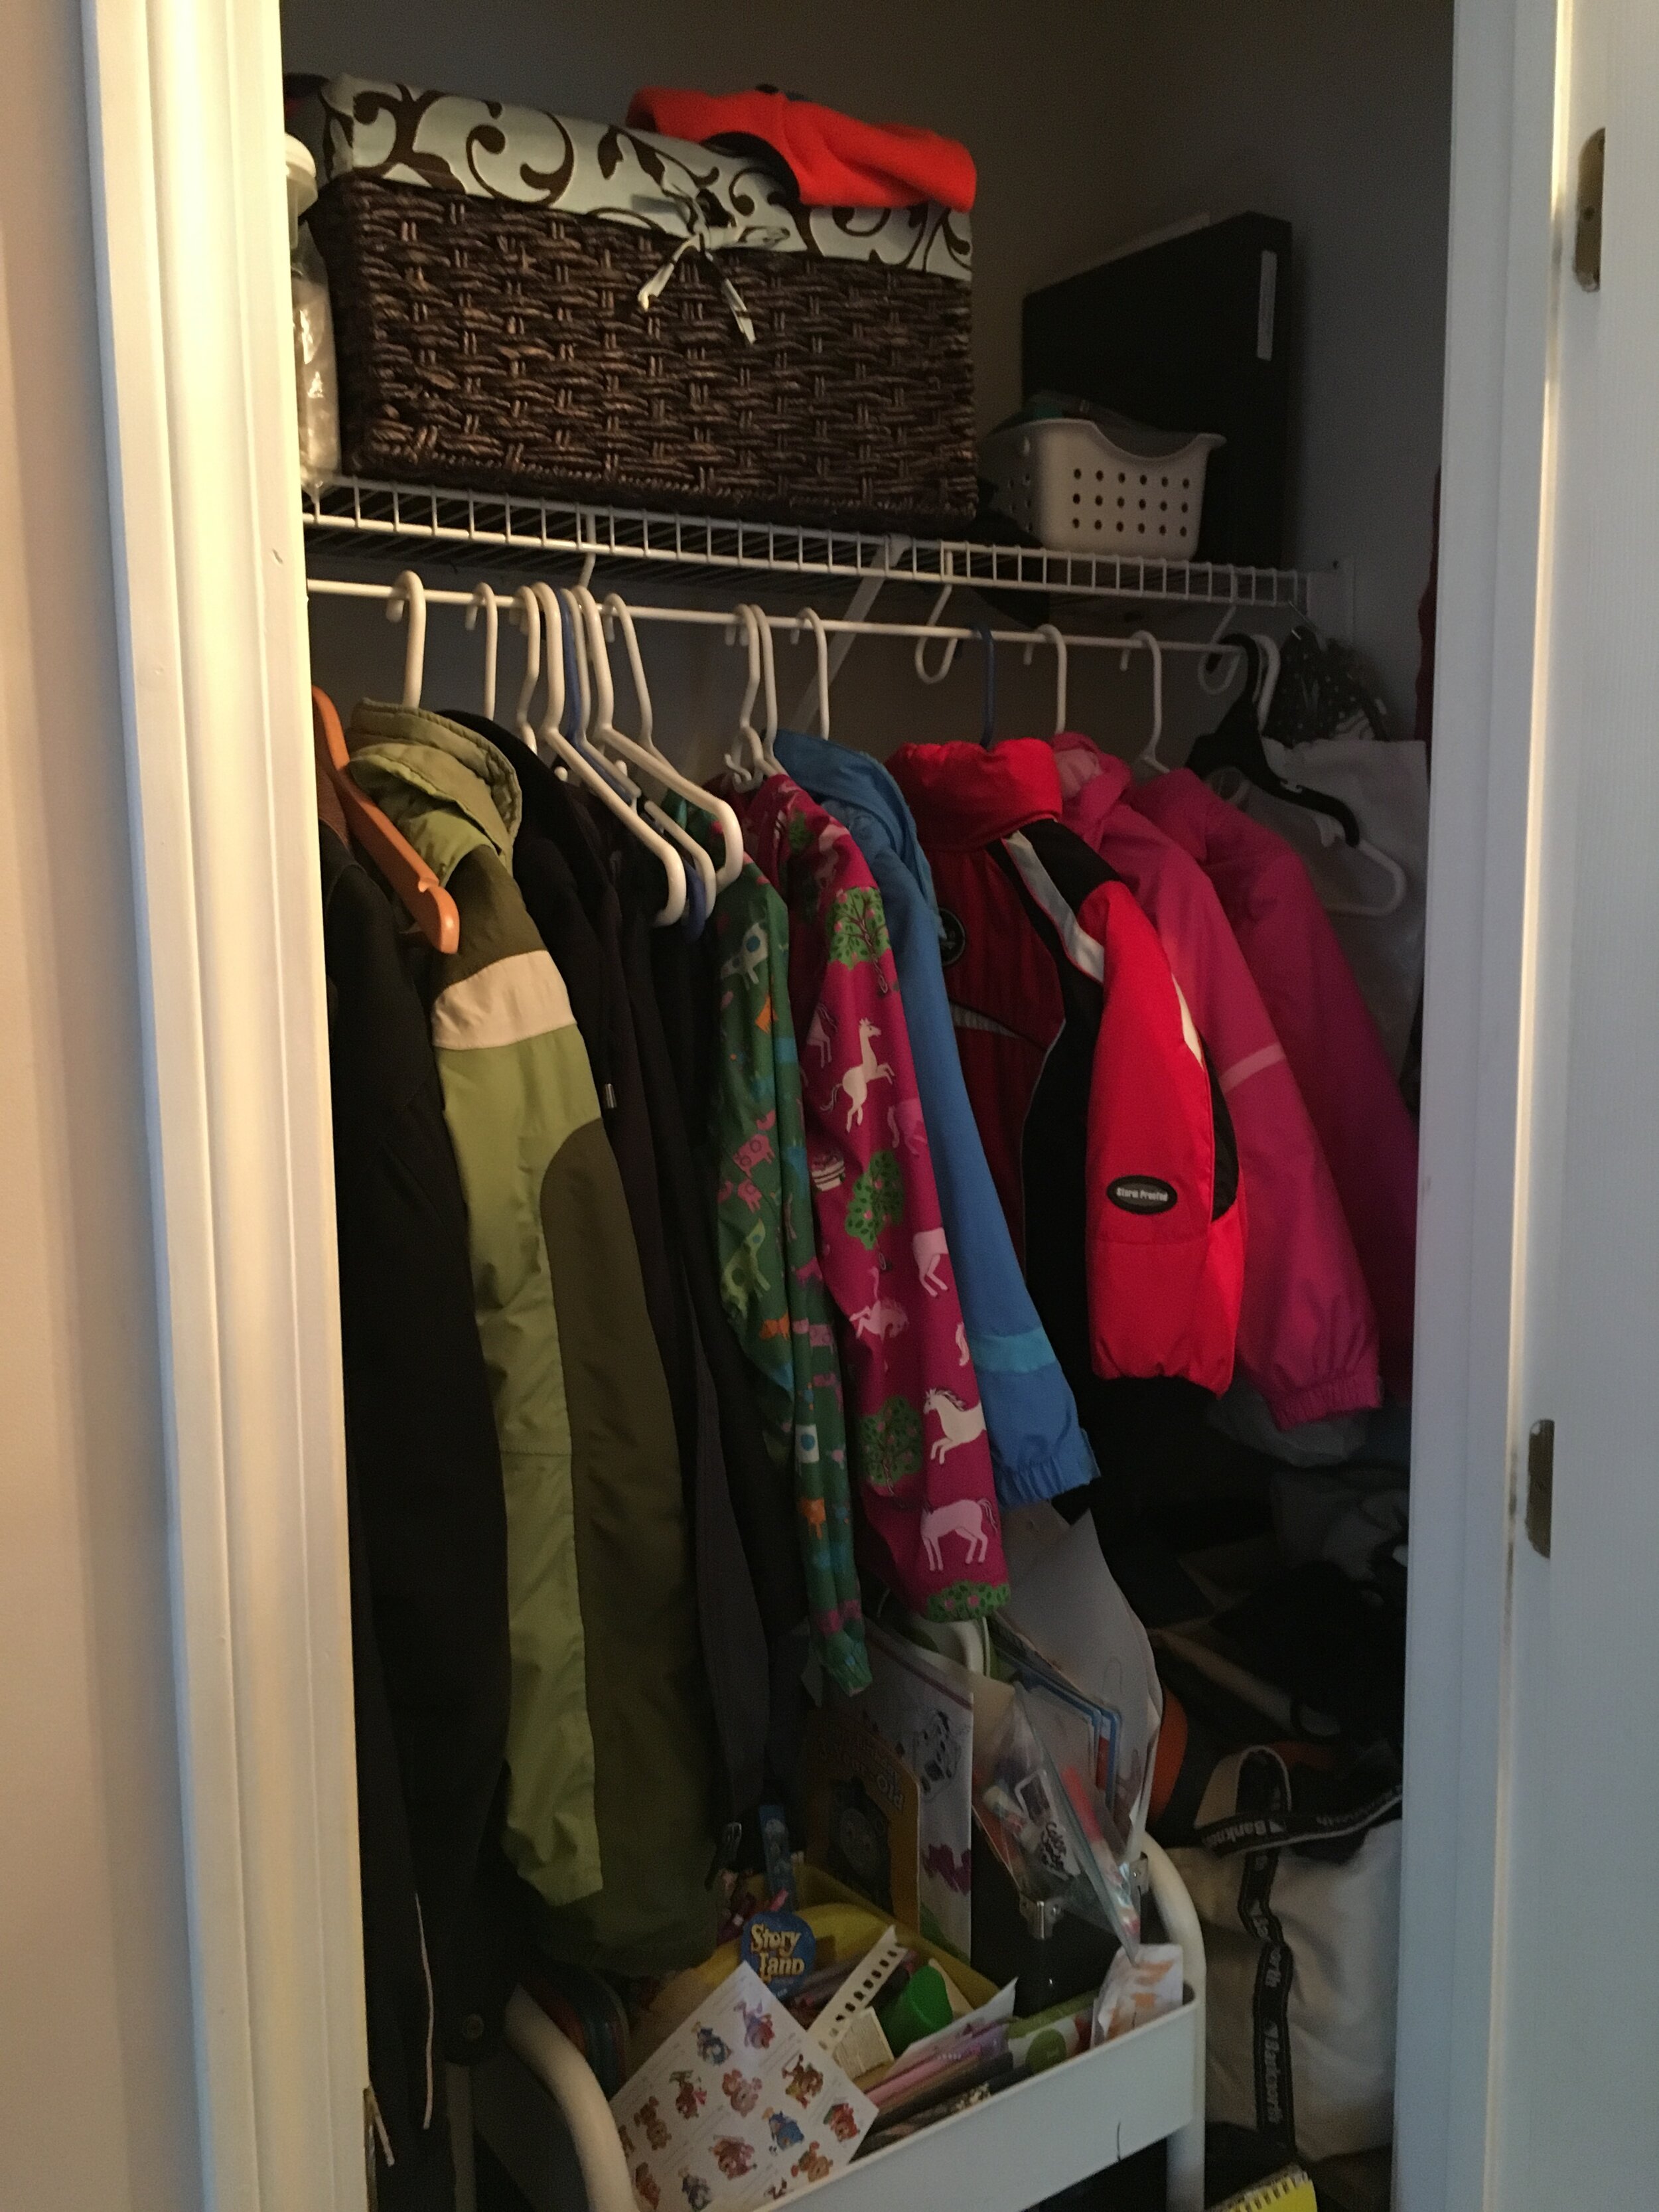
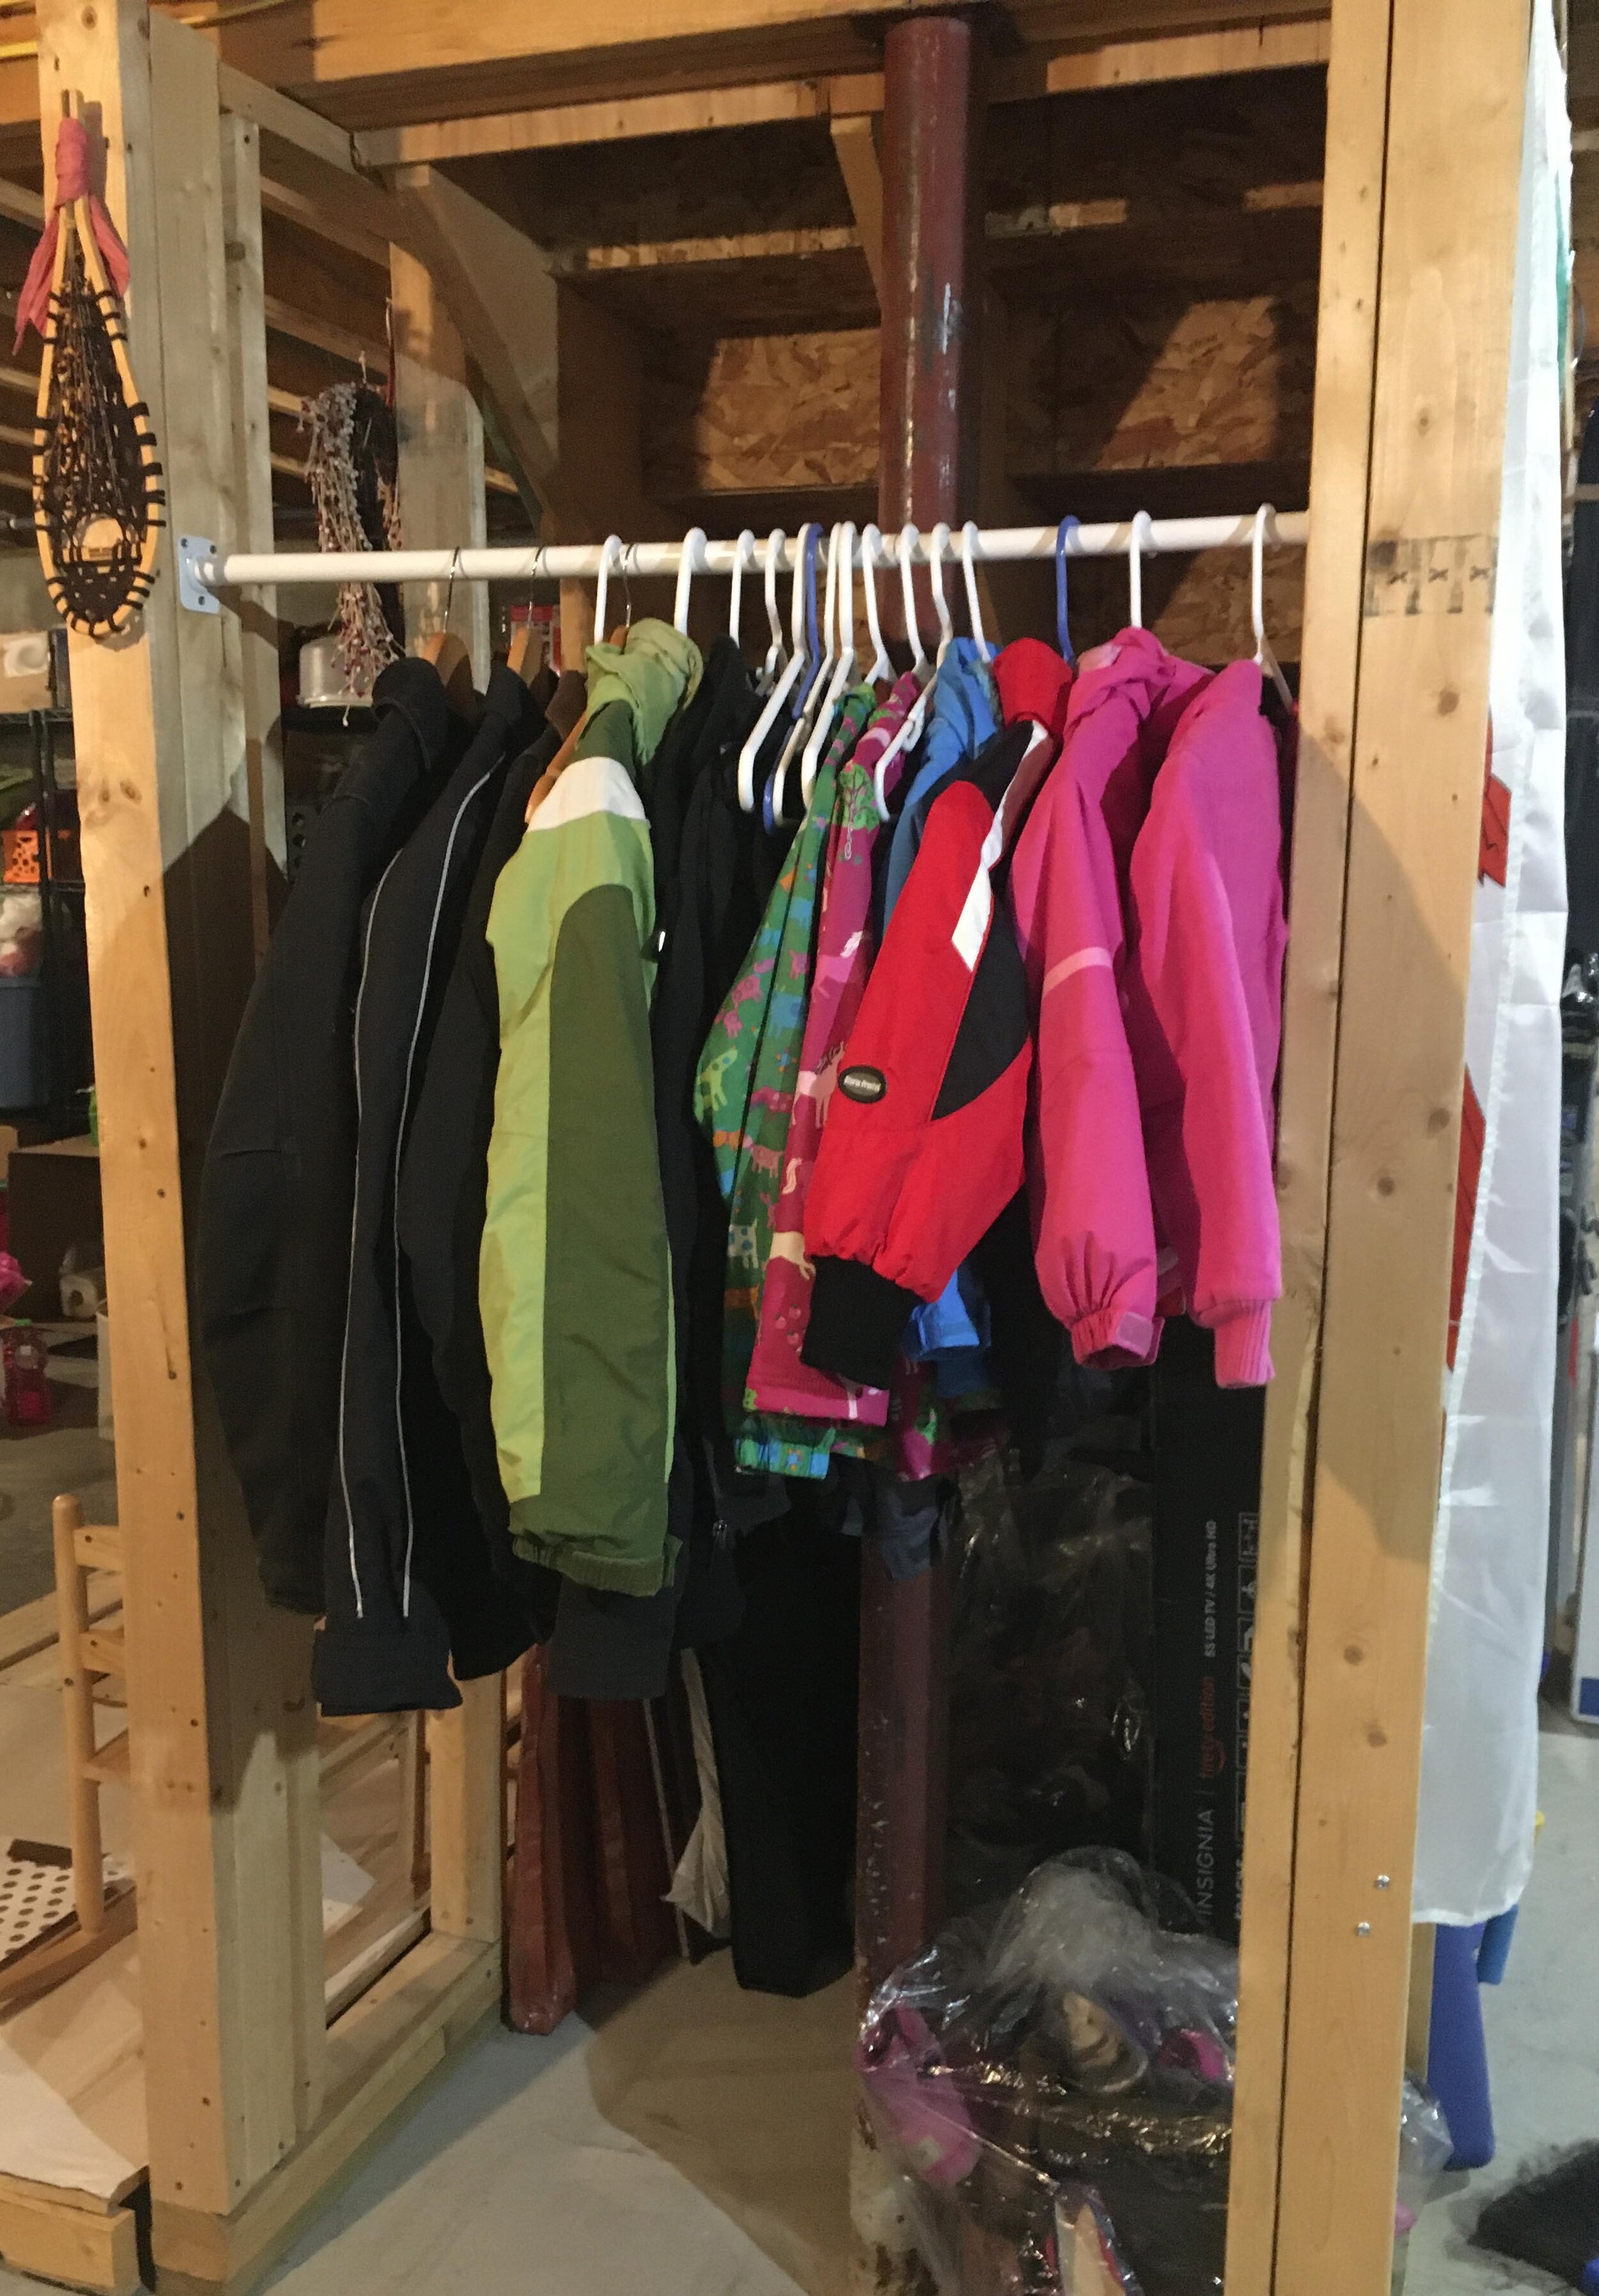
Now while this coat closet (pictured below) was pretty jammed full, it was very underutilized. It’s where we kept our off-season coats, hats, and boots as well as some hiking gear and my daughters’ Art Cart - most things we did not need to use daily, or often at all. My solution to this was to relocate all these items to our basement - I hung a closet rod under the basement stairs and moved all our off-season clothing and gear to this new space where it was still easily accessible but out of the way.

How we Turned a Coat Closet into a Functional Pantry

The next step was to pull out the old wire shelf and closet rod system, patch the holes, and repaint the inside of the closet. Thankfully I already had spackle and some leftover white paint so I was able to get the closet to a clean slate easily and it didn’t cost a dime.

How we Turned a Coat Closet into a Functional Pantry

Now for the fun part! I got to decide how many shelves I wanted and the spacing, so I laid it out with painters tape to play with how I wanted it before I made a final decision. For our setup I decided on four shelves starting at about waist-height. I wanted to leave the bottom open to accommodate the dog food bin, the Art Cart, step stool, etc. Then I screwed in 1x3 inch “runners” that would support the shelves along the back wall. I used a stud finder to make sure I was screwing the runners into studs and a level to make sure everything was square.

How we Turned a Coat Closet into a Functional Pantry

Then I added runners to one side of the closet next, following the same routine - but with these pieces I had pre-drilled pocket holes with our Kreg Jig first so it would make for a clean and secure joint in the corners.

How we Turned a Coat Closet into a Functional Pantry

Before installing the runners on the opposite side of the closet, it’s wise to keep in mind how you will be able to maneuver the shelf boards in once all the runners are in place (it would be very difficult to get the top shelf in with all the runners installed, for example). So before installing the opposite side’s runners I slipped some of the trickier shelf boards into place first (I used 1x12”s cut to length for the shelves) before I finished screwing in all the side runners.

How we Turned a Coat Closet into a Functional Pantry

I secured the shelves into place with some finishing nails, then taped off the shelves and runners to get ready for paint. I used primer and then several coats of white semi-gloss paint since it’s a little easier to wipe down and keep clean.

How we Turned a Coat Closet into a Functional Pantry

I just love how farmhouse and “Shaker” the exposed rails on the sides look and I wanted to play it up. Once the paint was dry I added some functional hooks to hang aprons, lunchboxes, etc on the side rails.

How we Turned a Coat Closet into a Functional Pantry

And now the project is complete! I am so happy with how it turned out and it’s wonderful to have everything in one place. I can see this project saving us money on groceries in the long run now as everything will be in one place now and we’ll be less apt to waste food.

Eventually, I would love to replace the closet door with a fun screen door and get some more glass jars and baskets for a cleaner looking pantry - but all in good time.

How we Turned a Coat Closet into a Functional Pantry

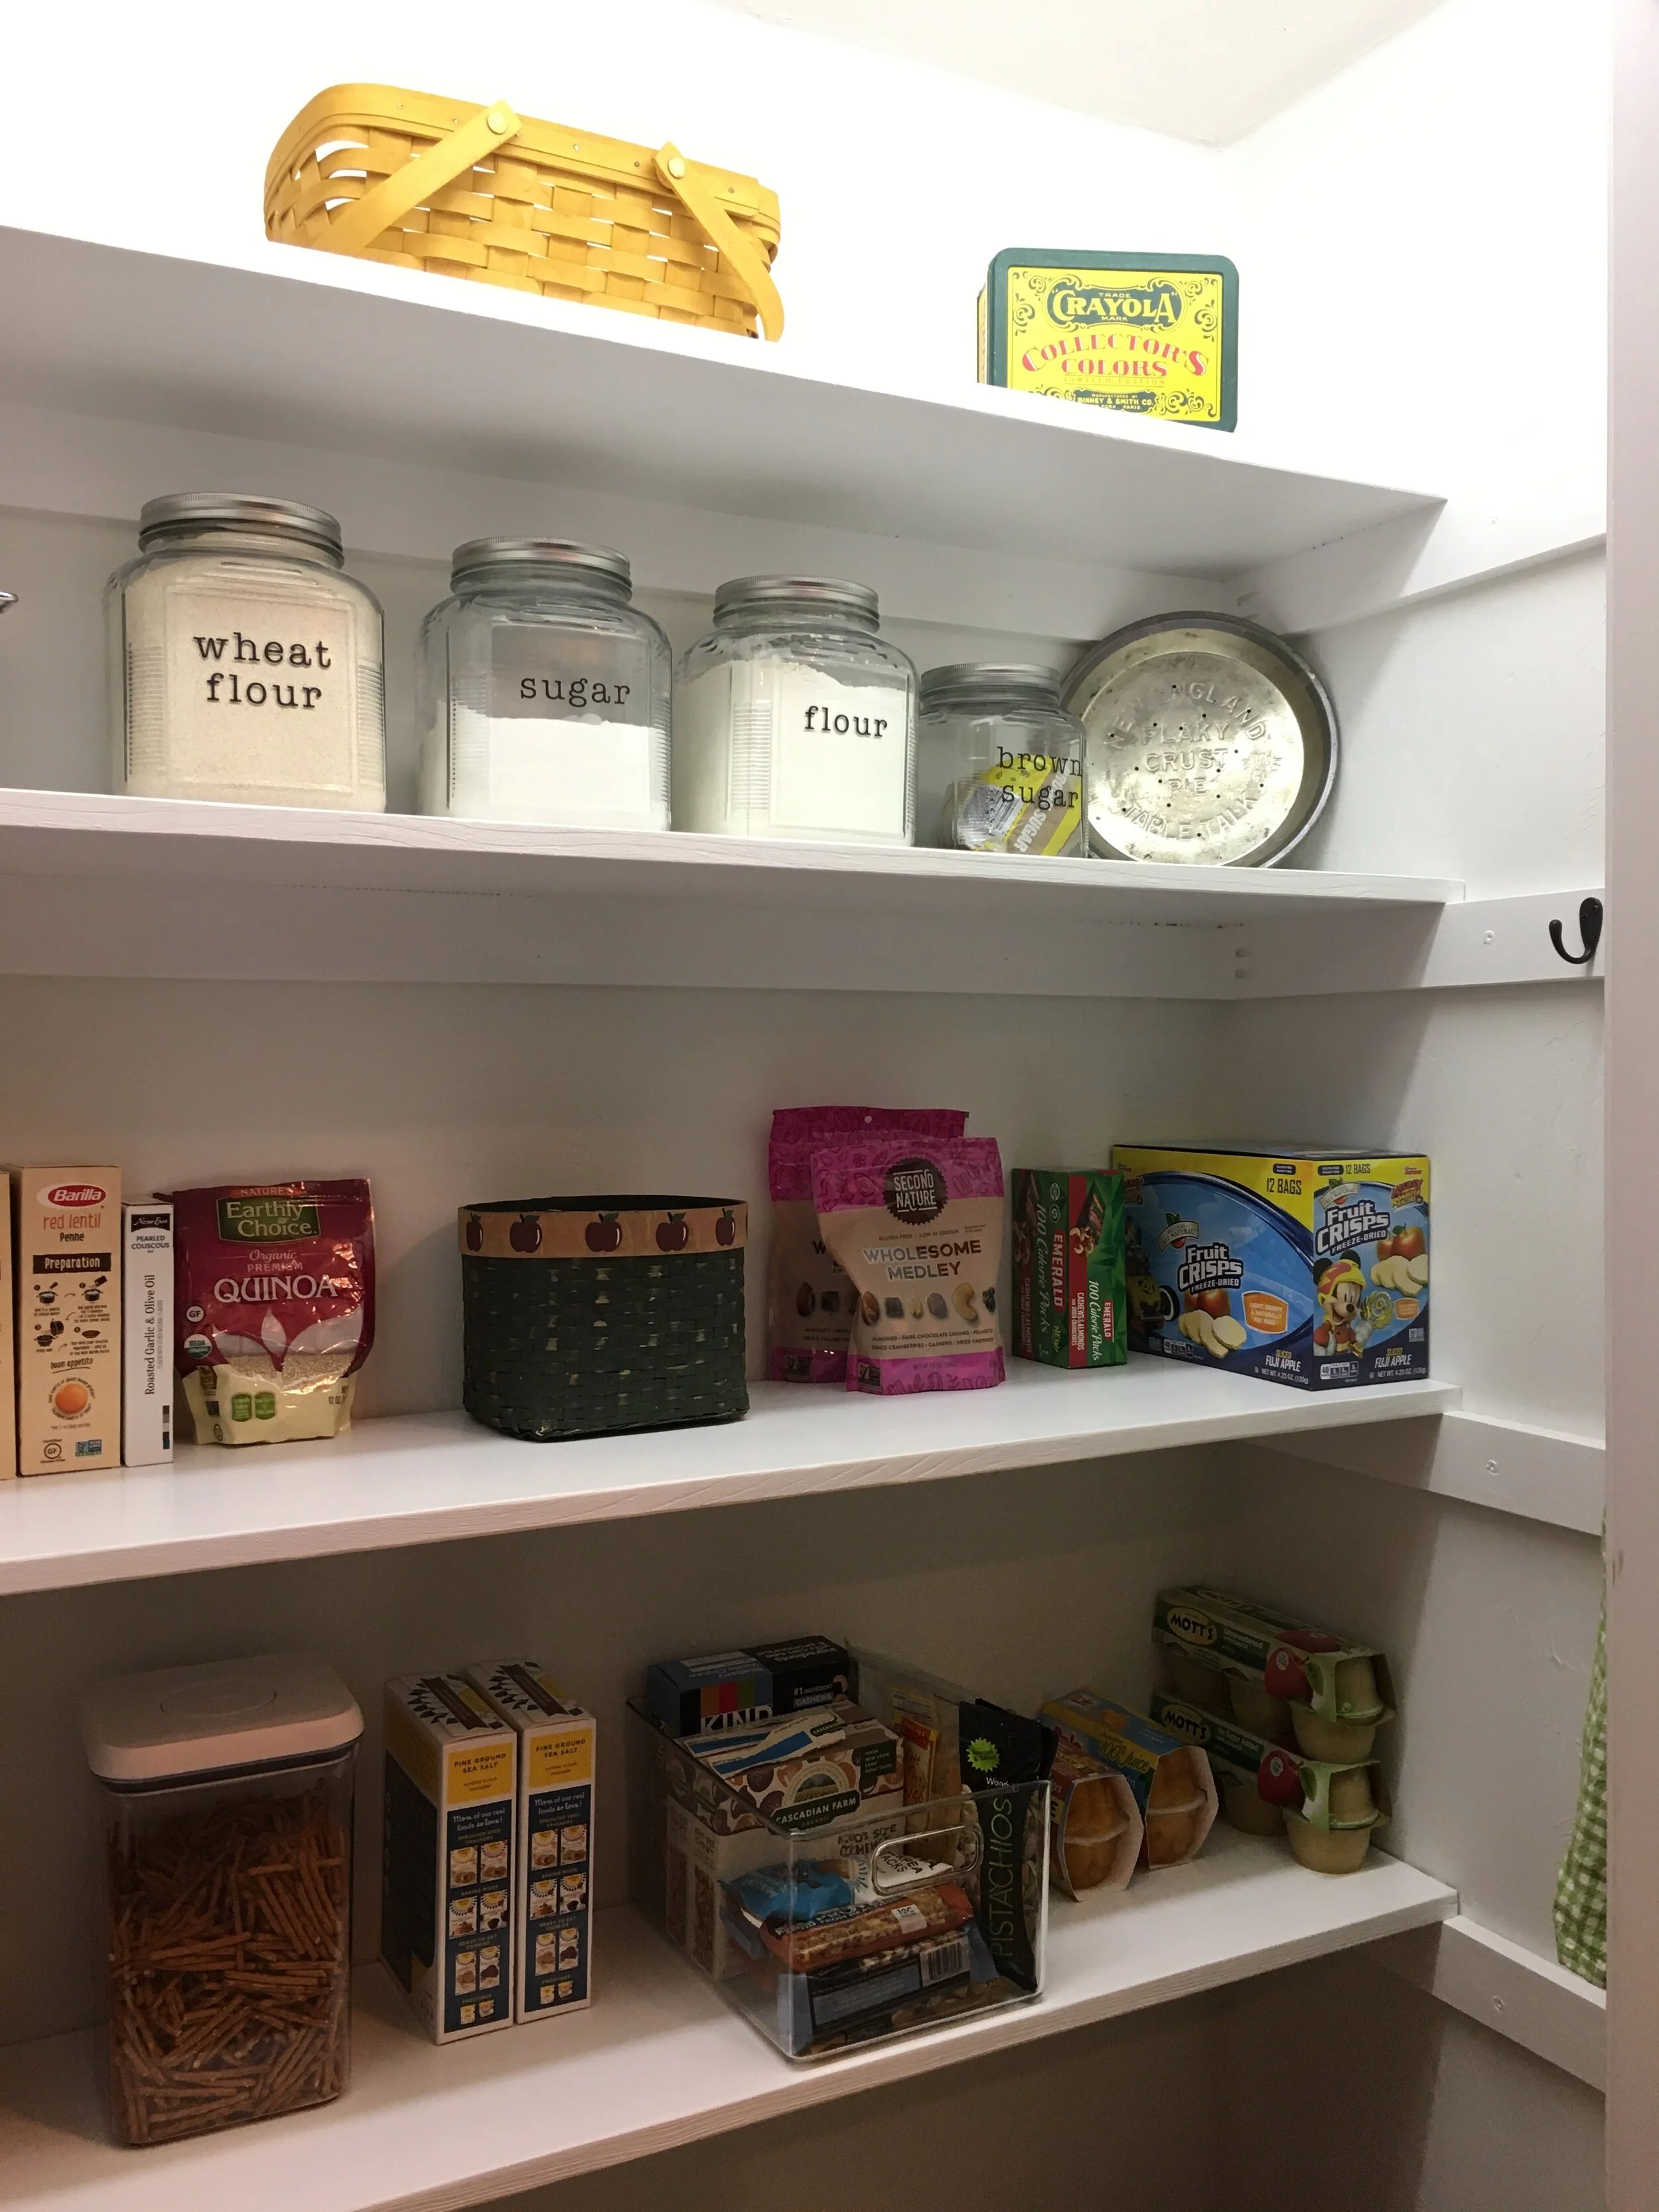
| Similar Clear Plastic Storage Bins | Dog Food Container (on the floor, just out of the picture) |

How we Turned a Coat Closet into a Functional Pantry

| Flour, etc. jars were made using Cracker Jars with custom vinyl labels I made on my Cricut | Vintage Pie Tins |

Over this past winter I added a few simple add-on organizers to our pantry to maximize the space and love how functional they are. Here they are below (and please excuse the glimpses of clutter in the pantry… as it now holds extra groceries and our family board games too - because, real life):

Additional Storage for the Walls

How We Turned a Coat Closet into a Functional Pantry

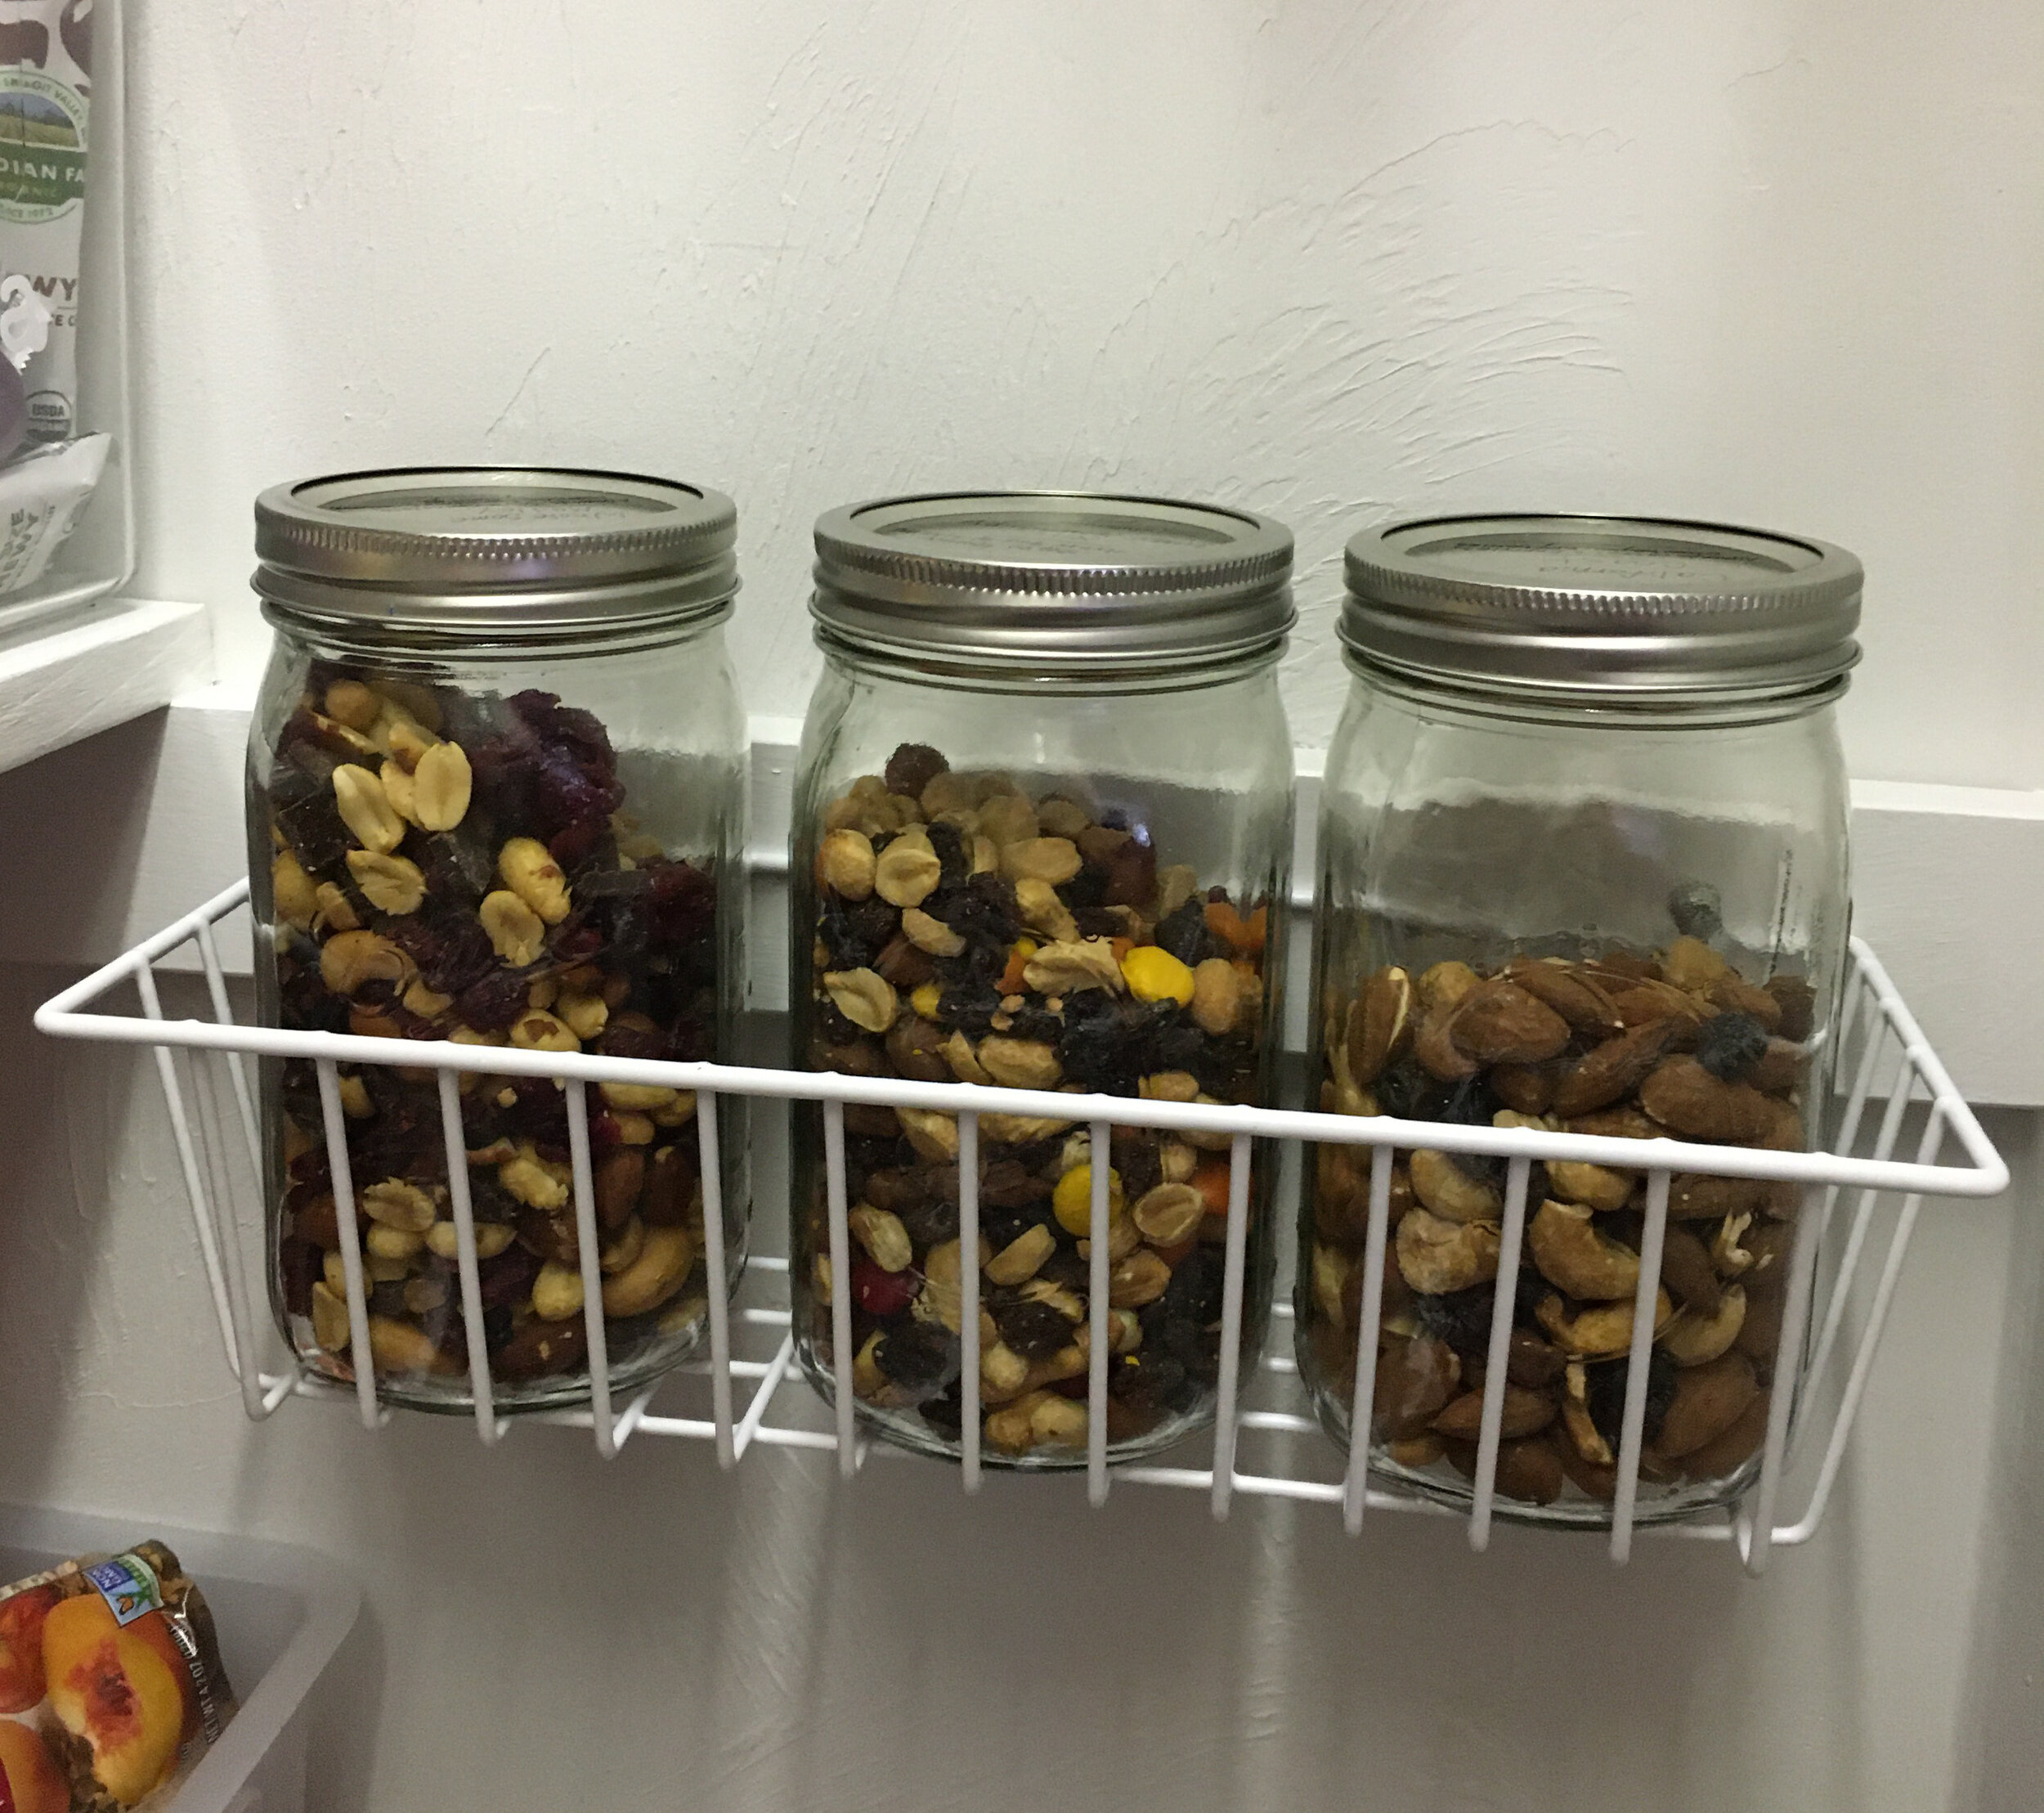
| Similar Wire Wall Basket | Mason Jars to store Trail Mix |

Under-Shelf Storage

How We Turned a Coat Closet into a Functional Pantry

| Wire Under-Shelf Basket - Perfect for Storing Potatoes! |

Decal for Pantry Door

How we Turned a Coat Closet into a Functional, Organized Pantry

It turns out our door is an odd size and in order to get a screen door for it we would have to custom order one (at a cost of about $300+! Yikes). So instead I decided to cut a custom vinyl label to stick to the door to make it more finished. I could have designed my own but I found a design I really liked on Etsy and bought the digital design file. After purchasing the design file, I used my Cricut and 651 Permanent Vinyl to make the label and then transferred it to the door. In hindsight I probably should have made it slightly smaller, but overall I love how it came out and how budget-friendly it was since I already owned a Cricut Machine and the vinyl.

| Pantry Digitial Design File | Cricut Machine | 651 Permanent Vinyl in Matte Black |

Back of Door Organizer

How+we+Turned+a+Coat+Closet+into+a+Functional%2C+Organized+Pantry

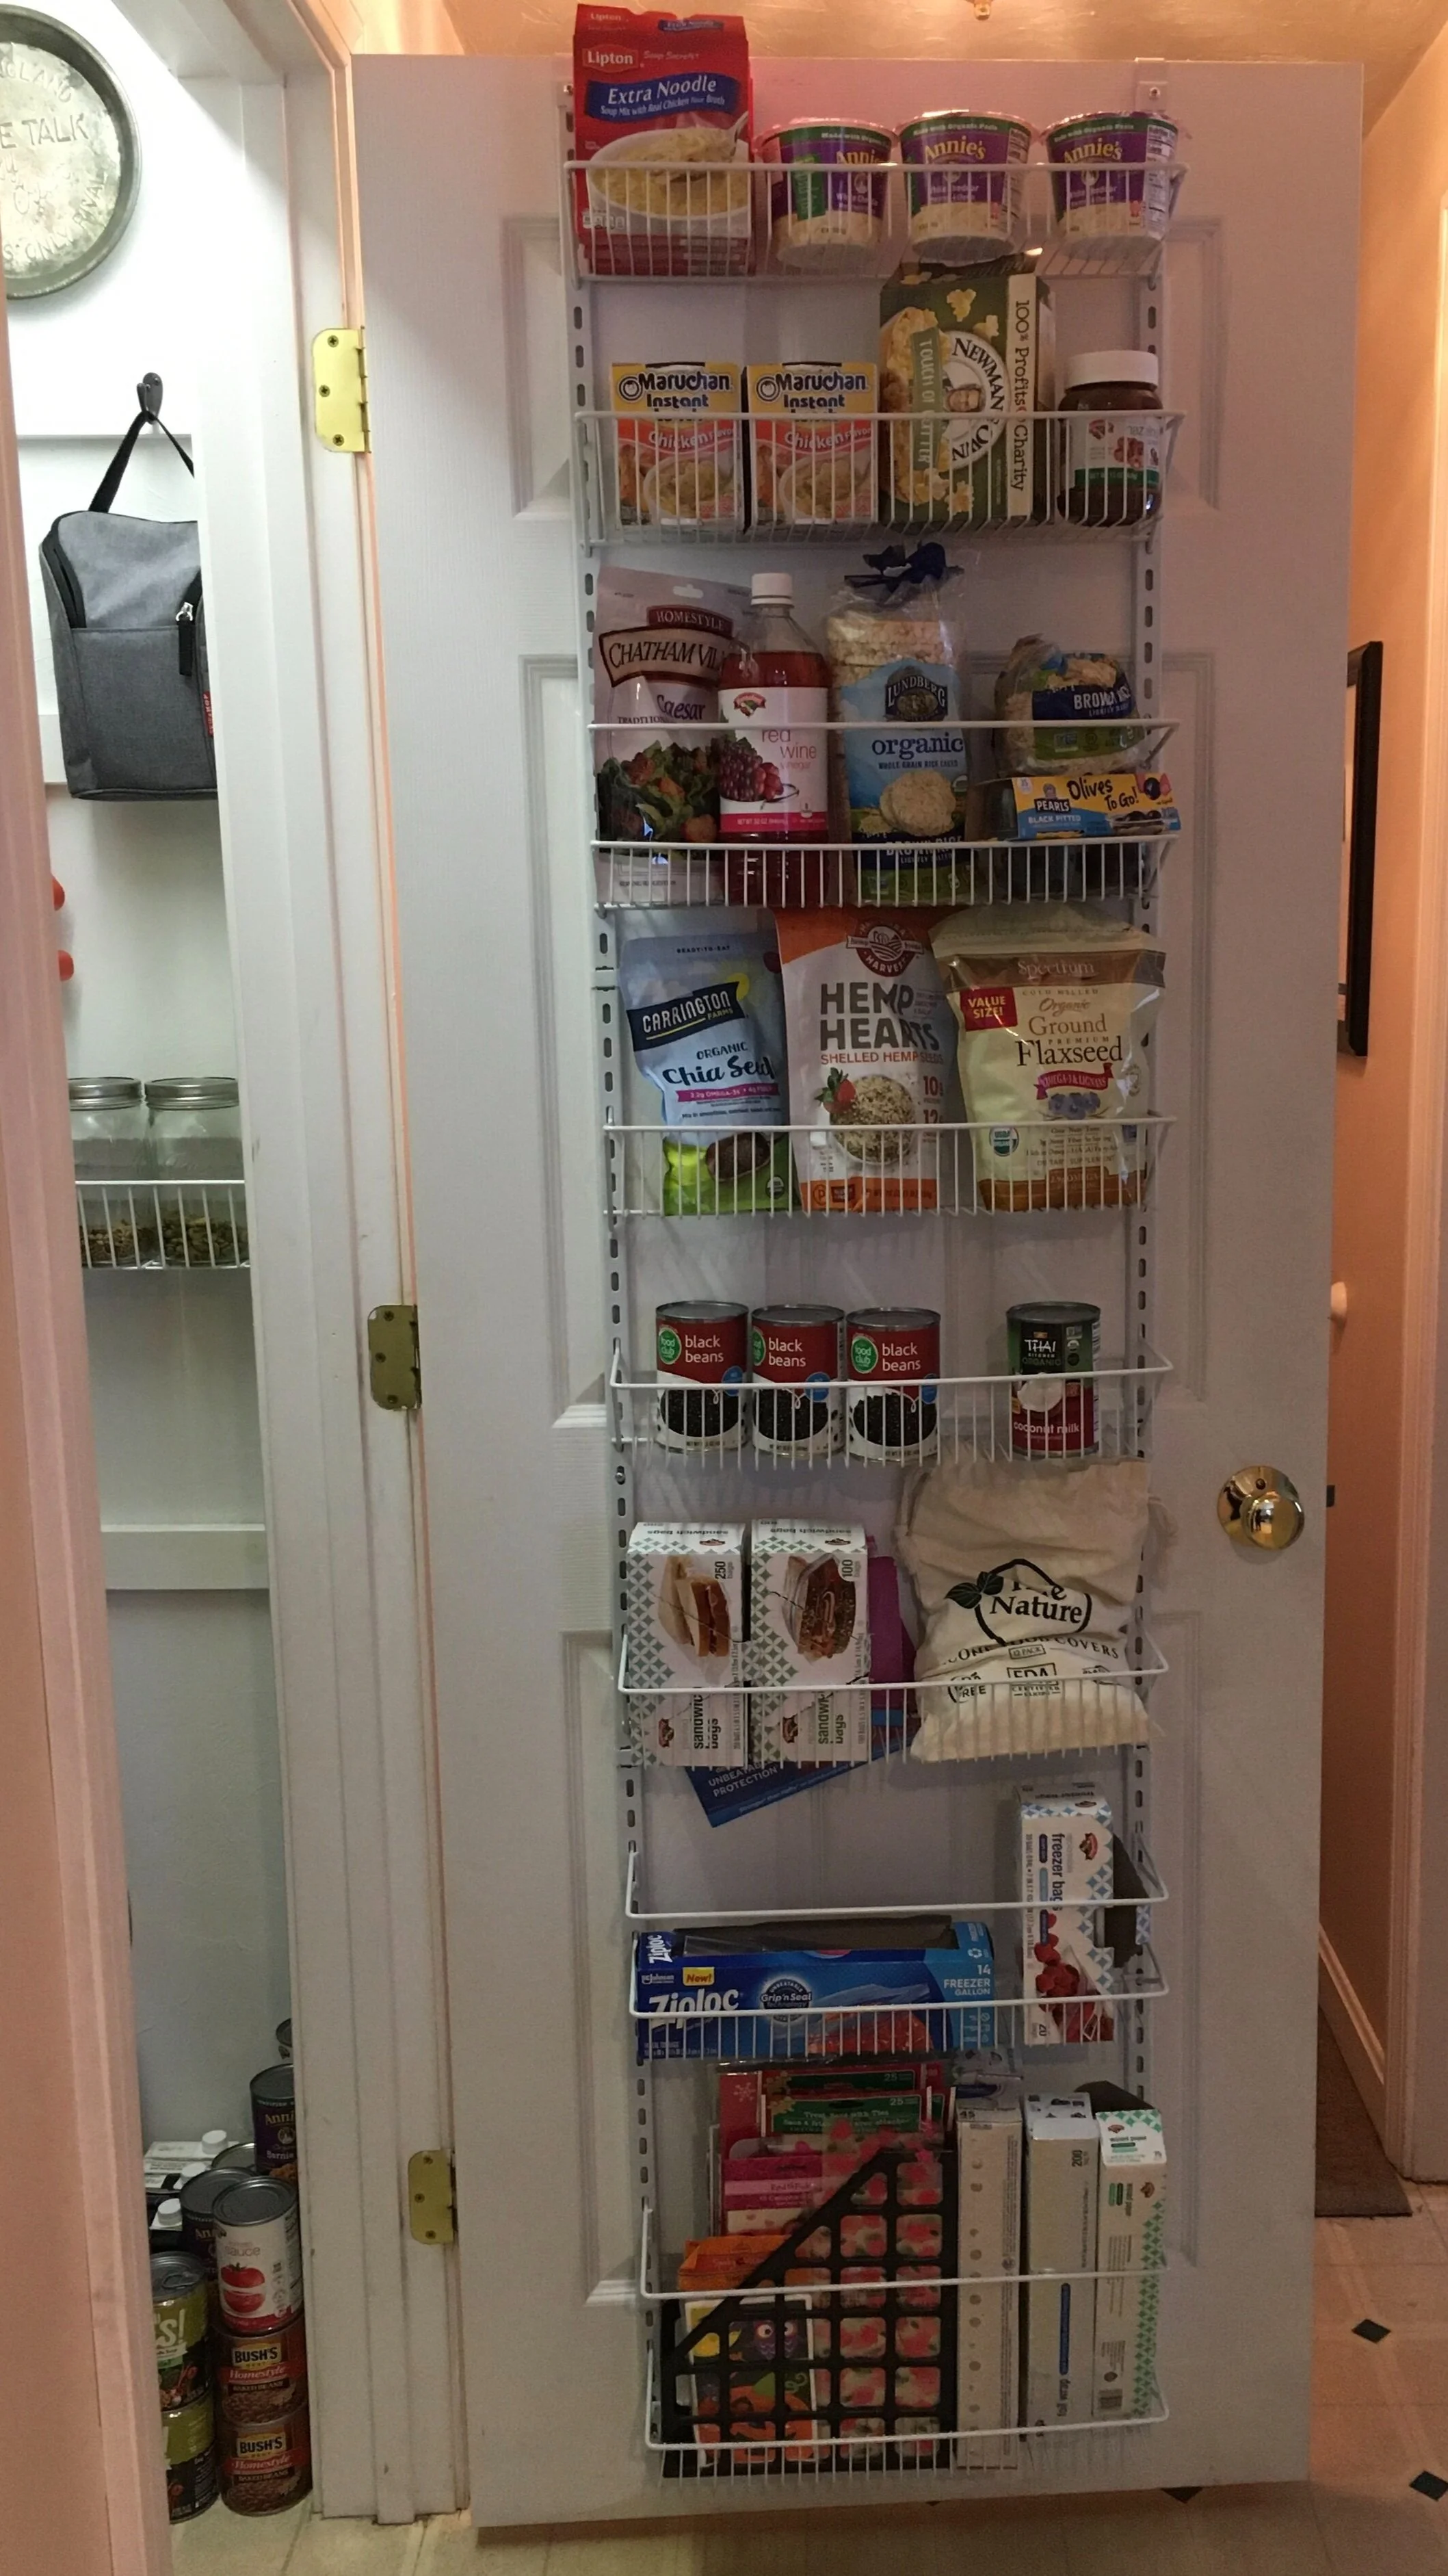
Finally, we decided to add a ClosetMaid Adjustable Organizer to the back of the pantry door to fully utilize the space. It was very simple to install and I am impressed with how sturdy it is once it's assembled and screwed in. We used the lower baskets for foil, parchement paper, ziplocks, silicone bowl covers, etc. The middle baskets we designated for frequently used canned goods, smoothie mix-ins, as well as salad fixings and rice cakes. Finally on the top two baskets we put convenience foods that we rarely use since I'm so short. Note: If you have a hollow-core door, you might want to use a specialty set of anchors/screws to attach it to the door for stability, rather than just screw into the door with regular screws.

| ClosetMaid Adjustable Organizer (18 inch) | True Nature Silicone Food Covers |

Stackable Canned Goods Organizer

Another later addition to our pantry organization are these amazing stackable can racks for organizing canned goods. Before I had quite a few canned goods just sitting on the floor of the pantry and in a separate kitchen cupboard, but I never could see everything at once and often cans in the back got forgotten -- Now everything is in one spot where I can see them and I can meal plan more efficiently.

| Stackable Can Rack Organizer (I have two racks stacked here) |

OXO POP Containers with Scoops for Snacks

OXO Containers with Scoop

Another thing that's been a huge game changer is moving dry snacks into OXO POP Food Storage Containers. We love these for our snack crackers and pretzels. They keep everything fresh and it's easy to see if you're starting to run low on these staples. To keep the kids from going too wild with serving sizes we added clear OXO 1/2 Cup Scoops in each container too - making it easy to grab a serving.
I used my Brother Label Maker to make labels for the containers. These can easily be peeled off and relabeled as needed.

| OXO POP Food Storage Containers | OXO 1/2 Cup Scoops | Brother Label Maker |

Disclaimer

This website shares personal opinions and experiences regarding a variety of topics. Please do your own research regarding all things and use information/opinions stated here at your own discretion and risk.


Check out our Related Posts:

KEEP UP WITH BIRCH LANDING HOME
|  Etsy  |  Facebook  |  Instagram  |  Pinterest  |  Bloglovin'  |  Hometalk  |

DIY Vintage Pie Tin Clock

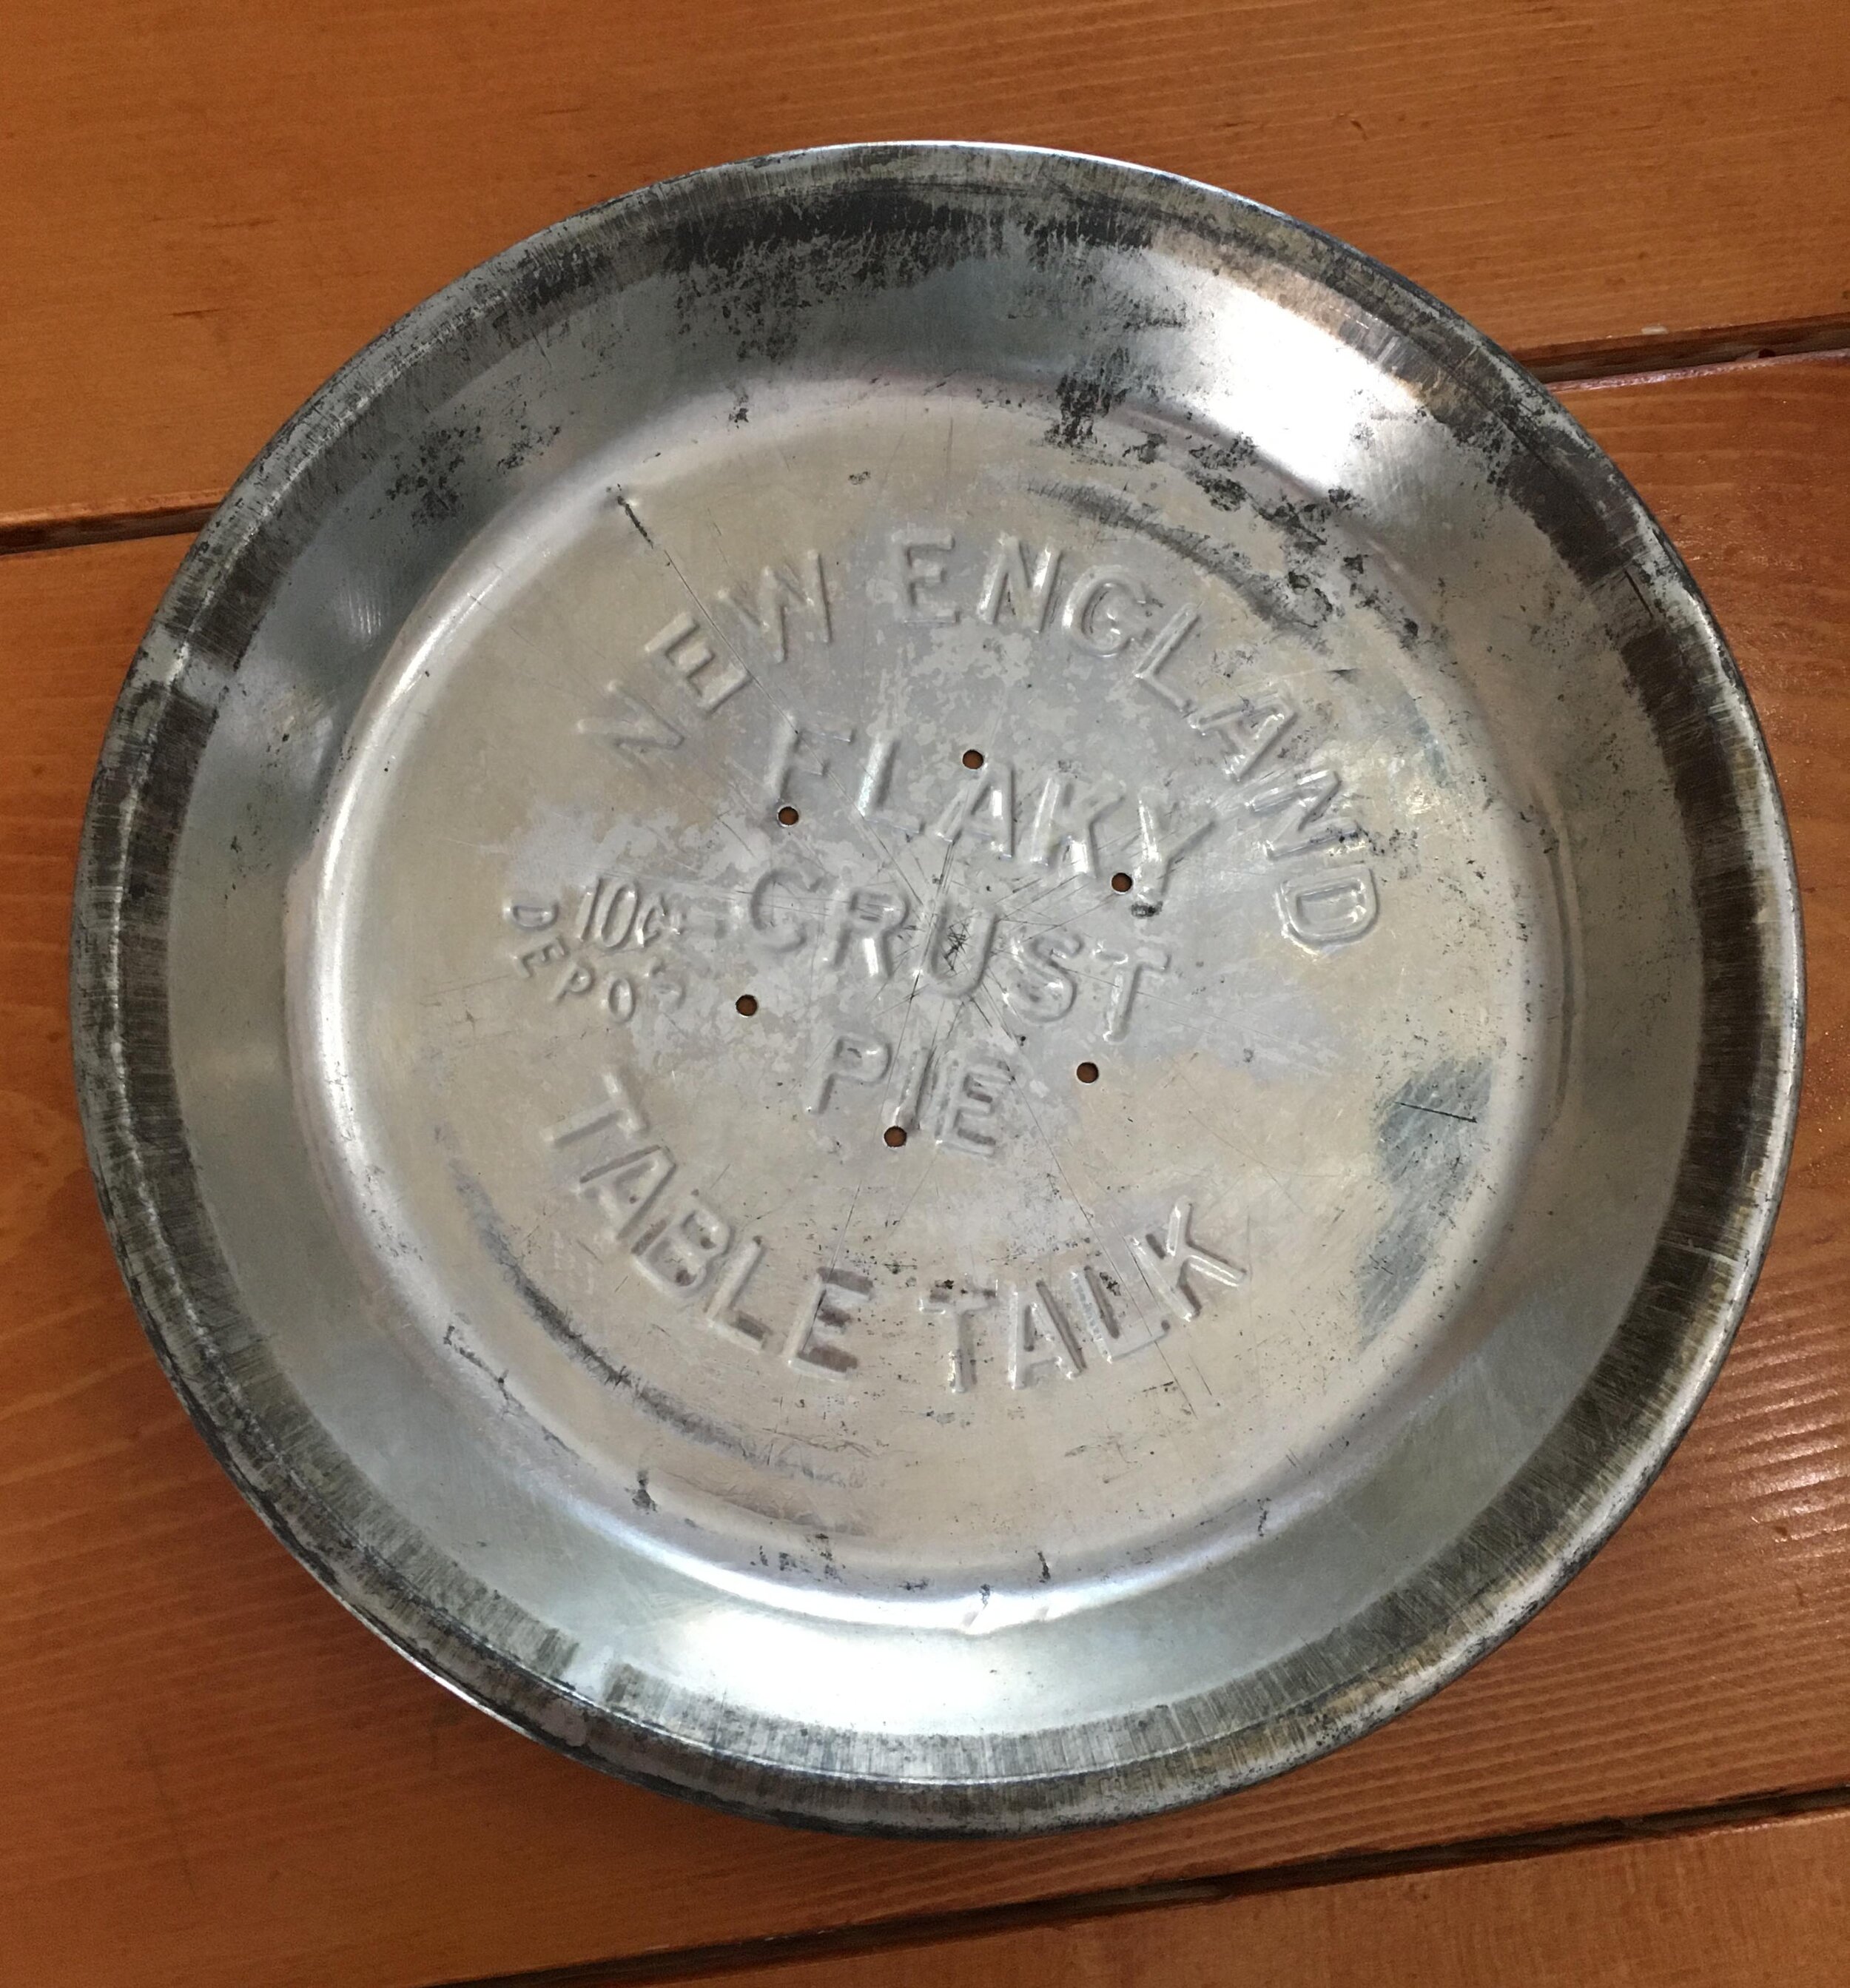
Rummaging around in my parents basement a few weeks ago, I stumbled across a stack of Vintage Table Talk Pie Tins that had been my Grandmother’s. Back in the day (approximately the 1930’s-1950’s), people would buy these store-bought pies with an extra 10 cent deposit that would be reimbursed if you returned the clean pie tin back to the store… but apparently my Grandmother chose not to, haha. These pie tins were a fun vintage find, and sentimental because they had once belonged to her. Since we didn’t have a kitchen clock I figured turning one of these tins into a clock would be a fun idea - and here’s how I did it. | This post contains affiliate links |

DIY Vintage Pie Tin Clock

The first step to creating your clock is to purchase a clock kit that has the right diameter hands for your pie tin, so when they are mounted in the center of the tin they can move freely all around the face without touching the sides (very important).

DIY Vintage Pie Tin Clock

After some measuring and browsing around on Amazon, I settled on this Mudder Clock Kit - I liked the style of the hands and they would fit perfectly in my particular pie tin.

DIY Vintage Pie Tin Clock

Next, carefully measure to find the center of the pie tin and poke a pilot hole through with a small nail and hammer. After that, make sure your pie tin is well supported and on a safe area for drilling (I used some scrap 4x4 posts as a work station). Then carefully drill out your hole, starting with your smallest drill bit.

In order not to “rip” the tin, it’s very important to start small and work your way up in drill bit size. I started with the smallest drill bit and then worked my way up, using every-other-drill bit in the set going up in size order.

DIY Vintage Pie Tin Clock

If you get a large burr, carefully cut it off with a pair of small wire cutters before you move up to your next drill bit size.

Please note: Keep in mind that these pieces of tin are SHARP so use care and be mindful of the metal shavings you may drop while drilling. Make sure to clean up the shavings well after your project is done.

DIY Vintage Pie Tin Clock

Periodically check to see if the threaded clock mechanism can pass through your hole yet. For this clock kit, I needed to jump up to a larger drill set in order to finally work my way up to the size hole I needed (in this case it was a 5/16” drill bit).

Once the hole is the correct size, use a round file to clean up any little burrs around the edge.

DIY Vintage Pie Tin Clock

Now it’s time to assemble your clock - follow the manufacturer’s directions on the best way to assemble the clock hands for your particular kit. Keep in mind that clock kits and especially the hands are VERY delicate so take care assembling them.

Once your clock is assembled, install the battery and set the time - now you can enjoy your new Vintage Pie Tin Clock!

DIY Vintage Pie Tin Clock

Are you interested in making your own Vintage Pie Tin Clock but need a pie tin?

I’m selling some extra pie tins* in my Etsy shop, click the button below to shop:

*Please note the tins I have listed for sale may vary slightly in size and style from the one I made my Pie Tin Clock with.


KEEP UP WITH BIRCH LANDING HOME
|  Etsy  |  Facebook  |  Instagram  |  Pinterest  |  Bloglovin'  |  Hometalk  |

Easy Chopped Greek Salad

Whew, where is the summer going? It seems like just last week school got out - but here we are with just a few precious weeks of summer vacation left. We’re trying to squeeze in what fun we can with family hikes, day trips, visiting friends, - and of course enjoying some of our favorite summertime foods. One of my favorites is this Easy Chopped Greek Salad which can make a perfect dinner on a hot night or a side dish to bring to the neighborhood BBQ. | This post contains affiliate links |

Easy Chopped Greek Salad Recipe

Ingredients:

  • 2 cucumbers
  • 2 large tomatoes (or a bunch of cherry tomatoes)
  • half a red onion (I love red onions and tend to put in a lot... feel free to adjust the amount of red onion to your taste)
  • 4 oz canned black olives, rinsed and drained
  • 1 lemon
  • olive oil (California Olive Ranch Brand is my favorite)
  • oregano
  • salt and pepper to taste
  • 1 package of feta cheese
  • fresh chives for garnish

This recipe is a great way to use up tomatoes, cucumbers, and herbs from your garden too!

Easy Chopped Greek Salad Recipe

How-to:

  1. Chop cucumbers and tomatoes into bite sized chunks (remove seeds from tomatoes if they’re too “sloppy”).

  2. Dice up to half a red onion (adjust amount of onion to taste).

  3. In a separate bowl, make the dressing: juice one lemon, and add a splash of olive oil. Add about a tsp of dried oregano, and salt and pepper. Whisk together and add more olive oil or herbs/spices to taste.

  4. Combine veggies, black olives, and dressing in bowl and mix well.

  5. Add feta cheese and chives to garnish before serving.

  6. Enjoy!

I make this salad just by “winging it” each time and don’t have exact amounts for olive oil or spices - really it’s up to you and your personal taste. Just experiment and see what tastes good to you.

Easy Chopped Greek Salad Recipe

KEEP UP WITH BIRCH LANDING HOME
|  Etsy  |  Facebook  |  Instagram  |  Pinterest  |  Bloglovin'  |  Hometalk  |

Comment
Share