How We Keep Our Family Car Organized

When you have kids, the chaos of their stuff seems to follow you everywhere - including into your car. I accept that our cars will never be pristine (dirt, crumbs, and dog hair will always be present), but I make sure that despite that we have a simple system to keep our things organized and to make sure we always have our essentials at hand. | This post contains affiliate links |

Disclaimer: Use organizers and other items at own risk. Make sure they are properly installed and compatible with your vehicle.

Keeping Toys in Check

I got tired of loose books and small toys spilling all over the back seat and the floor, so I got a backseat organizer to corral the kidsโ€™ items and keep them within easy reach for long car rides. In the organizer we always have some small books, an electronic kids toy, and some puzzles like a Rubik's Cube, as well as sunglasses for each kid in the small pockets in the front. I like this organizer because it fits between the car seats and can also buckle in so it doesn't slide around. (Side note: Where's Waldo has become a favorite car read and keeps the kids entertained for a long time.)

Trunk Organizer

With young kids we always carry supplies like a first aid kit, full change of clothing for each child, trash bags for wet/dirty clothes, extra towel and blanket, etc. For awhile all those items lived in a diaper bag in the trunk, but we are past the diaper stage now and it was time to retire the diaper bag and upgrade to something sleeker and space-saving. I am really loving this sturdy SUV trunk organizer for keeping everything hidden but still within reach.

The Infamous Car Potty

If you know, you knowโ€ฆ With small kids traveling with a potty is a must, even for awhile once theyโ€™re past potty training age. You never know when an urgent bathroom request will happen, and these days with the pandemic itโ€™s great to have a clean personal potty for your kid to use, rather than a dirty rest stop bathroom. Pro tip: We line our car potty with an open diaper to absorb liquid and waste and reduce the risk of a spill (makes for easier clean up too!).

Registration/Insurance Holder

Itโ€™s a good idea to keep all your car paperwork handy and organized in the glove box, because if you need it you donโ€™t want to have to go digging for it - especially if itโ€™s of an urgent nature (if you got pulled over, fender bender, etc). I personally like the little portfolios that keep everything ready and easy to find.

Roadside Kit / First Aid Kit

Always keep a roadside emergency kit and first aid kit in your car in the event you break down or have an accident. You may be able to find a kit that covers all your bases, but often you may have to purchase these separately or at least supplement with some additional tools or first aid items. Our trunk area has a hidden compartment underneath where we store all our roadside and first aid gear.
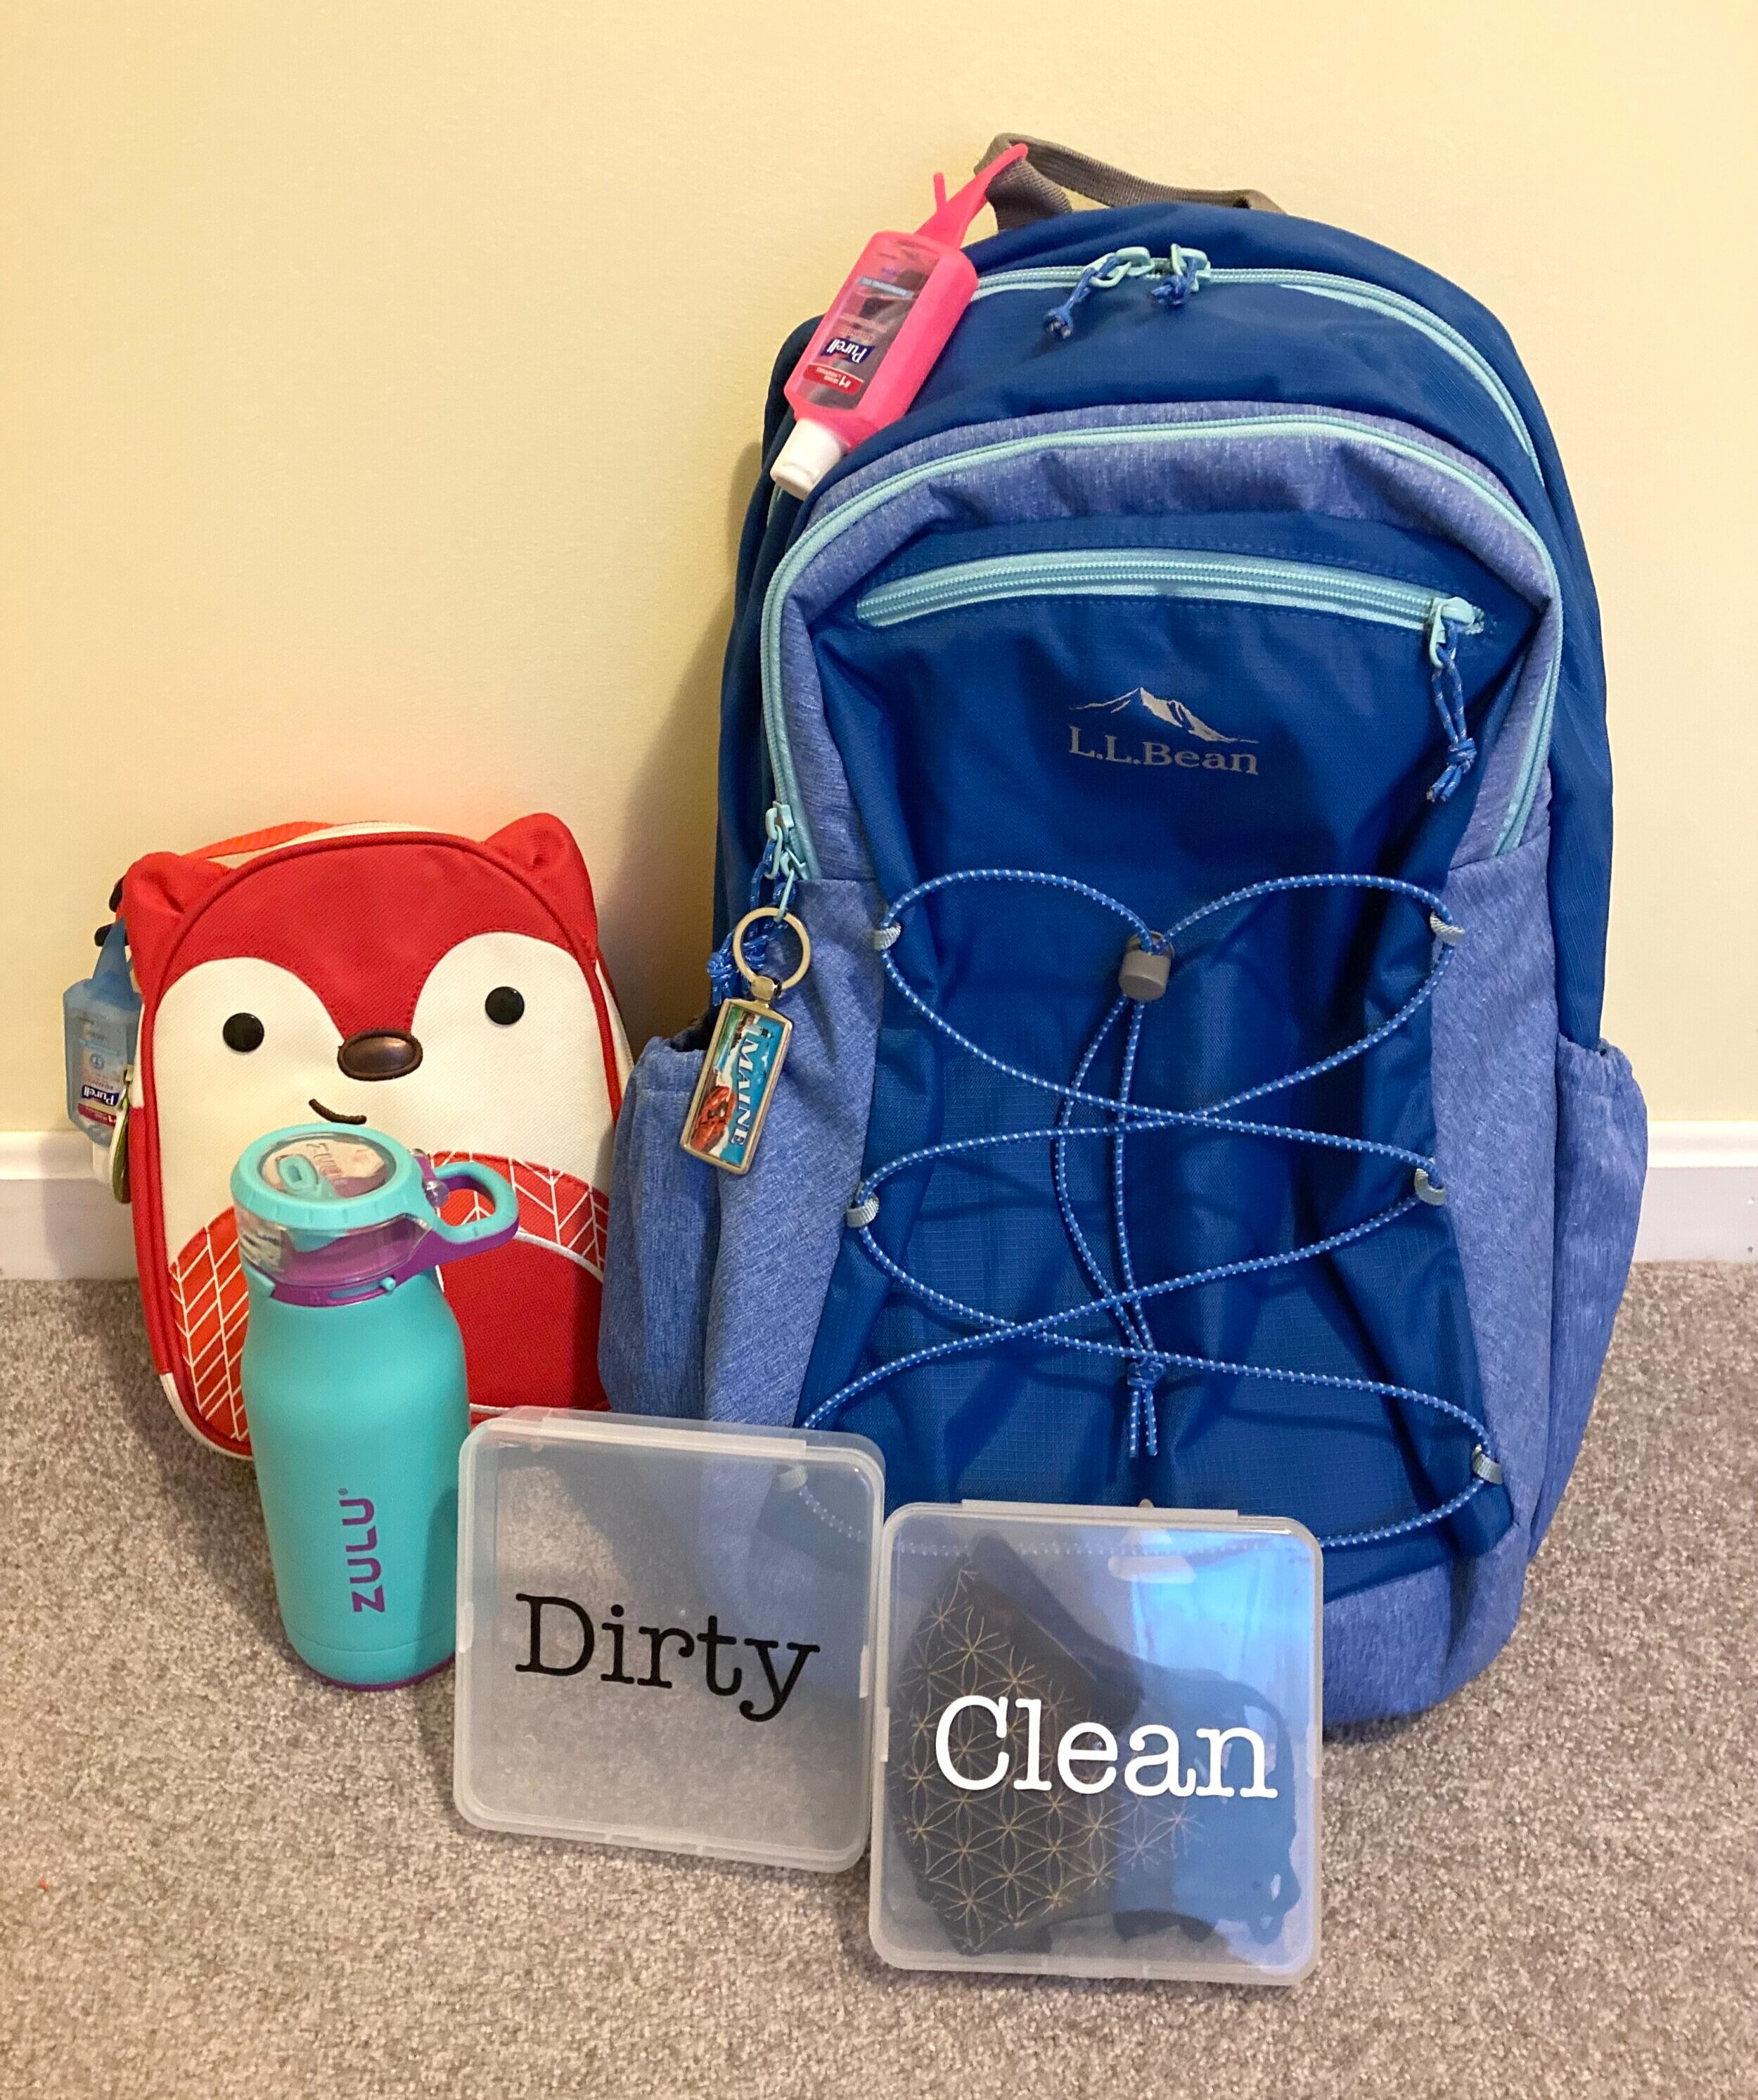
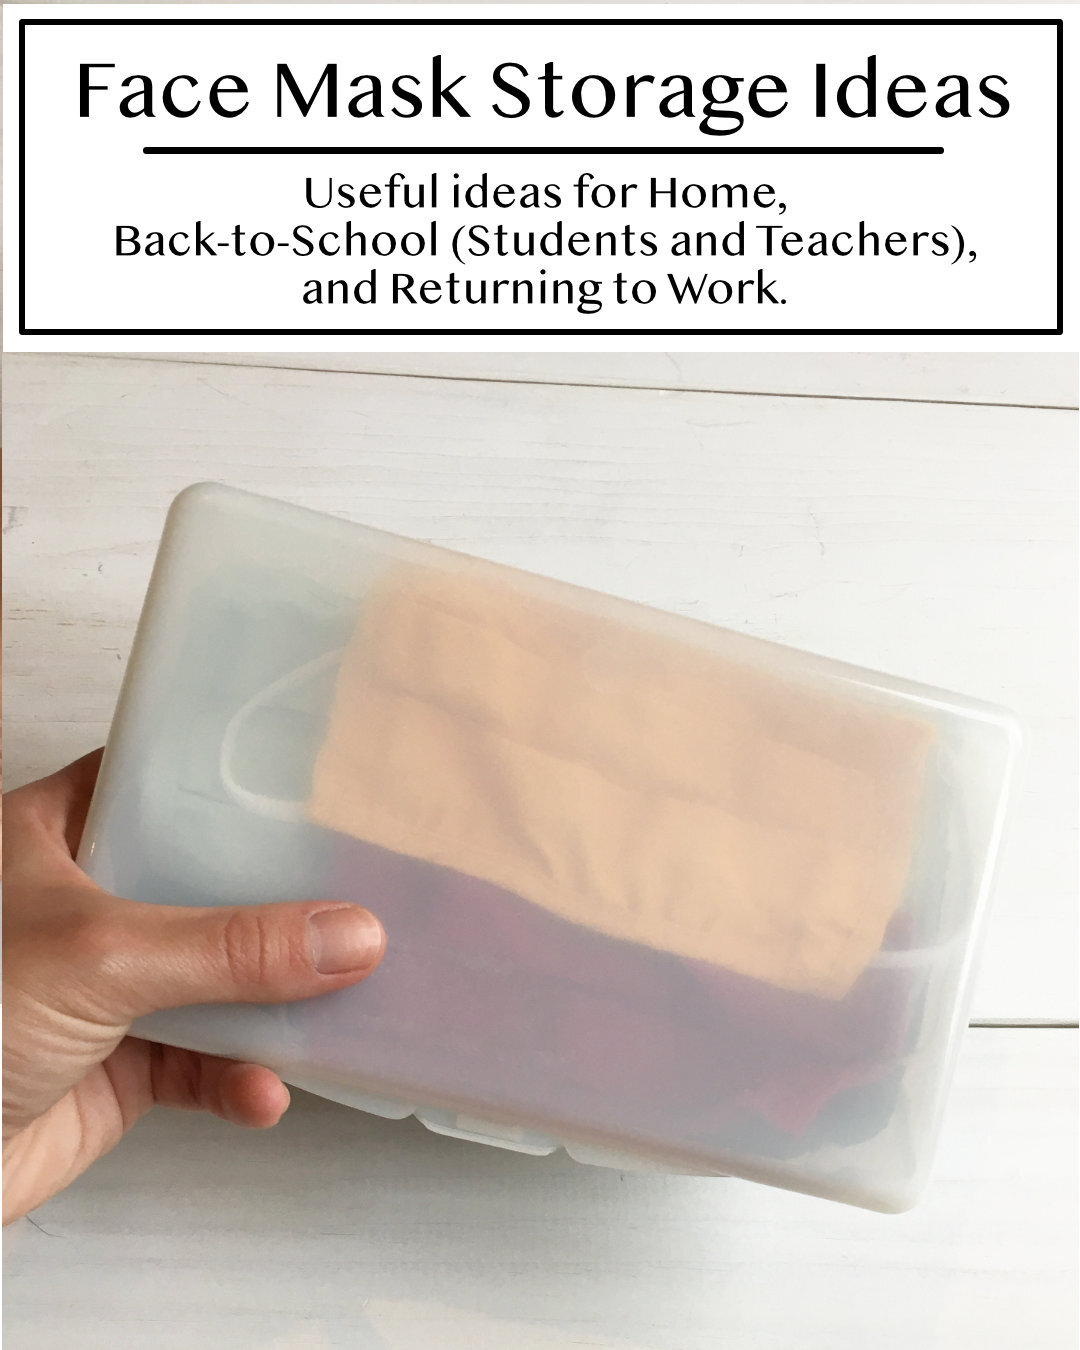
Extra Masks

Itโ€™s a sign of the timesโ€ฆ make sure you always keep a spare set of extra masks in your car for the whole family. That way youโ€™re never caught without one if you need it. We made our mask case using a slim wipes container (similar container linked here).

Disclaimer: Use organizers and other items at own risk. Make sure they are properly installed and compatible with your vehicle.

KEEP UP WITH BIRCH LANDING HOME
|  Etsy  |  Facebook  |  Instagram  |  Pinterest  |  Bloglovin'  |  Hometalk  |

Comment
Share

Cloth Face Mask Organization and Storage

Weโ€™re definitely living in different times right nowโ€ฆ and itโ€™s becoming clearer that it looks as though we will have to co-exist with the COVID-19 virus for the foreseeable future. Because of that anything we can do that might mitigate the risk of virus transmission, like always wearing face masks or face coverings when outside our homes, have become a part of our โ€œnew normal.โ€ Since mask-wearing should be part of your new routine whenever you leave your house, itโ€™s a good idea to have a system in place to make sure you always have clean masks at the ready and you never leave home without one. | This post contains affiliate links |

Cloth Face Mask Organization and Storage

Disclaimer: I am not giving medical advice. Make sure to always consult the CDC and local health officials for up-to-date recommendations on mask wearing, storage, and care. Cloth masks are not considered medical grade and should be washed in between each useโ€ฆ check with individual mask makers/companies on the best way to store/wash/care for your masks.

Mask Storage at Home

Cloth Face Mask Organization and Storage

Itโ€™s a good idea to keep your clean masks in a designated area of your home, preferably in a place where youโ€™ll be sure to grab one on your way out the door to do errands, go to work, etc. At first glance it might look like we have a lot of masks, but we really don't considering we're a household of four and it's essential to have enough masks to get through between laundry loads. We're still staying home and social-distancing very seriously, but whenever we have to do an essential errand/appointment or just go for a drive to get out of the house, we always make sure to have a clean mask for everyone thatโ€™s leaving the house.

In our home, we've designated a special basket that sits up high on our mudroom shelf, full of clean masks. We put the adult masks towards the back, and then kids masks in the front. I was unable to find a basket the same size on Amazon to link to, but I did find this sleek bamboo box that looks to be the perfect size. If you don't have shelf space for a basket, you could alternatively use wall-mounted baskets for storage.
Our masks are a mix of ones made with love for us by family members, as well as ones purchased from Old Navy and Miss Harlow VT (one of the local makers I featured in my "Masks by New England Makers" blog post).

If you don't like the idea of using a basket like we do and would rather hang your masks by the door, another option would be using a small set of hooks such as a set of compact coat hooks or key rack - or even just simple Command Hooks.

Mask Storage On-The-Go

Cloth Face Mask Organization and Storage

We have found a slim wipes container is the perfect size for holding several face masks on-the-go! In fact, we always make sure to leave our case packed with an extra mask for each family member in the car. That way we're always covered if we forget one or need to change masks while we're out of the house.
I think this would be a great way to carry extra face masks in your bag for work, or your child's backpack whenever they return to school. It would probably be a good idea to also keep a ziplock bag or separate sealed container in your bag in case you have a dirty/used mask that needs to be brought home to wash.

th Face Mask Organization and Storage

And if you wanted to take it a step further and have an organzied mask system on-the-go to put in your work bag or child's backpack, you might want to consider having two cases - one for clean masks and one for dirty masks. I ordered these clear mask cases from Amazon and cut labels for them on my Cricut. We'll be packing one with extra clean masks, and the other will be empty for dirty masks to come home in. Since we recently invested in some better quality masks I wanted to make sure they stay in cases when not in use to keep them in good shape.

Cloth Face Mask Organization and Storage

Alternatively, if you don't have any slim wipes containers hanging around you could also use Small Craft Storage Cases , which come in clear and a variety of colors. This might be more cost effective too if you needed multiple cases - especially if you needed one or more cases for each family member, or if you were a teacher and wanted to make a case for each student in your class.

You can also easily label any of these cases with a label maker.

Cloth Face Mask Organization and Storage

We always make sure to keep the car stocked with our plastic case of extra face masks, hand sanitizer, and disinfectant wipes to help protect ourselves when weโ€™re out doing errands.

Mask Care

Cloth Face Mask Organization and Storage

Always refer to individual mask makers/companies on the best way to care for each of your masks (hand wash only vs machine wash, line-dry vs dryer, etc.) But in general, all masks should be washed and allowed to thoroughly dry in between each use.

Since all of our masks are machine washable, we've found using a mesh lingerie laundry bag is perfect for keeping the masks from getting lost in the wash or caught on other items.

Quick Adjustment Tips

Quick Face Mask Adjustment Tip

If you feel like your face mask is a little large or isnโ€™t fitting as closely to your face as you would like, you can typically adjust it very easily by making a small knot in the ear loop elastics (as shown above) to make it smaller.

There are also lots of options for "ear saver" or "mask adjustment" straps available out there, though we have not personally tried any ourselves yet.

Cloth Face Mask Organization and Storage:  Mask Lanyard

One mask accessory that we've found super helpful lately are Mask Lanyards. We personally use them most often when we're out hiking or going for a long walk, that way the time we're out alone we can keep our masks down, however in the event we see someone coming up we can easily put them on if we need to pass others on the trail. We made a point to choose lanyards that have a breakaway safety feature, but use at your own discretion/risk.

Disclaimer: I am not giving medical advice. Make sure to always consult the CDC and local health officials for up-to-date recommendations on mask wearing, storage, and care. Cloth masks are not considered medical grade and should be washed in between each useโ€ฆ check with individual mask makers/companies on the best way to store/wash/care for your masks.


Vaccination Card Protector

Vaccinated? You may want to consider getting a Vaccination Card Protector for your vaccine card to help keep them protected and clean at home or while you're traveling. These are nice because you can remove your vaccine card to record updates/boosters if needed.


Related posts:


Face Mask Storage Idea for School and Work

KEEP UP WITH BIRCH LANDING HOME
|  Etsy  |  Facebook  |  Instagram  |  Pinterest  |  Bloglovin'  |  Hometalk  |

How we Turned a Coat Closet into a Functional, Organized Pantry

Our kitchen was lacking a pantry, so we often kept canned goods and backstock on a shelving unit at the foot of our stairs in the basement. But because half of our food and snacks were downstairs and half were upstairs it made for frequent mistakes when buying groceriesโ€ฆ it was hard to visualize exactly what we had and where so we often ended up overbuying certain things and forgetting to buy others. Tired of wasting money, food, and time running up and down the stairs I decided to make over a coat closet into a functional pantry. | This post contains affiliate links |

How we Turned a Coat Closet into a Functional Pantry

Now while this coat closet (pictured below) was pretty jammed full, it was very underutilized. Itโ€™s where we kept our off-season coats, hats, and boots as well as some hiking gear and my daughtersโ€™ Art Cart - most things we did not need to use daily, or often at all. My solution to this was to relocate all these items to our basement - I hung a closet rod under the basement stairs and moved all our off-season clothing and gear to this new space where it was still easily accessible but out of the way.

How we Turned a Coat Closet into a Functional Pantry

The next step was to pull out the old wire shelf and closet rod system, patch the holes, and repaint the inside of the closet. Thankfully I already had spackle and some leftover white paint so I was able to get the closet to a clean slate easily and it didnโ€™t cost a dime.

How we Turned a Coat Closet into a Functional Pantry

Now for the fun part! I got to decide how many shelves I wanted and the spacing, so I laid it out with painters tape to play with how I wanted it before I made a final decision. For our setup I decided on four shelves starting at about waist-height. I wanted to leave the bottom open to accommodate the dog food bin, the Art Cart, step stool, etc. Then I screwed in 1x3 inch โ€œrunnersโ€ that would support the shelves along the back wall. I used a stud finder to make sure I was screwing the runners into studs and a level to make sure everything was square.

How we Turned a Coat Closet into a Functional Pantry

Then I added runners to one side of the closet next, following the same routine - but with these pieces I had pre-drilled pocket holes with our Kreg Jig first so it would make for a clean and secure joint in the corners.

How we Turned a Coat Closet into a Functional Pantry

Before installing the runners on the opposite side of the closet, itโ€™s wise to keep in mind how you will be able to maneuver the shelf boards in once all the runners are in place (it would be very difficult to get the top shelf in with all the runners installed, for example). So before installing the opposite sideโ€™s runners I slipped some of the trickier shelf boards into place first (I used 1x12โ€s cut to length for the shelves) before I finished screwing in all the side runners.

How we Turned a Coat Closet into a Functional Pantry

I secured the shelves into place with some finishing nails, then taped off the shelves and runners to get ready for paint. I used primer and then several coats of white semi-gloss paint since itโ€™s a little easier to wipe down and keep clean.

How we Turned a Coat Closet into a Functional Pantry

I just love how farmhouse and โ€œShakerโ€ the exposed rails on the sides look and I wanted to play it up. Once the paint was dry I added some functional hooks to hang aprons, lunchboxes, etc on the side rails.

How we Turned a Coat Closet into a Functional Pantry

And now the project is complete! I am so happy with how it turned out and itโ€™s wonderful to have everything in one place. I can see this project saving us money on groceries in the long run now as everything will be in one place now and weโ€™ll be less apt to waste food.

Eventually, I would love to replace the closet door with a fun screen door and get some more glass jars and baskets for a cleaner looking pantry - but all in good time.

How we Turned a Coat Closet into a Functional Pantry

| Similar Clear Plastic Storage Bins | Dog Food Container (on the floor, just out of the picture) |

How we Turned a Coat Closet into a Functional Pantry

| Flour, etc. jars were made using Cracker Jars with custom vinyl labels I made on my Cricut | Vintage Pie Tins |

Over this past winter I added a few simple add-on organizers to our pantry to maximize the space and love how functional they are. Here they are below (and please excuse the glimpses of clutter in the pantryโ€ฆ as it now holds extra groceries and our family board games too - because, real life):

Additional Storage for the Walls

How We Turned a Coat Closet into a Functional Pantry

| Similar Wire Wall Basket | Mason Jars to store Trail Mix |

Under-Shelf Storage

How We Turned a Coat Closet into a Functional Pantry

| Wire Under-Shelf Basket - Perfect for Storing Potatoes! |

Decal for Pantry Door

How we Turned a Coat Closet into a Functional, Organized Pantry

It turns out our door is an odd size and in order to get a screen door for it we would have to custom order one (at a cost of about $300+! Yikes). So instead I decided to cut a custom vinyl label to stick to the door to make it more finished. I could have designed my own but I found a design I really liked on Etsy and bought the digital design file. After purchasing the design file, I used my Cricut and 651 Permanent Vinyl to make the label and then transferred it to the door. In hindsight I probably should have made it slightly smaller, but overall I love how it came out and how budget-friendly it was since I already owned a Cricut Machine and the vinyl.

| Pantry Digitial Design File | Cricut Machine | 651 Permanent Vinyl in Matte Black |

Back of Door Organizer

How+we+Turned+a+Coat+Closet+into+a+Functional%2C+Organized+Pantry

Finally, we decided to add a ClosetMaid Adjustable Organizer to the back of the pantry door to fully utilize the space. It was very simple to install and I am impressed with how sturdy it is once it's assembled and screwed in. We used the lower baskets for foil, parchement paper, ziplocks, silicone bowl covers, etc. The middle baskets we designated for frequently used canned goods, smoothie mix-ins, as well as salad fixings and rice cakes. Finally on the top two baskets we put convenience foods that we rarely use since I'm so short. Note: If you have a hollow-core door, you might want to use a specialty set of anchors/screws to attach it to the door for stability, rather than just screw into the door with regular screws.

| ClosetMaid Adjustable Organizer (18 inch) | True Nature Silicone Food Covers |

Stackable Canned Goods Organizer

Another later addition to our pantry organization are these amazing stackable can racks for organizing canned goods. Before I had quite a few canned goods just sitting on the floor of the pantry and in a separate kitchen cupboard, but I never could see everything at once and often cans in the back got forgotten -- Now everything is in one spot where I can see them and I can meal plan more efficiently.

| Stackable Can Rack Organizer (I have two racks stacked here) |

OXO POP Containers with Scoops for Snacks

OXO Containers with Scoop

Another thing that's been a huge game changer is moving dry snacks into OXO POP Food Storage Containers. We love these for our snack crackers and pretzels. They keep everything fresh and it's easy to see if you're starting to run low on these staples. To keep the kids from going too wild with serving sizes we added clear OXO 1/2 Cup Scoops in each container too - making it easy to grab a serving.
I used my Brother Label Maker to make labels for the containers. These can easily be peeled off and relabeled as needed.

| OXO POP Food Storage Containers | OXO 1/2 Cup Scoops | Brother Label Maker |

Disclaimer

This website shares personal opinions and experiences regarding a variety of topics. Please do your own research regarding all things and use information/opinions stated here at your own discretion and risk.


Check out our Related Posts:

KEEP UP WITH BIRCH LANDING HOME
|  Etsy  |  Facebook  |  Instagram  |  Pinterest  |  Bloglovin'  |  Hometalk  |

Christmas Garland Storage Hack

I love Christmas as much as anyone, but once the holidays are over Iโ€™m ready to pack it all up and start the New Year fresh with a clean house! Some of the most annoying decorations to pack up for me has been garland or string lightsโ€ฆ they just get tangled so easily which makes unpacking them next Christmas equally as aggravating.

A simple solution? Cut out a piece of cardboard in a โ€œspool shapeโ€ and wrap the garland or lights around it. This packs neatly away and keeps things from getting tangled. Trust me, youโ€™ll thank me next Christmas ;)

Christmas Garland Storage Hack

KEEP UP WITH BIRCH LANDING HOME
|  Etsy  |  Facebook  |  Instagram  |  Pinterest  |  Bloglovin'  |  Hometalk  |

Comment
Share

Going โ€œKonMariโ€ on my Daughterโ€™s Bureau

Our daughterโ€™s bureau was a train wreck and I just couldnโ€™t take it anymore. Sheโ€™s been very much into picking out her own clothes lately and tends to dig around in her drawers until she finds what she wants, without putting anything back the way it was. Today I finally decided to tackle the disaster and emptied her bureau, folded everything in the โ€œKonMariโ€ style, and put it back with order.

BEFORE

BEFORE

Whatโ€™s the KonMari style? Well, technically the first step is to only keep what you truly love or use, and purge the rest (I pulled out a few items that she was starting to outgrow, but most of her clothes stayed). Then you fold everything uniformly so it can stand up in the drawers and be โ€œfiled,โ€ allowing you to see everything at once. This is a great way to fold your clothes as you can see everything all at once and keeps you from falling into the rut of constantly wearing just whatโ€™s on top.

AFTER

AFTER

As you can see I came up with a basic system for the drawer too - I grouped all her t-shirts together, then long-sleeve shirts, then sweatshirts and tank tops. (This folding technique also seems to be a lot more efficient as thereโ€™s even some empty space now!) I also tackled her other drawers too and tidied up her jeans, pants, and PJs. Overall I think it looks great and should help make getting ready for school in the morning a breeze.

How I organized it:

Going "KonMari" on my Daughter's Bureau:  AFTER

I already had my own drawers folded in the KonMari style and love it - itโ€™s so nice being able to see all your options at once when youโ€™re getting dressed in the morning. As for our daughter, I explained the new setup to her and she understands it (she was honestly really excited about her neat drawers when I first showed them to her) - but the reality is sheโ€™s five years old and thereโ€™s no way itโ€™s going to stay this organized on itโ€™s own. I also donโ€™t think itโ€™s worth nagging her over it to keep it this way, itโ€™s really not a fair expectation for a five year old. So, weโ€™ll see how long this lastsโ€ฆ Iโ€™ll do my best to tidy it up when I can and try to keep some semblance of order but it wonโ€™t always be picture-perfect and thatโ€™s okay. Thatโ€™s life ;)

One Week Update: She actually kept the system perfectly! Just a few things had fallen over and one item was crumpled up and put back, but 95% of it was still perfect. Iโ€™m super impressed that an almost 5-year-old can keep the system that neat. But it goes to show, that if she can do it - so can you!

Related Post:

KEEP UP WITH BIRCH LANDING HOME
|  Etsy  |  Facebook  |  Instagram  |  Pinterest  |  Bloglovin'  |  Hometalk  |

Comment
Share

Easy DIY Wooden Bed Risers

In our master bedroom our bed sits on a standard metal bed frame.  Not only were the legs still visible under the bedskirt, but the bed was about an inch too low to fit underbed storage containers!  Not being able to store much under the bed was a huge inconvenience and after tripping over these containers in our walk-in closet for far too long I decided to make my own bed risers and fix the issue once and for all. 
| This post contains affiliate links |

Easy DIY Bed Risers

Now this isn't exactly a glamorous or high-end project, but I think you'll agree that the Before and Afters speak for themselves - it's a huge improvement over what was there and helps fit more under the bed for critical storage.  

The wrinkly, too-short bedskirt shows the ugly metal legs and the limited storage underneath.

The wrinkly, too-short bedskirt shows the ugly metal legs and the limited storage underneath.

Materials:  

  • ruler
  • chop saw or handsaw
  • 2x4 lumber
  • 1x5 lumber (or whatever size wood will cover the legs of your bed + the thickness of the 2x4)
  • woodglue
  • screws
  • drill/screw gun
  • sandpaper
  • stain or paint

How-To:  

Working on the DIY Bed Risers

First measure the height of the legs of the bed (in our case the back side of the leg has a support bracket which is why you'll see the back side of our risers are slightly shorter) and add this height to 1.5 (the actual thickness of a 2x4).  This is the height your side boards will be for the bed riser.  For us it came to about 5 inches along the front three sides and 4 inches in the back.  

Next cut your 2x4 to size to fit comfortably under the legs of your bed.  Then cut all the side pieces to size, creating a box around the 2x4 base.  

Before assembling, it's a good idea to lay it out under one of the legs of the bed to make sure everything fits properly (as you can see from the "cut-away" example I have below).  Here you can see how the leg sits on the 2x4 base with all the side pieces around it.  

DIY Bed Risers "Cut-Away" View

Once you have all your pieces cut to size, pre-drill, wood glue, and screw everything together.  We used black screws so they would blend in better with the dark stain we chose.  Make sure everything is attached sturdily then sand and stain/paint in the color of your choosing.  We went with a dark stain since the rest of our bedroom set is a darker wood.  

DIY Bed Riser built and ready for stain!
A finished riser.

After everything was dry, I had my husband help me by picking up one corner of the bed at a time so I could place a riser under each leg.  I also purchased a longer bedskirt that better fit the new height of the bed.  These risers aren't the most beautiful DIY project but they're pretty un-noticeable with the longer bedskirt - and the best part?  Now I can finally fit the storage totes under our bed!  

Disclaimer:  Always make sure the risers you build are appropriate for your bed and your situation.  Make sure it's safe and sturdy! Use at your own risk.

DIY Bed Risers - After!


Related Posts:

KEEP UP WITH BIRCH LANDING HOME
|  Etsy  |  Facebook  |  Instagram  |  Pinterest  |  Bloglovin'  |  Hometalk  |

Easy DIY Book Rails

In our daughter's small bedroom, space is at a premium.  We try hard to make the most of the space and keep the floor as open as possible to help the room feel a little bigger and give her more area to play.  On one wall of her room, there is a very shallow nook I wasn't sure what to do with but wanted to make it an efficient use of space.  After some thought, I decided building some custom book storage would be the perfect solution.  

DIY Book Rails, Book Ledge, Storage.  Kids Room / Nursery

Materials:  

IMG_8626.JPG
  • 1x3 boards

  • 1x2 boards

  • screws

  • wood glue

  • spackle

  • level

  • painters tape

How-To:  

1.  Cut the wood the desired length of the rail shelf.  You will need two 1x3 boards and one 1x2 board for each rail.  

2.  Line up the boards as shown below (the wide ones on the bottom and back, and the narrow one at the front).  Pre-drill, then glue the edges, and secure with wood screws.  

IMG_8625.JPG
IMG_8641.JPG

3.  Once it's dried and secure, spackle the screw holes, let dry, and then apply 3 coats of paint (I used semi-gloss trim paint).  

IMG_8752.JPG

4.  Next mark the location of the studs and the approximate spacing of the book rails.  I could have easily put three rails in this space but I didn't want our toddler trying to climb it like a ladder, so I decided to only do two.  

IMG_8764.JPG

5.  Center the book rails in the space and use a level to hang the book rails, pre-drilling and screwing the book rails into the wall studs.  

Leveling the book rails for hanging.

6.  Decorate and add your books!  While these are pretty sturdy, I would recommend being mindful of the weight put on the rails - don't put too many books or large, heavy books on them, especially since your little one will be reaching up to pull books off and you don't want anything heavy to topple off.  

And finally I decided to build a simple, sturdy narrow crate to hold our daughter's bigger, heavier books.  


IMG_9328.JPG

KEEP UP WITH BIRCH LANDING HOME
|  Etsy  |  Facebook  |  Instagram  |  Pinterest  |  Bloglovin'  |  Hometalk  |