Favorite Finds of 2020
I thought I would do a quick round up of my Favorite Finds of 2020. These are products or items that we loved or used frequently and were new to us this past year or became a staple in our routine - best of all, most are under $30! | This post contains affiliate links |
Favorite Finds of 2020
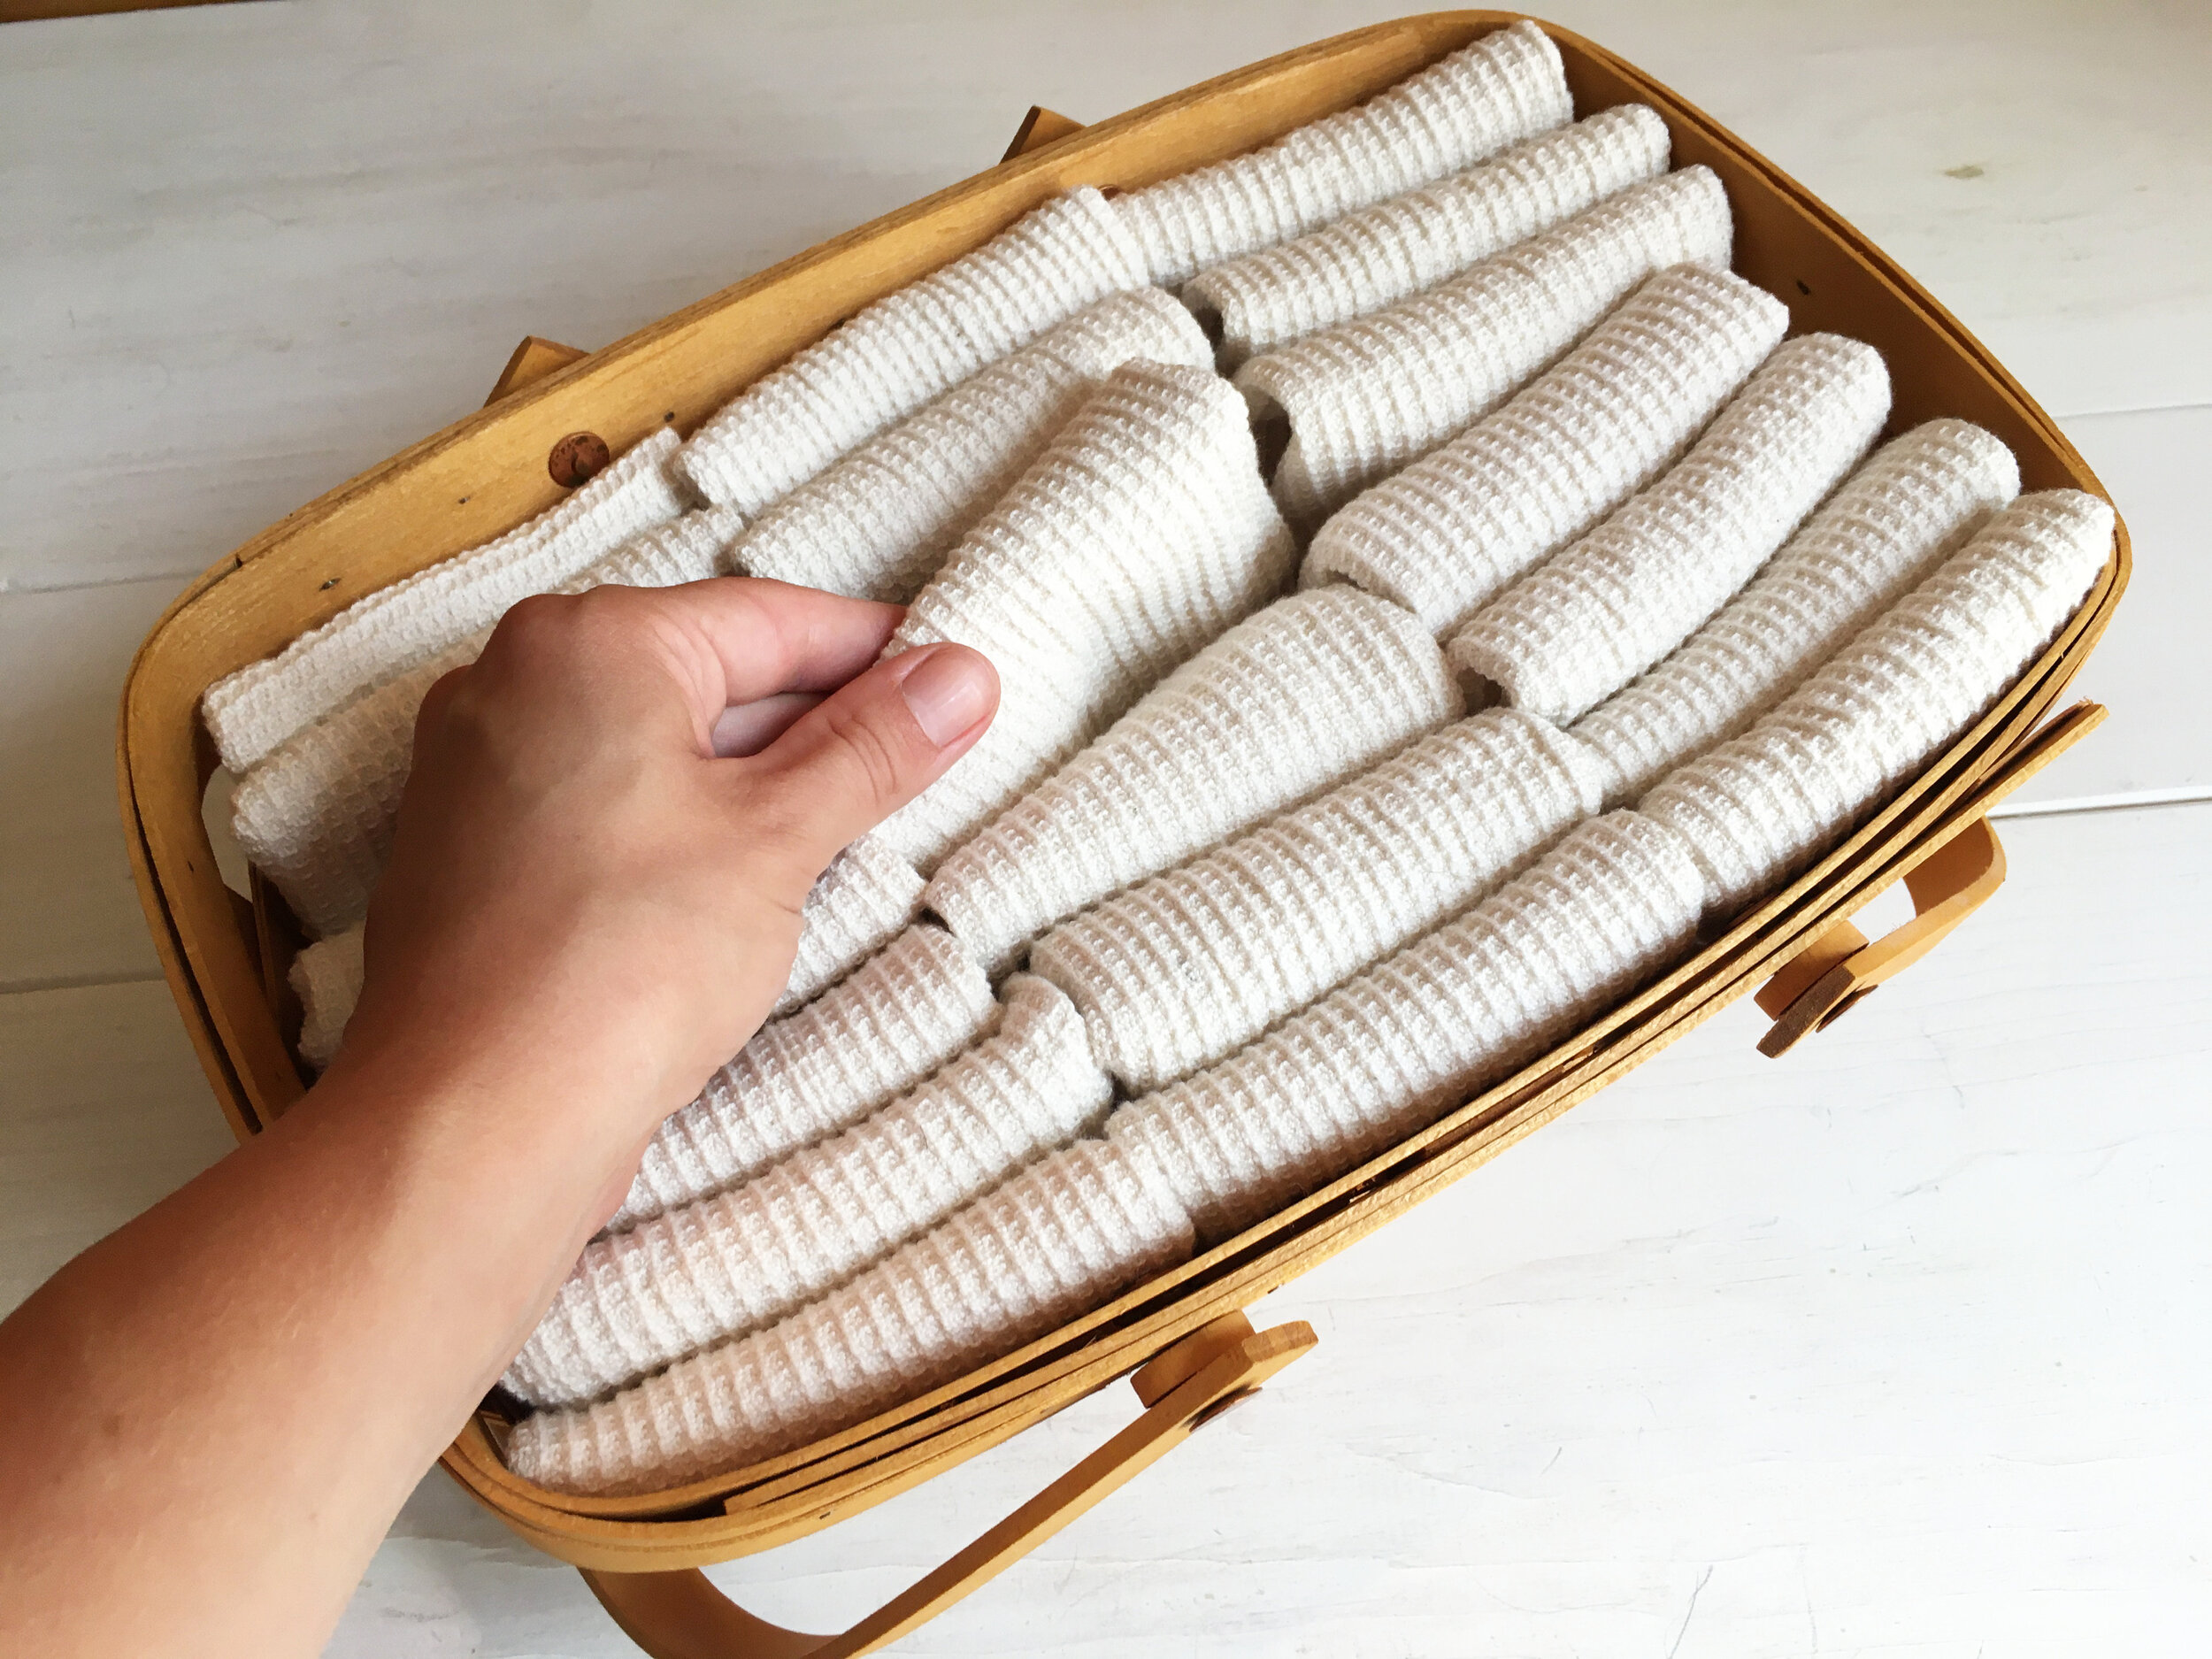
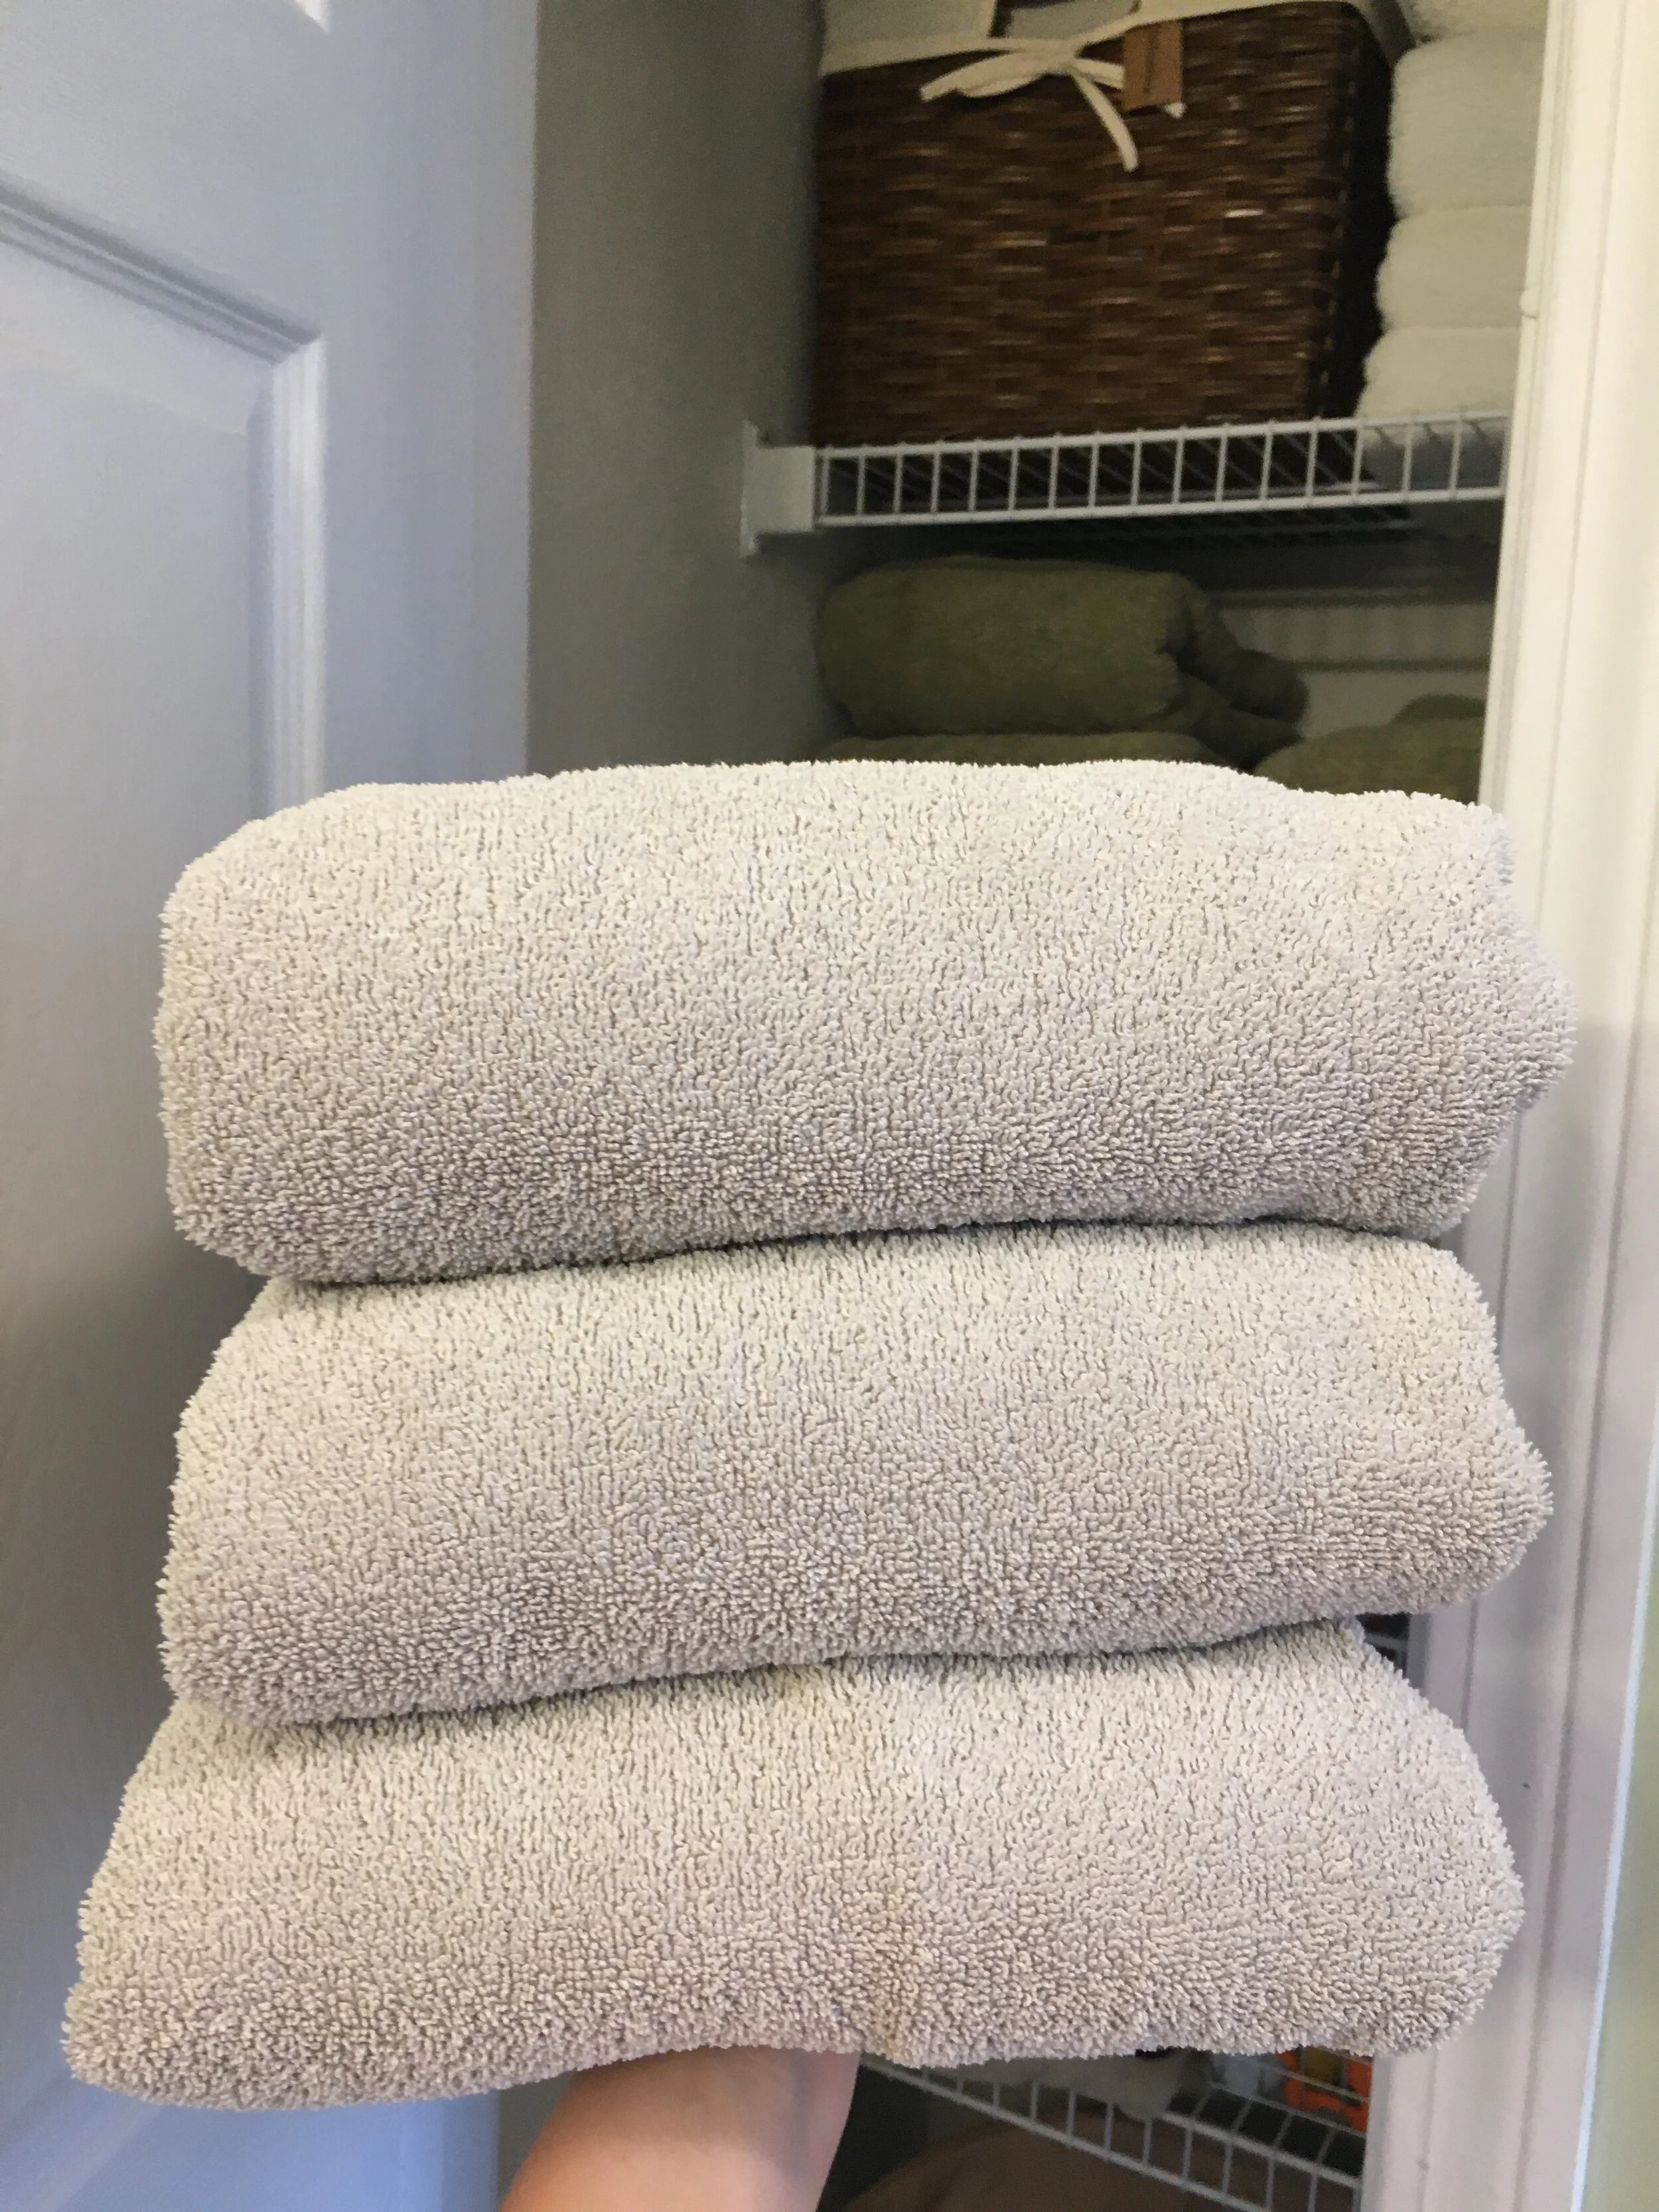
“Unpaper Towels”

I know I've talked about this several times now, but making the switch to these "Unpaper Towels" has definitely been my top Favorite Find of 2020. They save us money every month on buying paper products and since they're reusable they're good for the environment in the long run. So happy we made the switch!
Stars Above Pajama Set

With the year that it's been having a cozy PJ set has been a must. I got this Stars Above Pajama Set from Target (just added it on to my online order) this winter and they have quickly become my favorite. They are SOO soft and luxurious feeling, perfect for lounging around at home.
OXO Cold Brew Coffee Maker

My husband got this OXO Cold Brew Coffee Maker as a birthday gift and we've both been enjoying it all year. Now that we can't go out for coffee all the time it's been really nice to be able to make our own cold brew concentrate right at home.
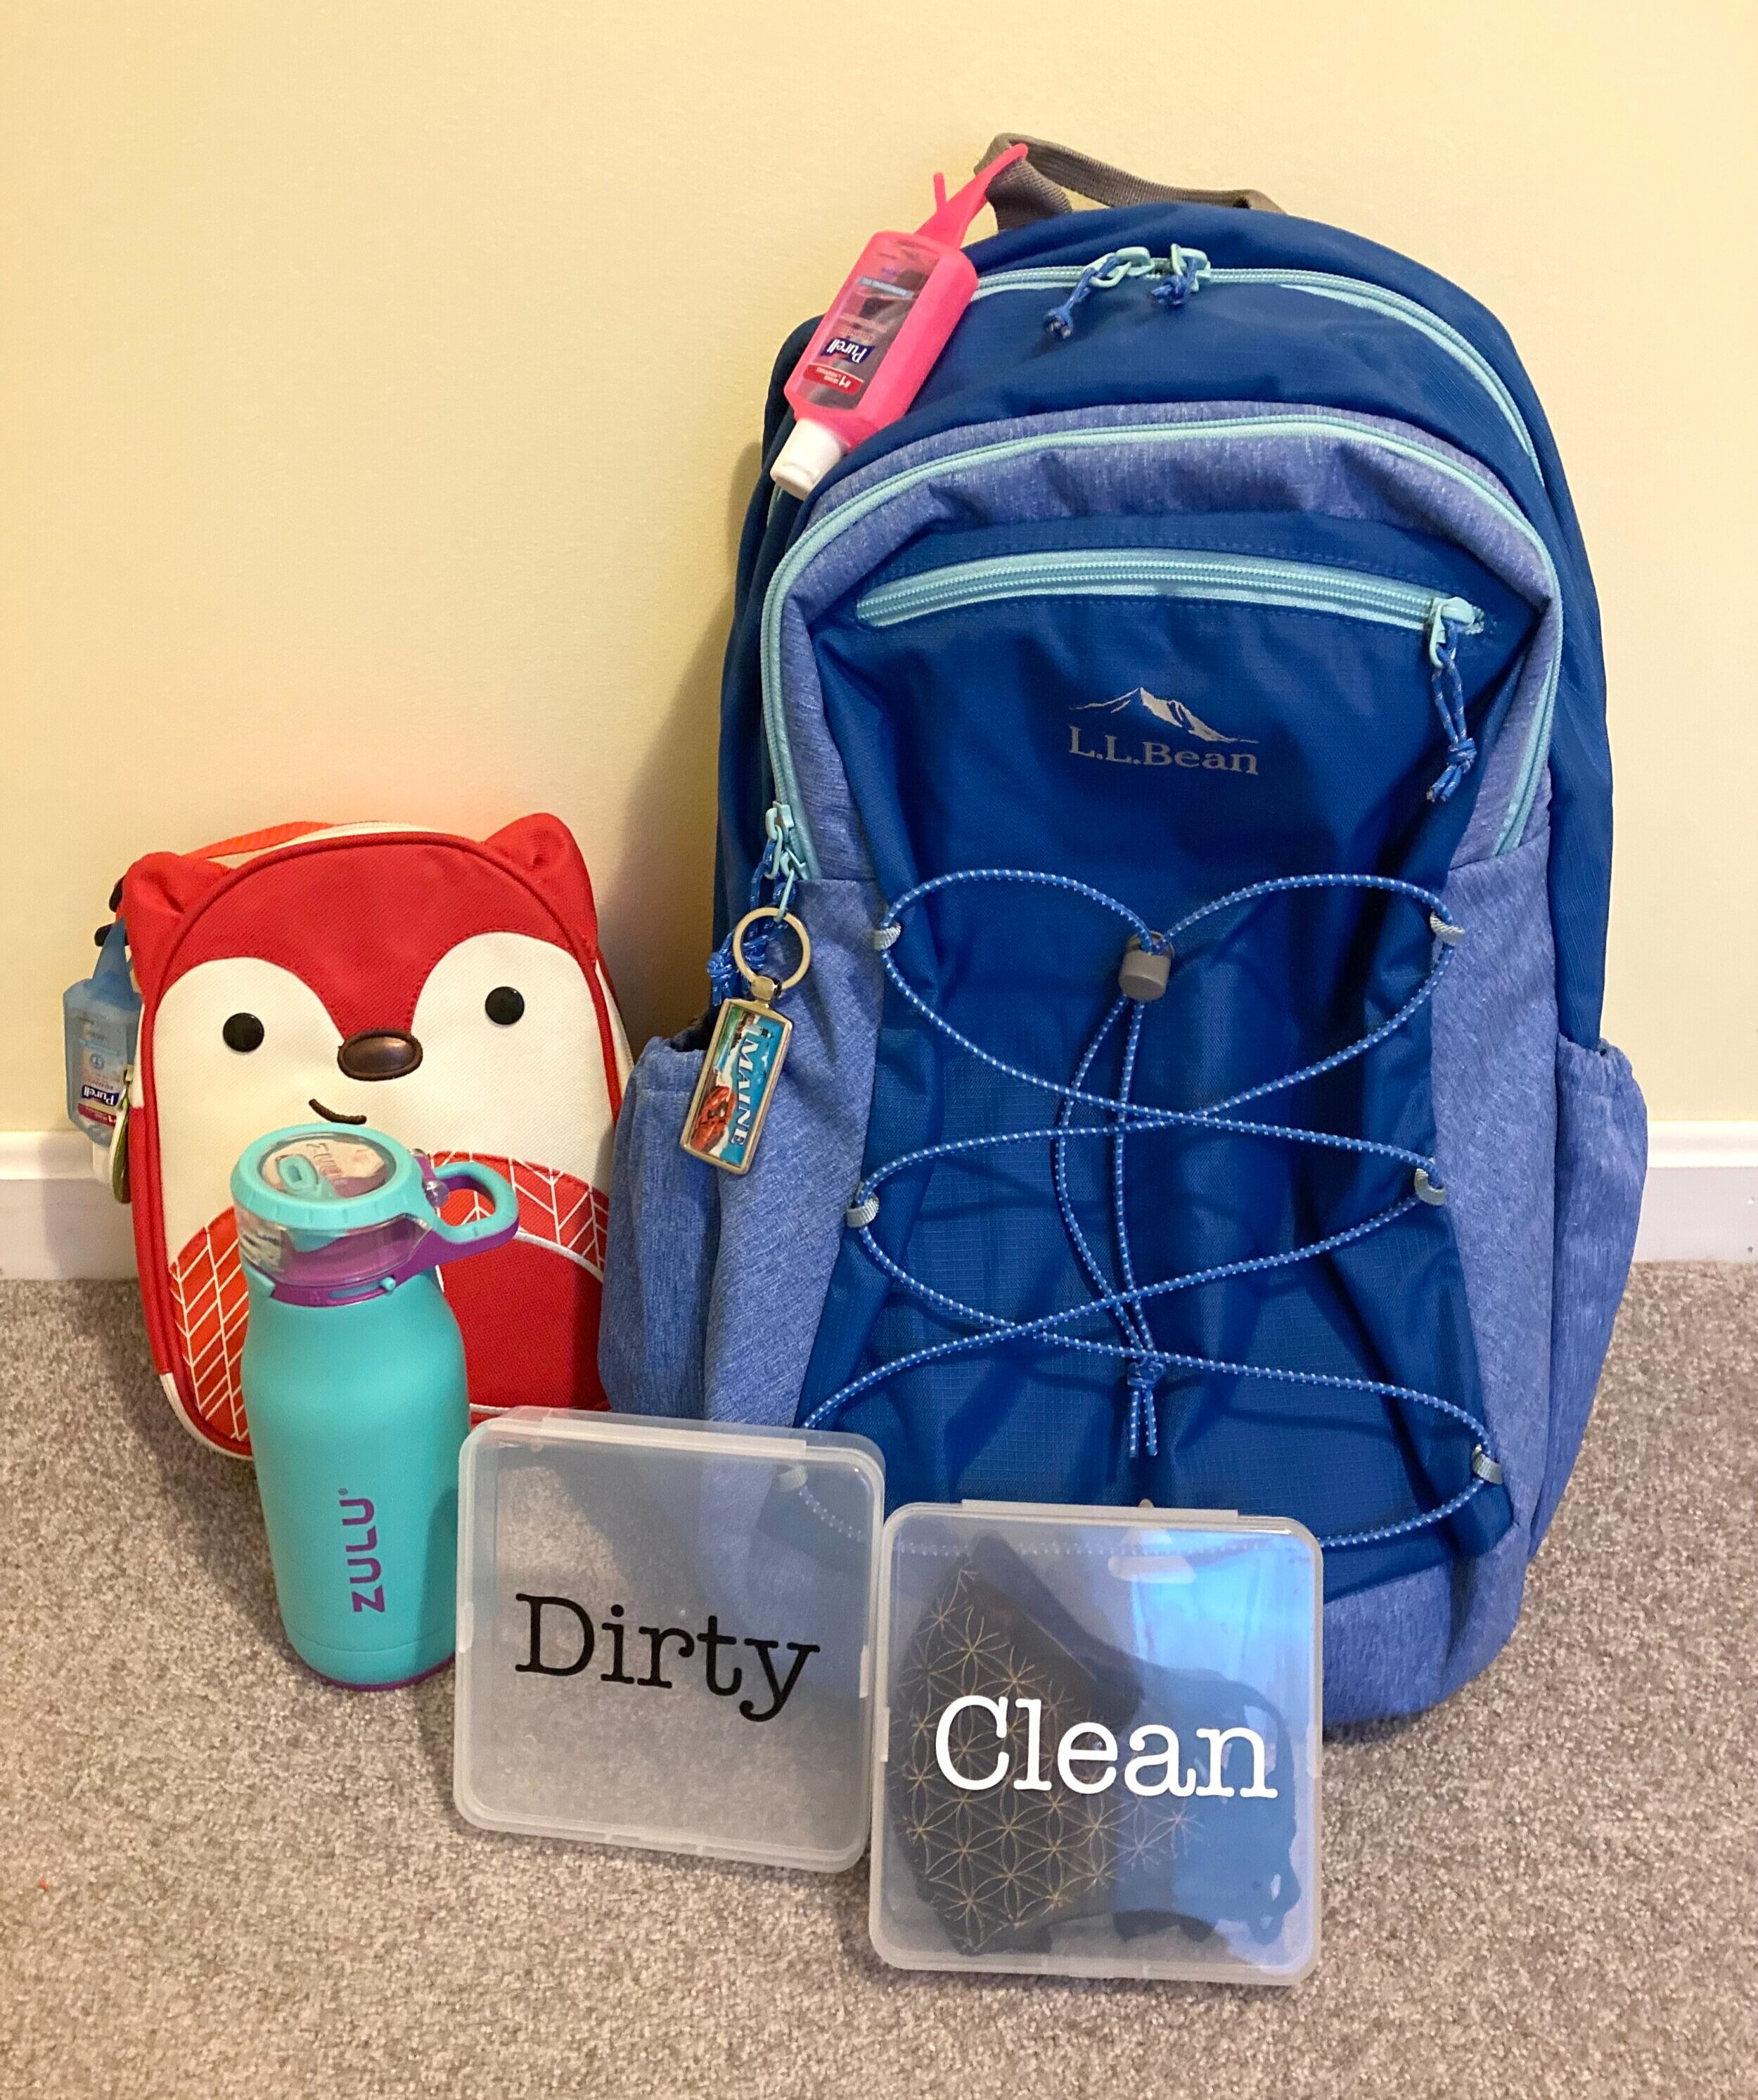
Mask Lanyards

Mask Lanyards have been the unsung accessory hero this year. We've been using them every time we go hiking so we can have our masks at the ready if we unexpectedly come across others. We chose ones with a breakaway feature for some added safety.
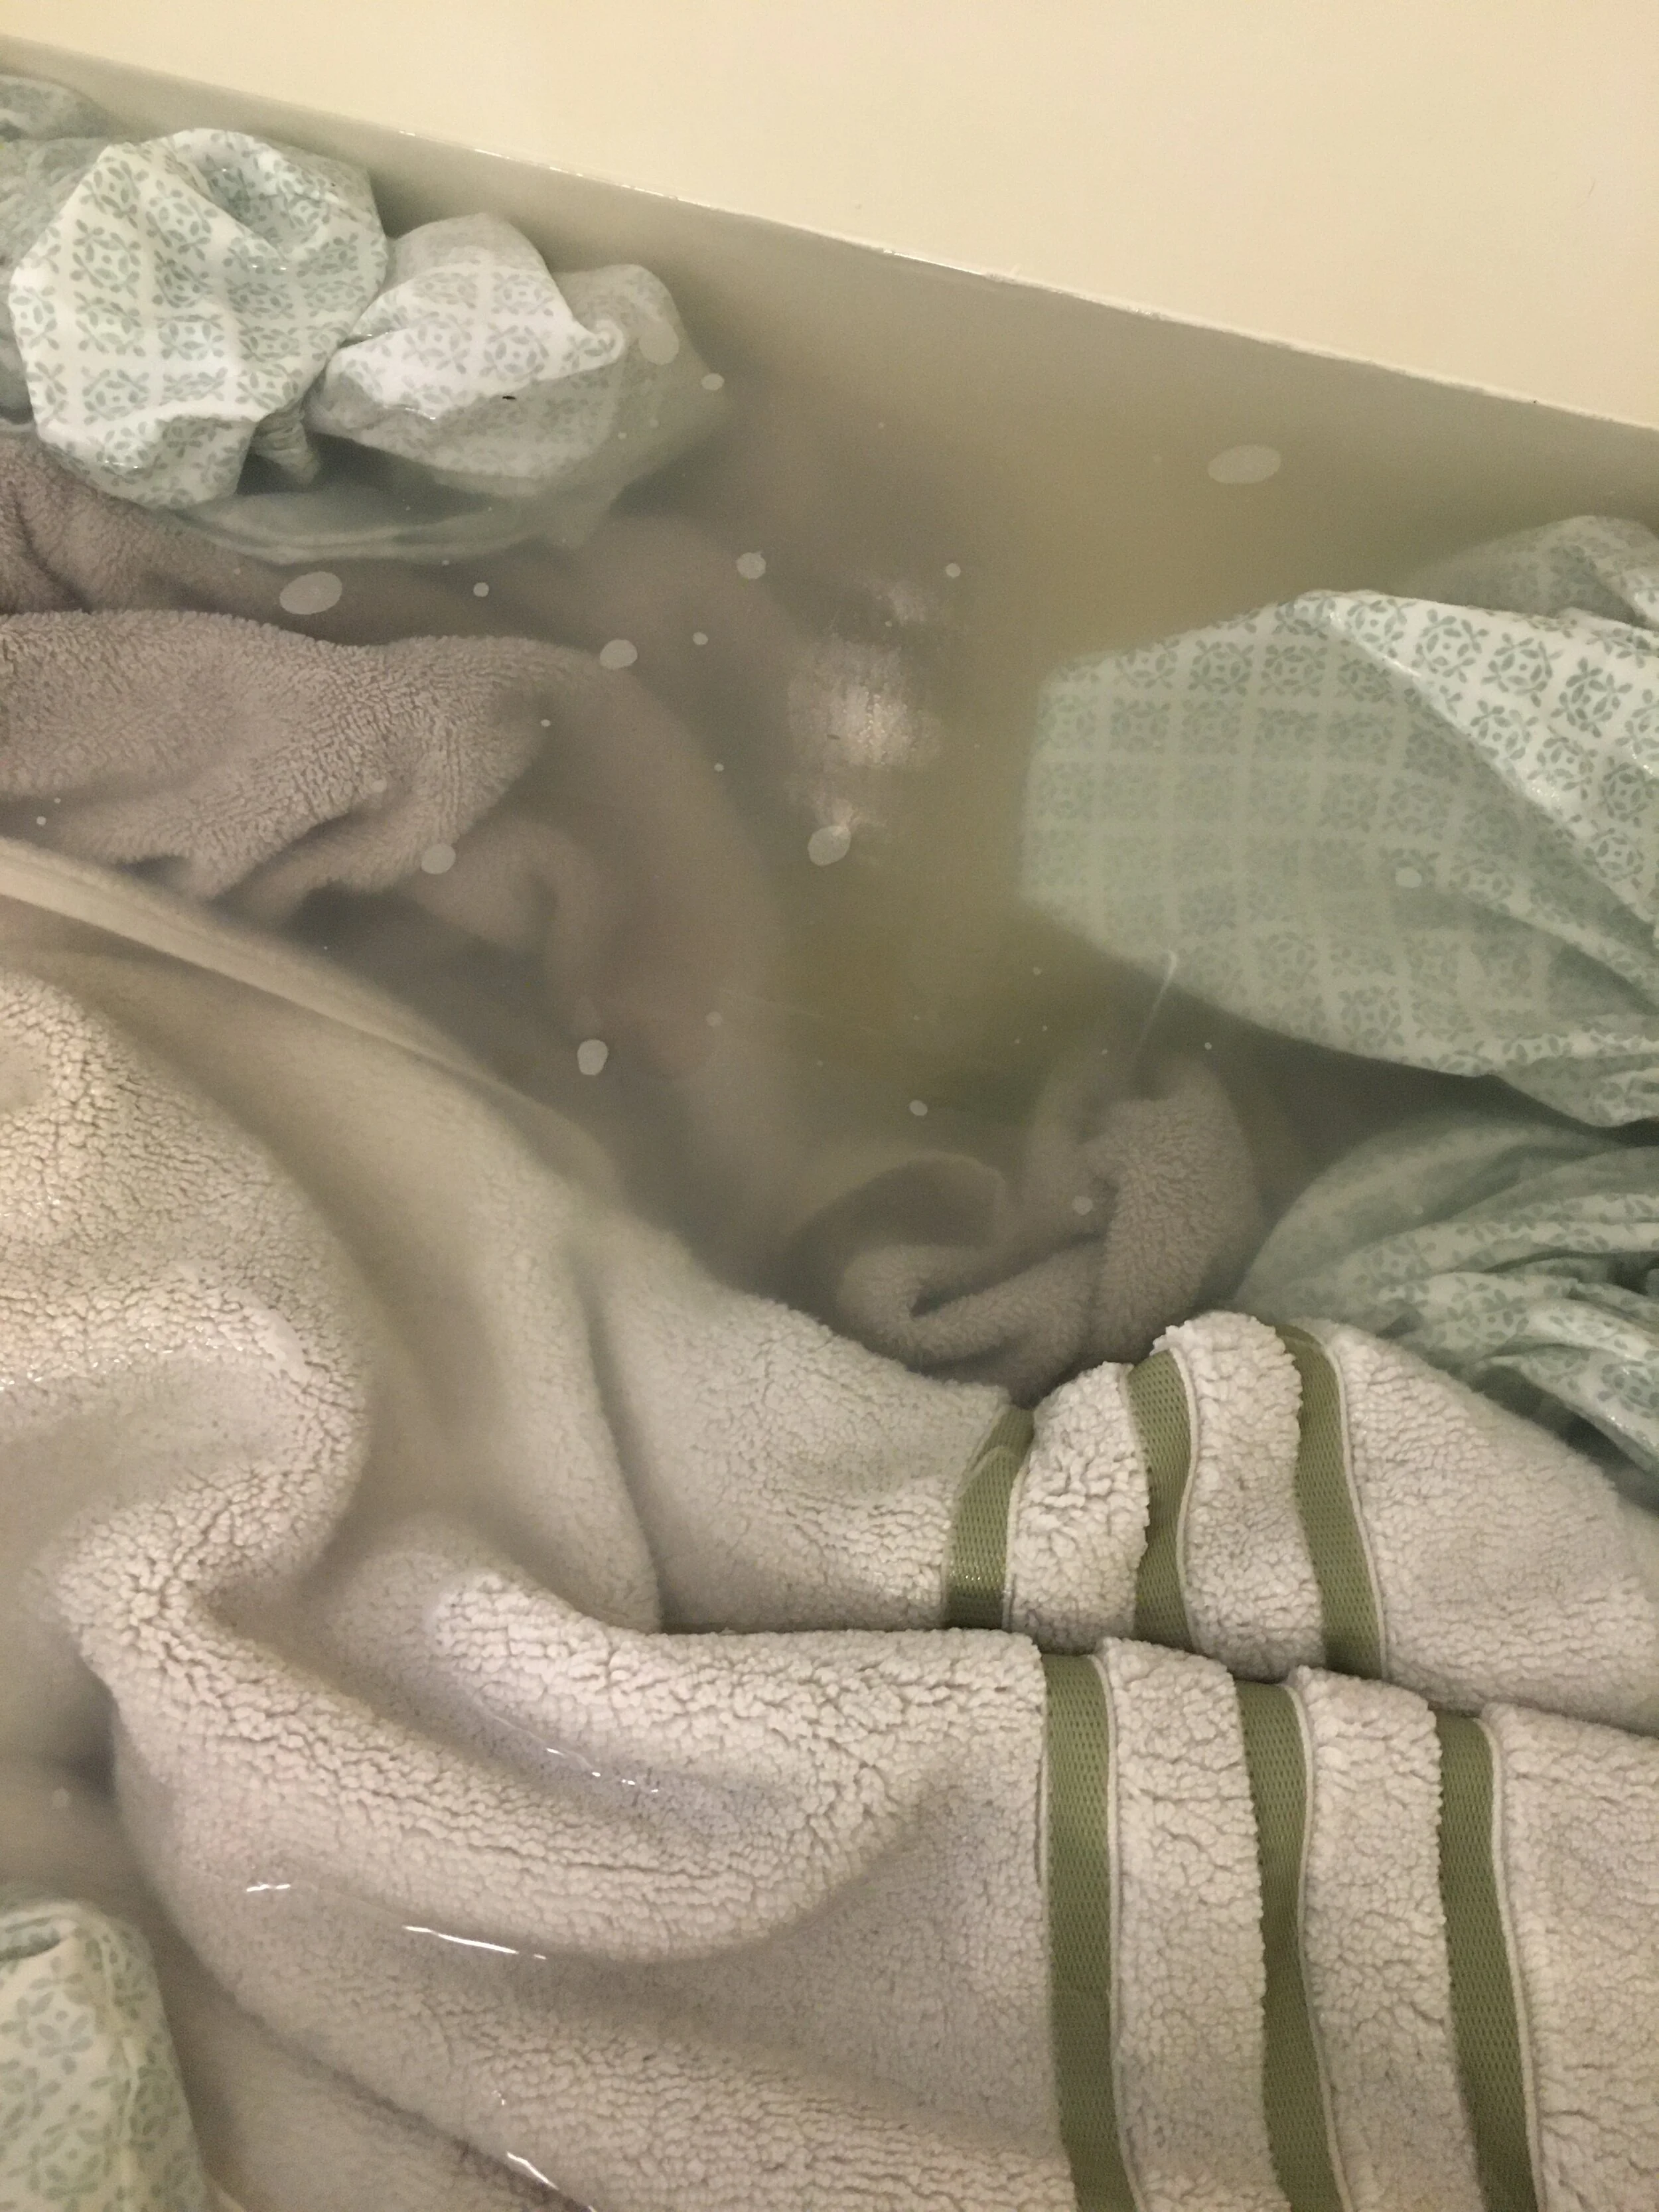
Aura Cacia Aromatherapy Spray

This year I've been using my Aura Cacia Lavender Aromatherapy Spray on our linens every night before we go to bed - it's so relaxing and spa-like and we find it helps us fall asleep. (Make sure to spot test on your linens first, but we've had no problems using it on our fabrics.)
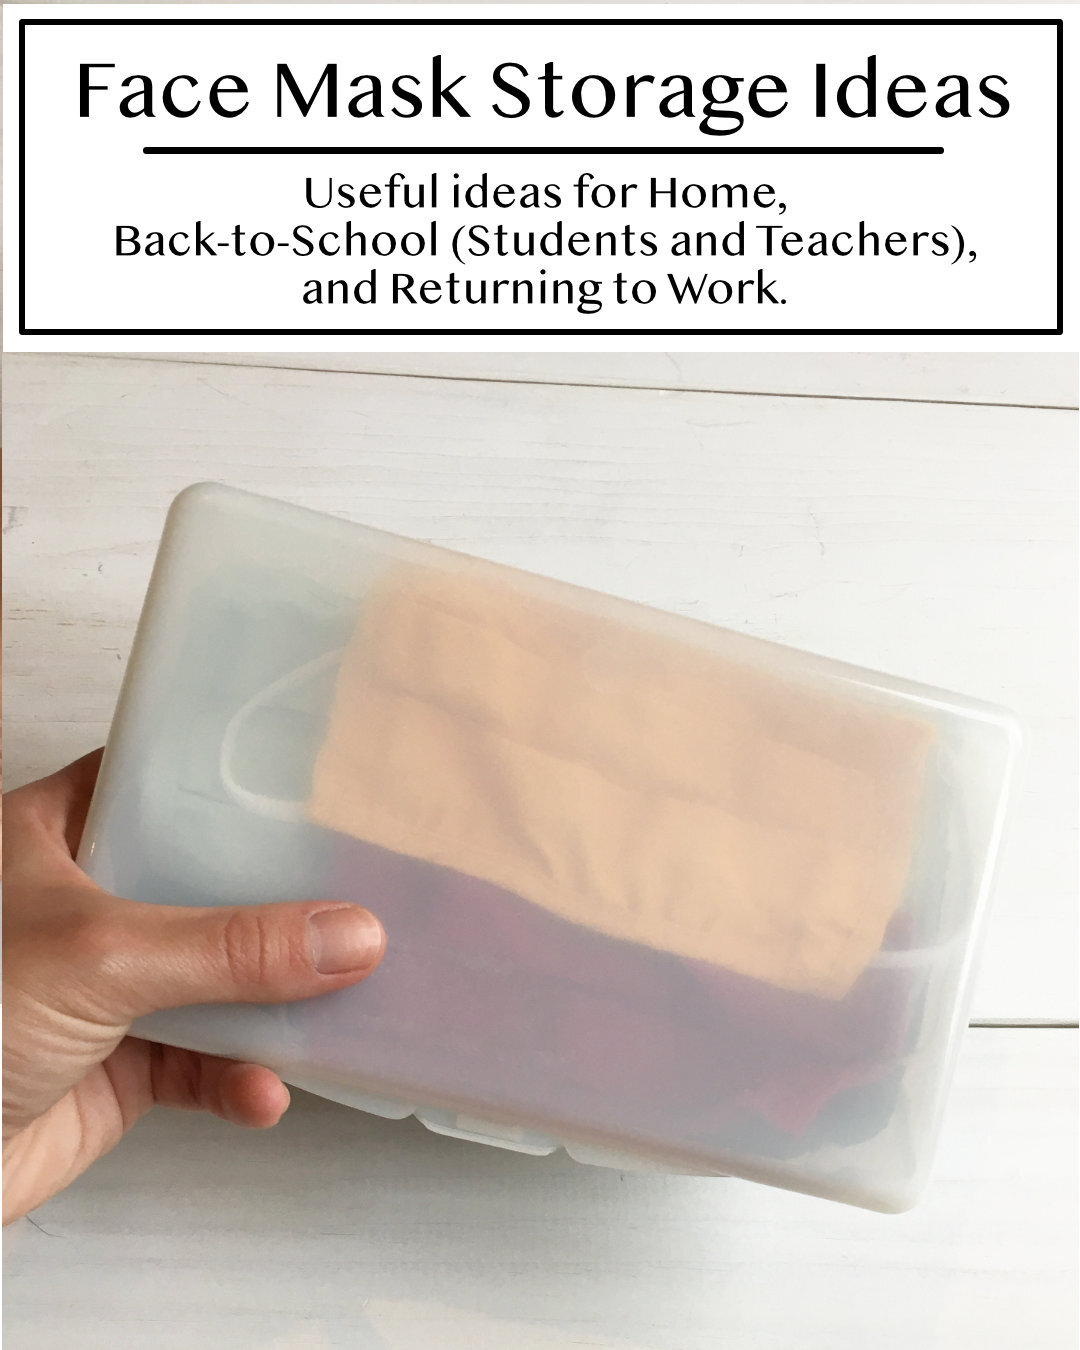
Powdered Tide for Cleaning

This year I jumped on the Powdered Tide bandwagon - for cleaning, not for laundry. Just a little Powdered Tide mixed with warm water does wonders for washing smudgy walls and built-up grime on surfaces. I keep it under my kitchen sink (in an airtight plastic bag so moisture doesn't get to it), so it's ready to use anytime. It's such a great cleaning hack!
Hug Patrol Shoulder Wrap

I mean, who couldn't use a hug this year? Hug Patrol makes weighted wraps, blankets, and more. I collaborated with them last January (you can read that previous post HERE), but the wrap became a wonderful addition to my routine. It's so peaceful and comforting to curl up on the couch with a good book and the weighted wrap across my shoulders.
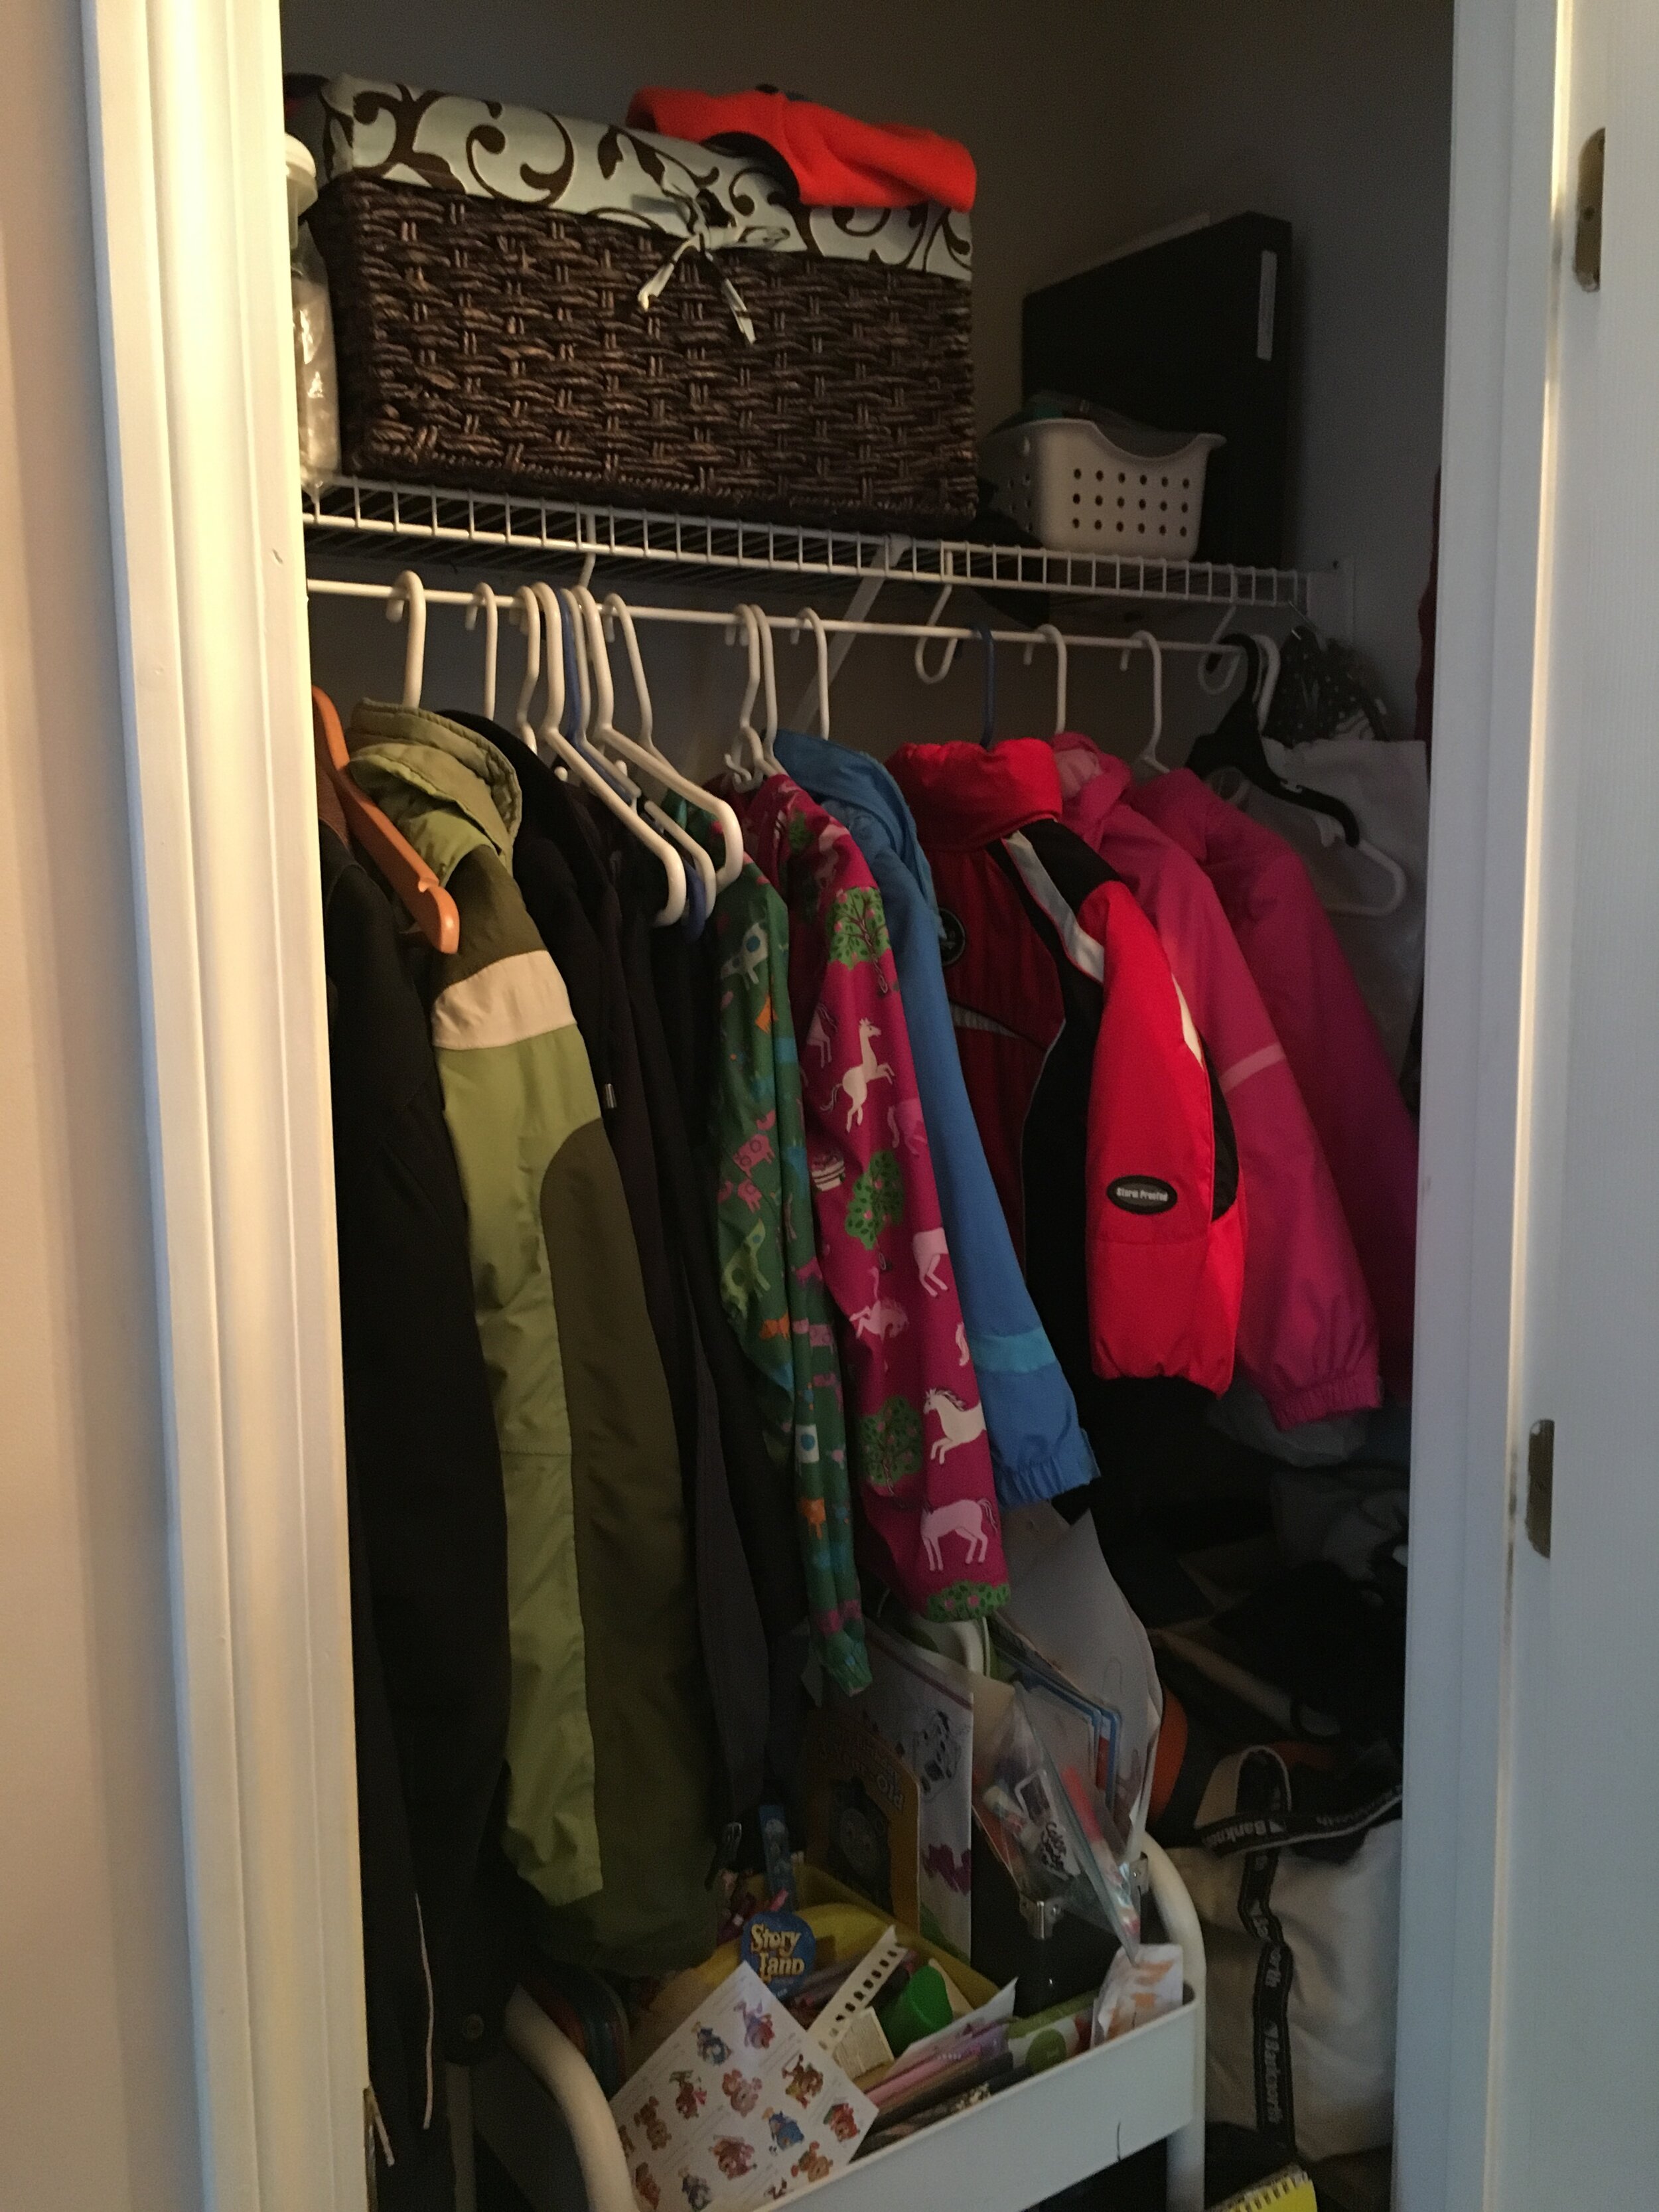
L.L. Bean Sweater Fleece

I've actually had this L.L. Bean Sweater Fleece for a few years now, but it's really gotten a lot of use this year as my go-to for "Driveway Visits" with family and friends. We've been having socially distant driveway visits (outside, everyone standing far apart and masked, no contact) to see our family and friends when we can. This Sweater Fleece has been great as a casual and cozy layer that still looks nice for those chilly visits outside.
KEEP UP WITH BIRCH LANDING HOME
| Etsy | Facebook | Instagram | Pinterest | Bloglovin' | Hometalk |